
In a recent conversation with one of my nutrition coaching clients, he mentioned that it was sometimes frustrating to find a recipe, buy all the ingredients, and then find himself stuck with a bunch of extra raw ingredients left over and not know what to do with them. This is particularly true for singles living alone, or even couples.
A good example is buying a head of cauliflower and only needing a cup or two of florets in a recipe - how can you effectively make use of the rest of it, instead of it just wasting away in the fridge and eventually going in the bin? Sure, you could just make a big batch of the same thing, but few people enjoy eating the same thing for every lunch and dinner all week!
So - challenge accepted, I went with a list of ingredients my client provided and set out to make four different meals with them.
Here’s the list:
1 Medium Yellow Onion
6 Carrots
1 Head of Cauliflower
15 Brussels Sprouts
2 Medium Yellow-Fleshed Potatoes
1 Clove of Garlic
1 Lemon
For protein, in an attempt to make it as low-effort for my client as possible, I went with a whole rotisserie chicken from the local grocery store, broken down into quarters (I.E. the breasts each are for 1 meal, one thigh and leg each for 1 meal (two total). I made chicken stock with the wings (which are often dried out and overcooked from the store), the remaining bones and bits, though this is optional. If you don’t want to break down the whole chicken and/or have no interest in making stock, you can buy the rotisserie chicken quarters instead, or just cook off your favourite proteins to go with each meal.
For the recipes, you need a couple of pantry items:
Extra Virgin Olive Oil
Salt and pepper (preferably sea salt and freshly-ground black pepper)
Chili powder
Dried thyme or dill.
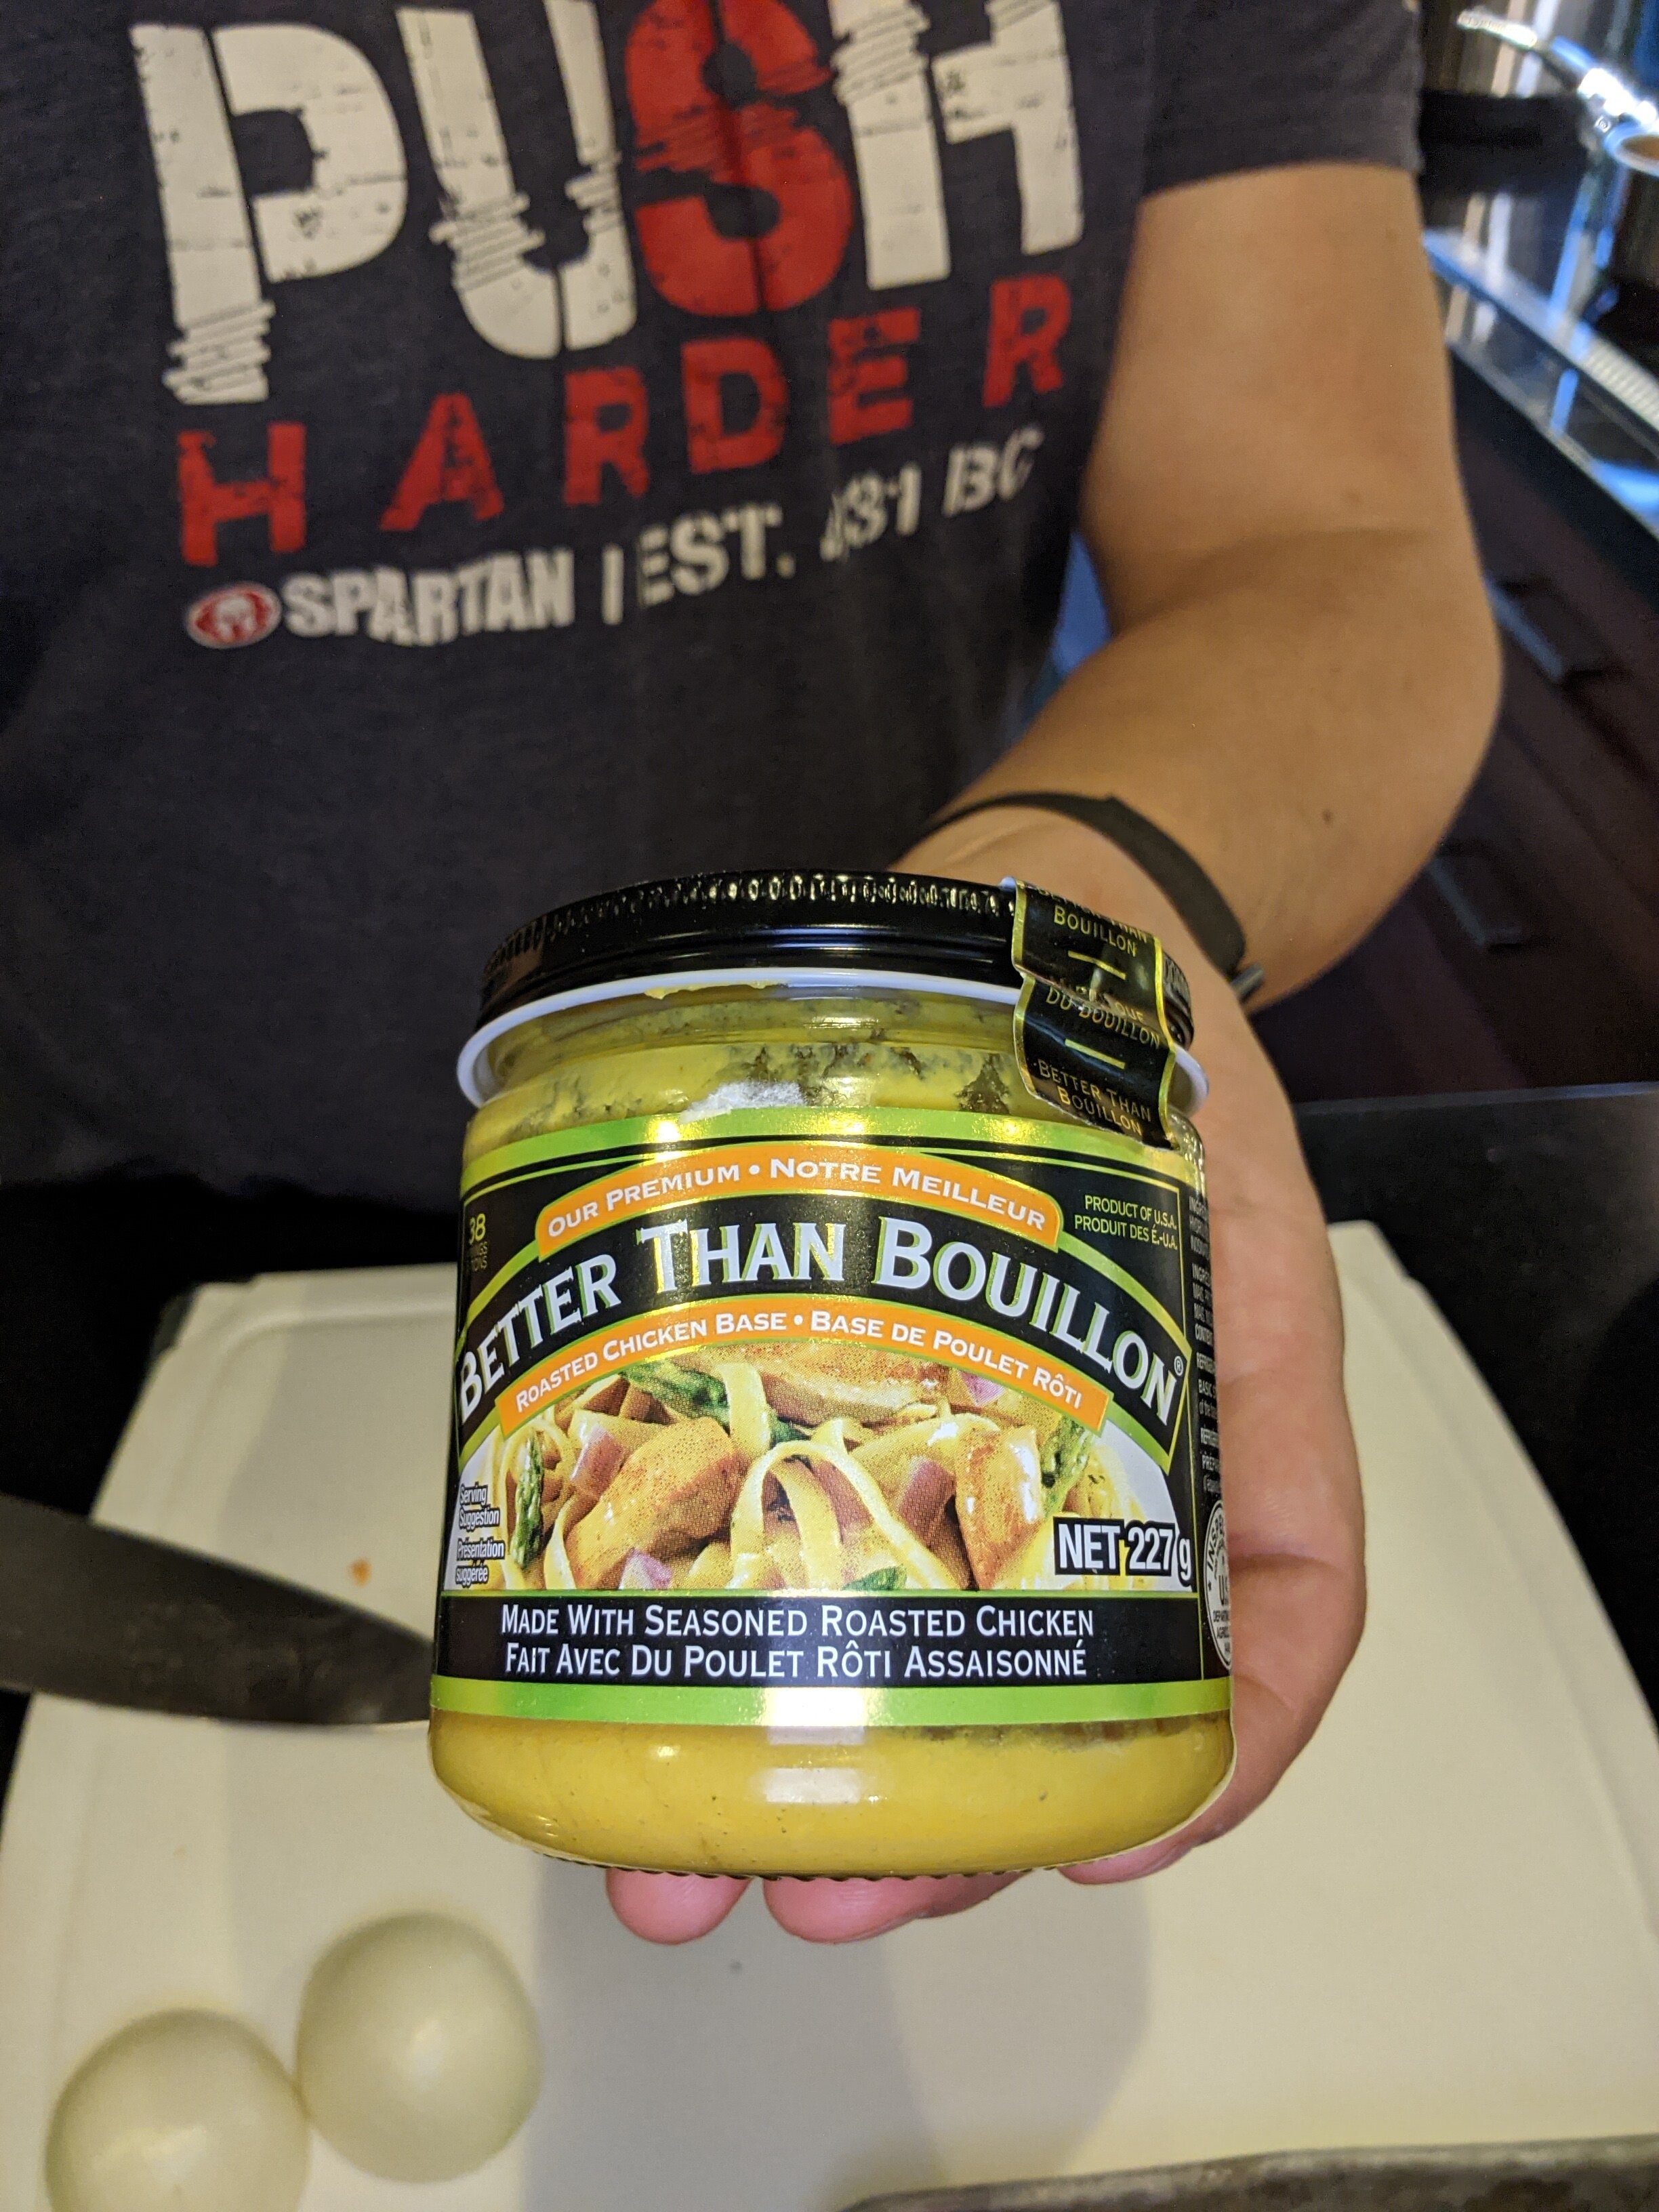
Chicken base (concentrated chicken broth)
Your favourite Indian and Thai curry pastes or prepared sauce (if you don’t like one or the other, or either, feel free to try something different).
If you use a curry paste, you’ll also need some liquid for the sauce. Coconut milk is traditional for the Thai curry (you can get it canned - note this is NOT the same as coconut water), but you can just use water if need be.
Rice or Noodles
A nice, crusty bread roll / bun
Your favourite sandwich toppings (E.G. tomato slices, baby spinach or arugula, a nice cheese…OK, kind of breaking the rules here a bit, but a plain chicken sandwich is a bit boring…LOL. If you want to be really strict about it, you could put the roasted veggies on the sandwich. Boom…mic drop.)
A large baking sheet / roasting pan (two would be even better) - parchment paper is optional to line these, but highly recommended since it prevents sticking/burning and makes cleanup easier
Two medium-sized saucepans / pots would be helpful, but if you only have one, just do one stovetop thing at a time. ;)
An immersion blender (“hand blender”) - don’t have one? Here’s an Amazon.ca link to a good one with a mini-food-processor/chopper attachment.
Here are the meals, and the prep / method:
Meal #1: Rotisserie Chicken Leg & Thigh with Roasted Veggies and Potato/Cauliflower Mash
Meal #2: Thai Green Curry Chicken with Cauliflower, Carrots and Shredded Brussels Sprouts
Meal #3: Carrot Soup with Roasted Chicken Sandwich and Roasted Vegetables
Meal #4: Indian Curry Chicken with Roasted Cauliflower, Carrots and Onions
I’m presuming here that Meal #1 is going to be eaten the day the prep is being done. If that’s the case, I’d leave breaking down the rotisserie chicken to the end, so you can eat it still warm from the store. ;)
Also worth noting, as a general rule when prepping veggies, I try to leave any onion and garlic prep until near the end because onions absolutely murder my eyes. I look like I’ve been tear-gassed after chopping a single onion! Also, I prefer to have the other things prepped first so they don’t pick up any onion or garlic flavour from the cutting board (which can happen even after you rinse it).
The only thing I will sometimes leave later than the onion and/or garlic is potatoes, because the starch from the potatoes can cause some issues if any residue gets on the other veggies, and the potatoes can oxidize and turn black if left out too long after peeling / cutting. I also find sometimes that potato starch irritates my hands, even after washing them (what can I say…I’m a delicate flower…LOL).
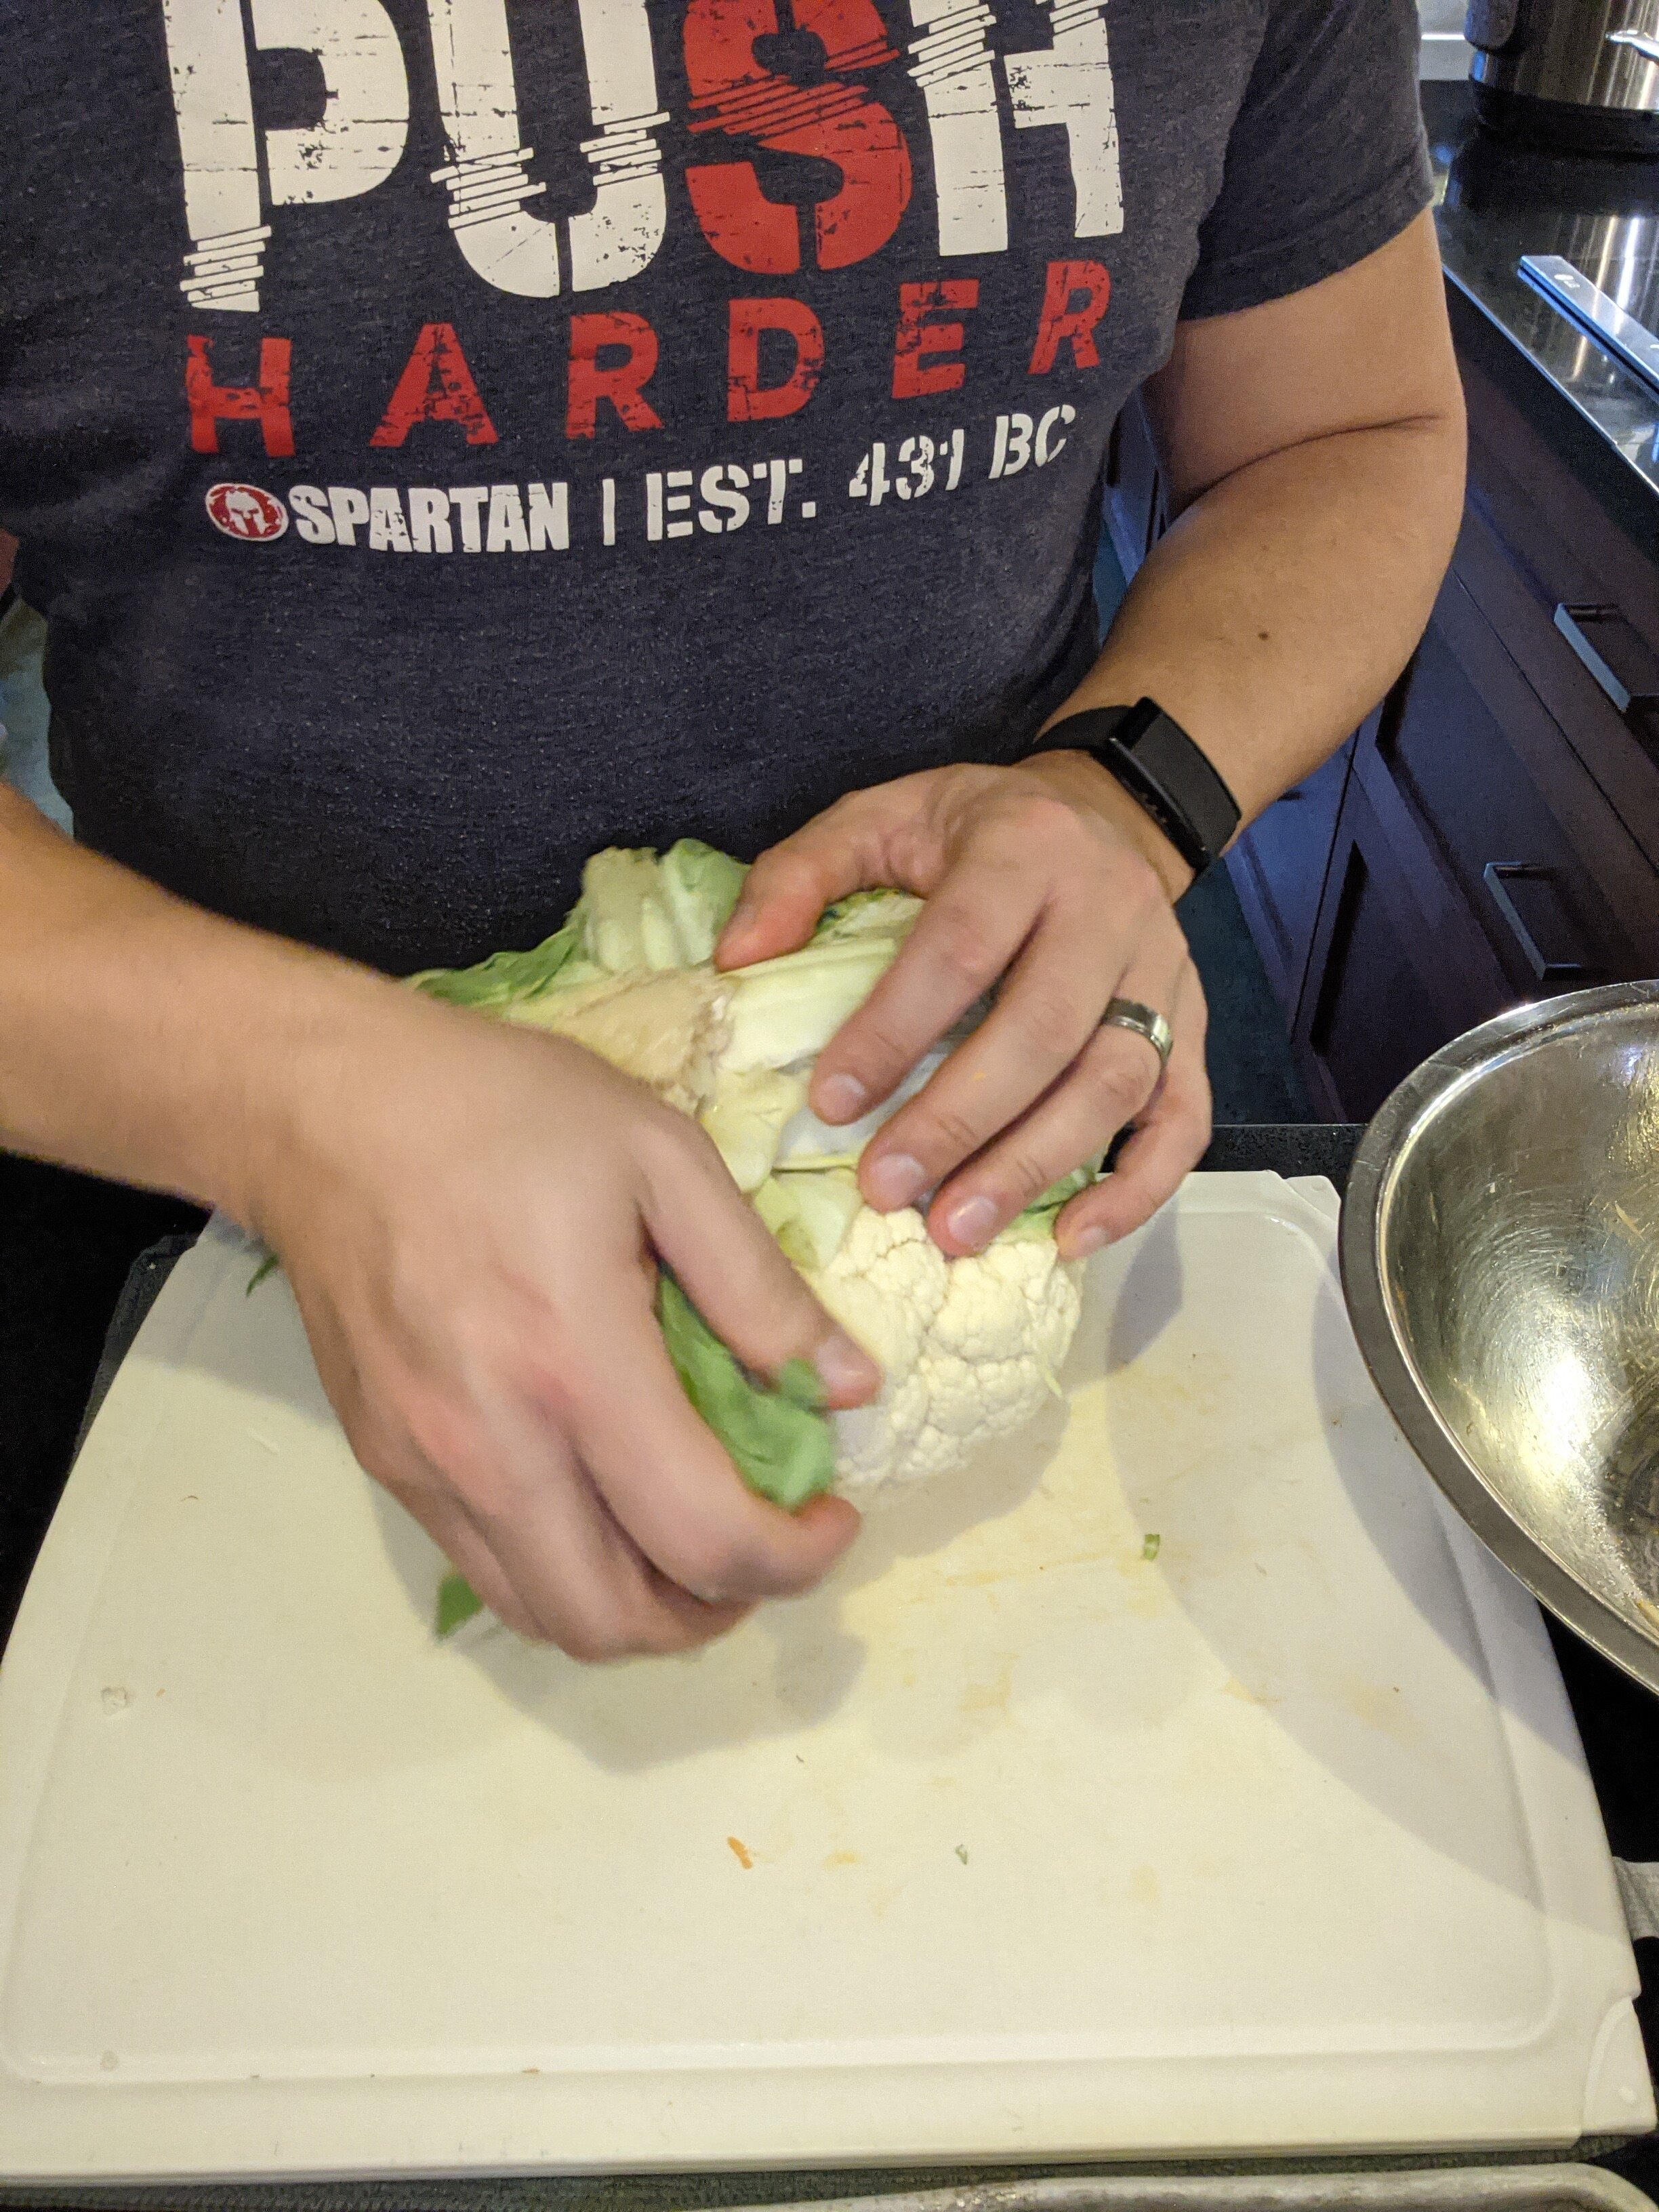
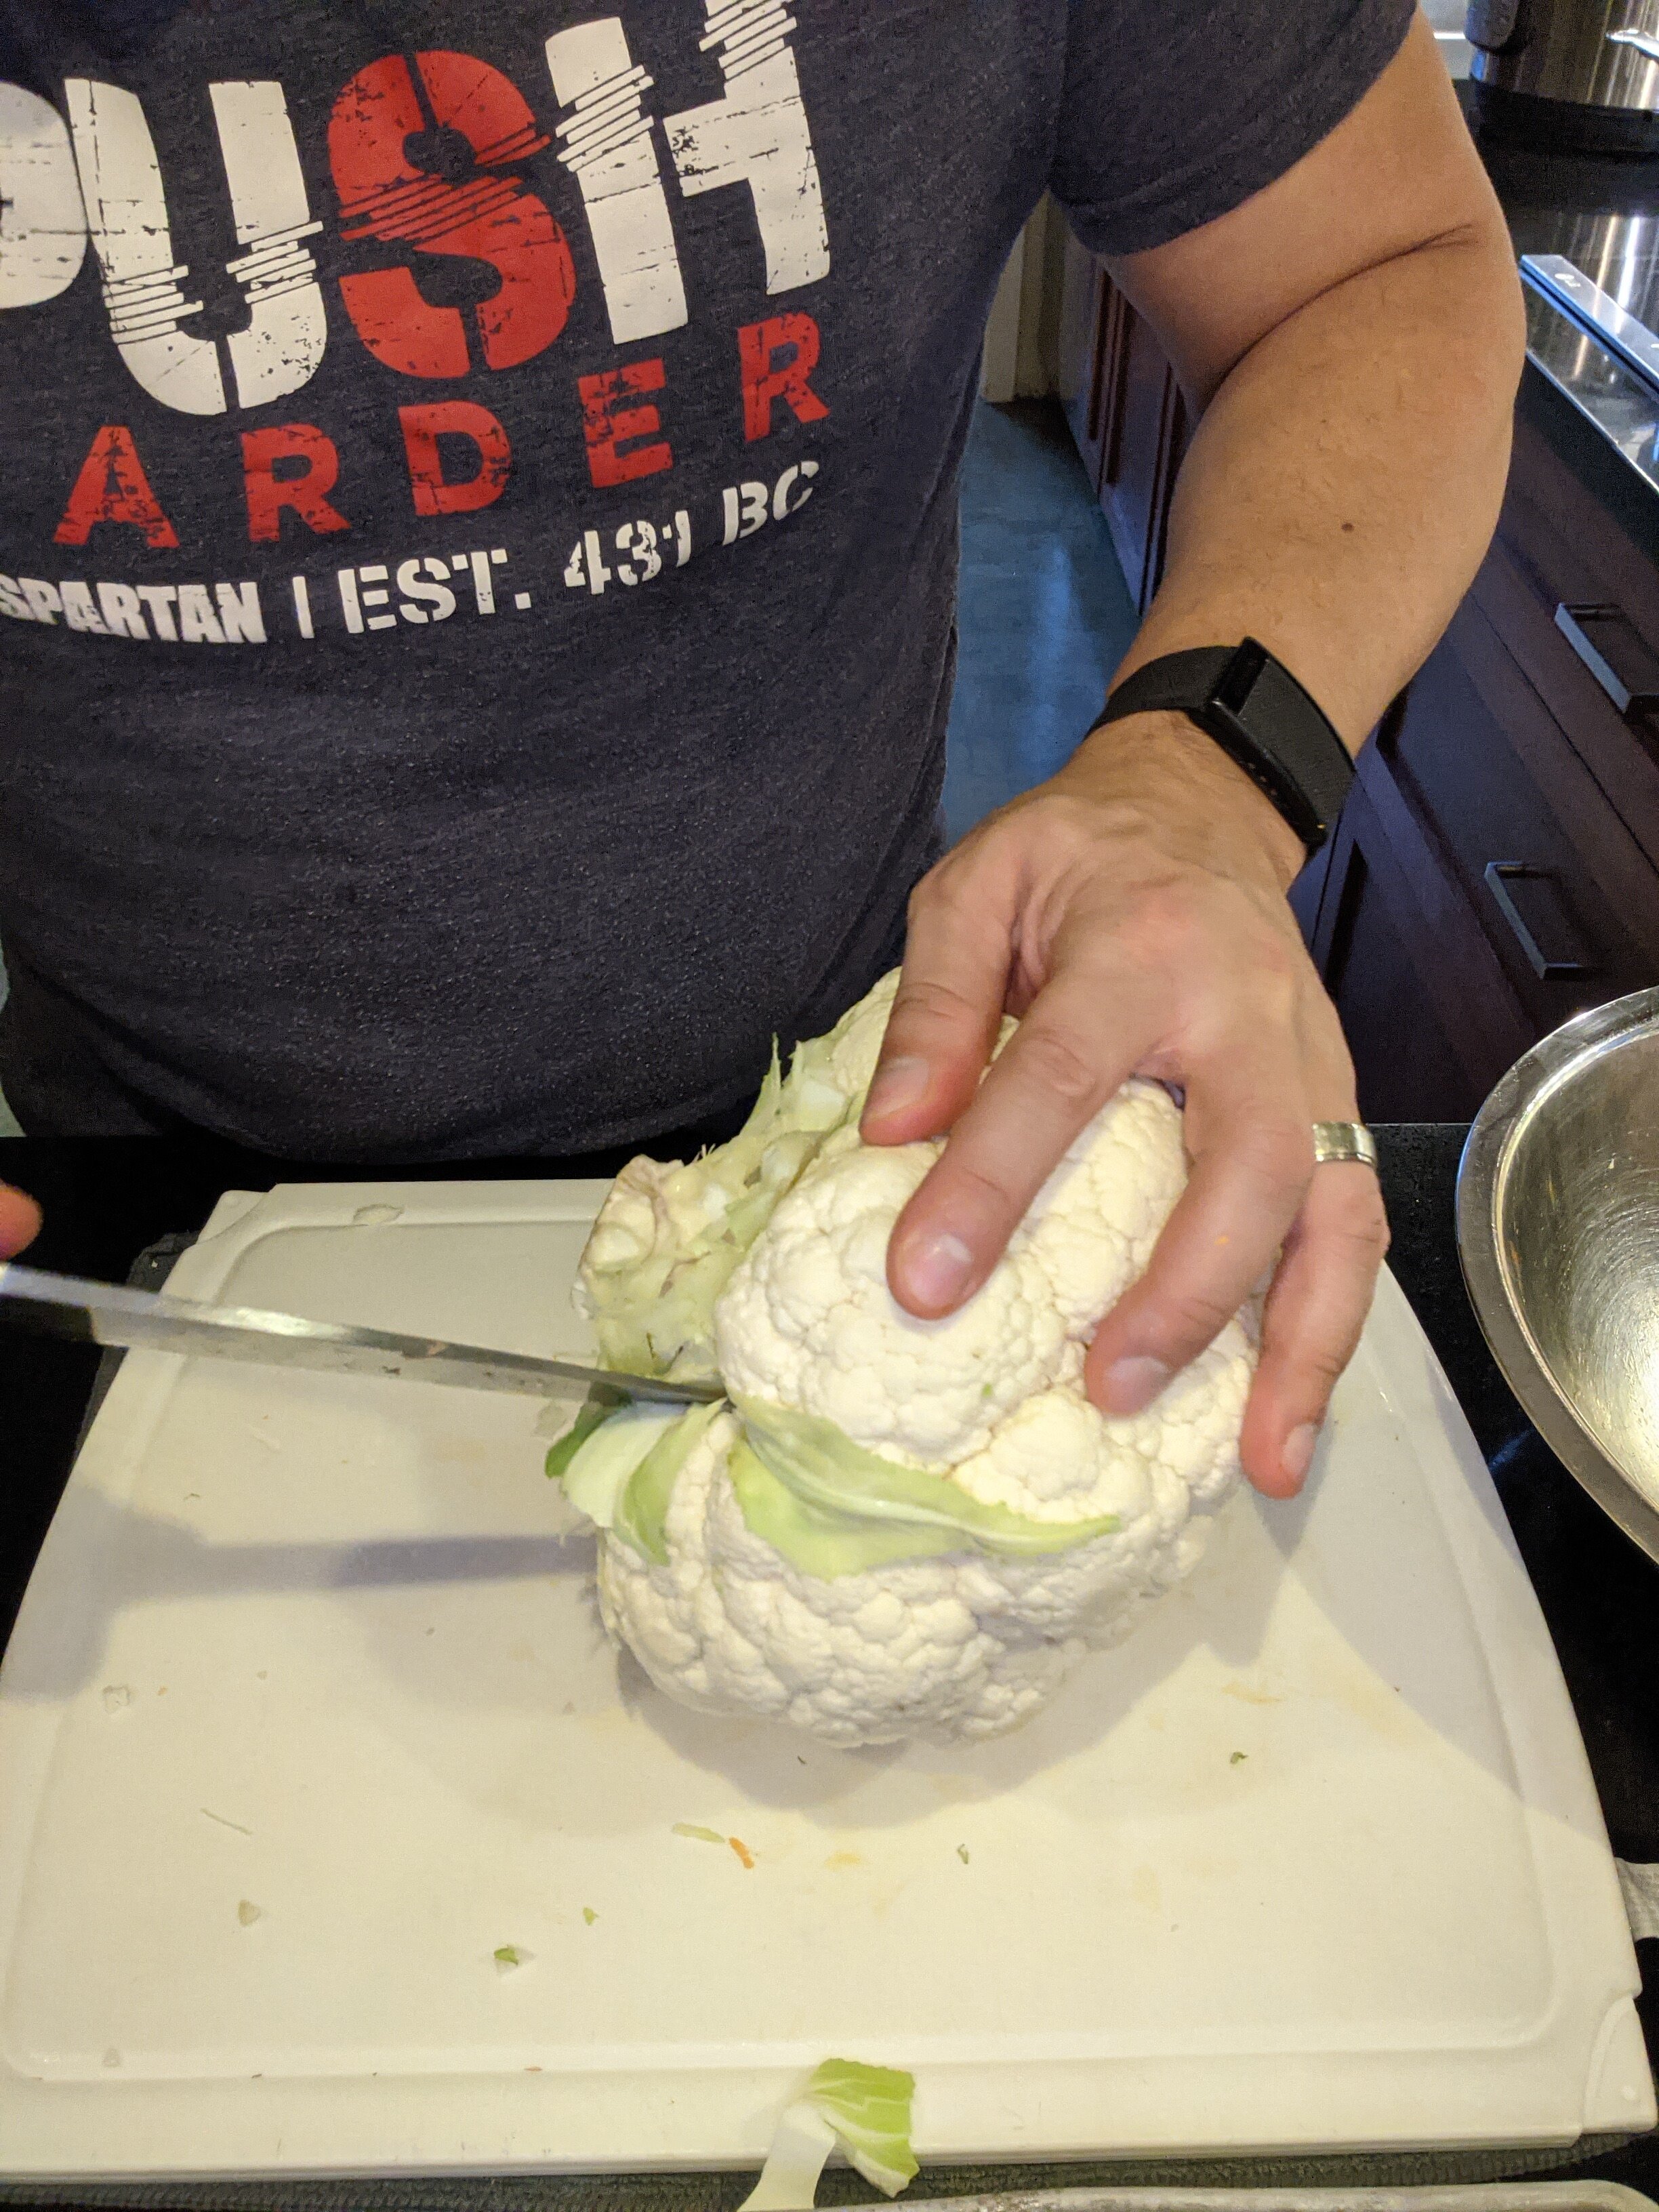
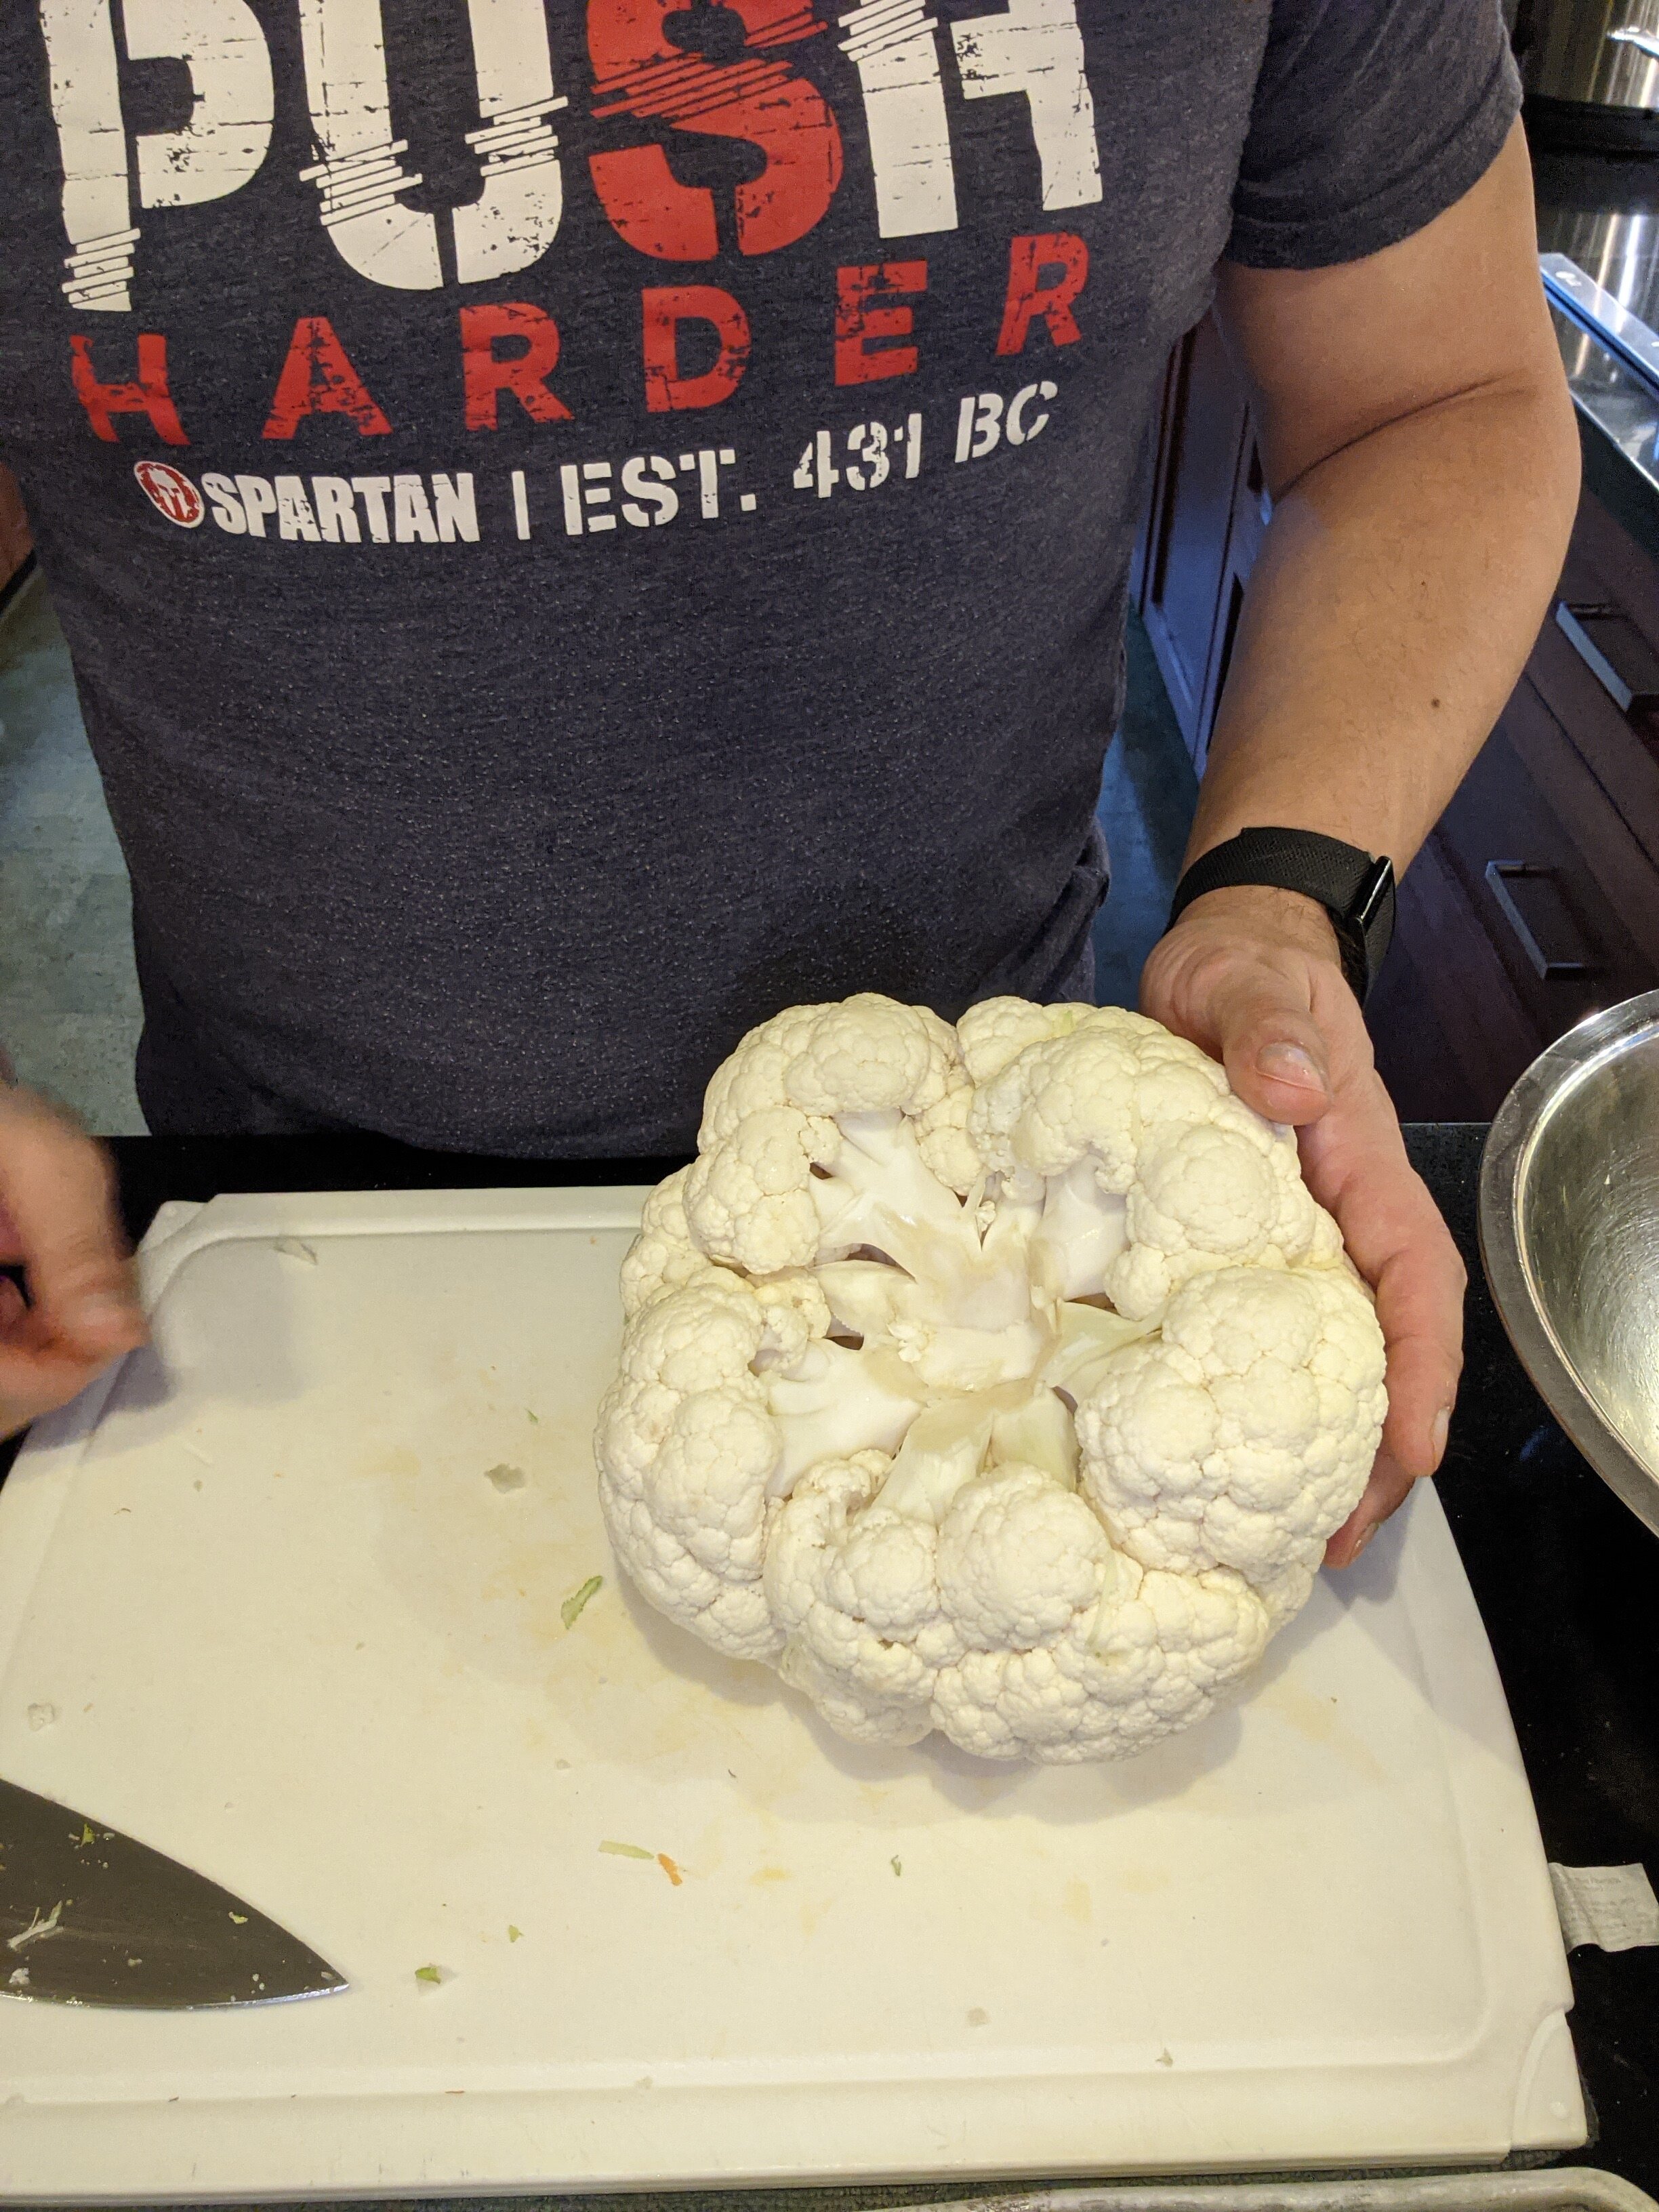
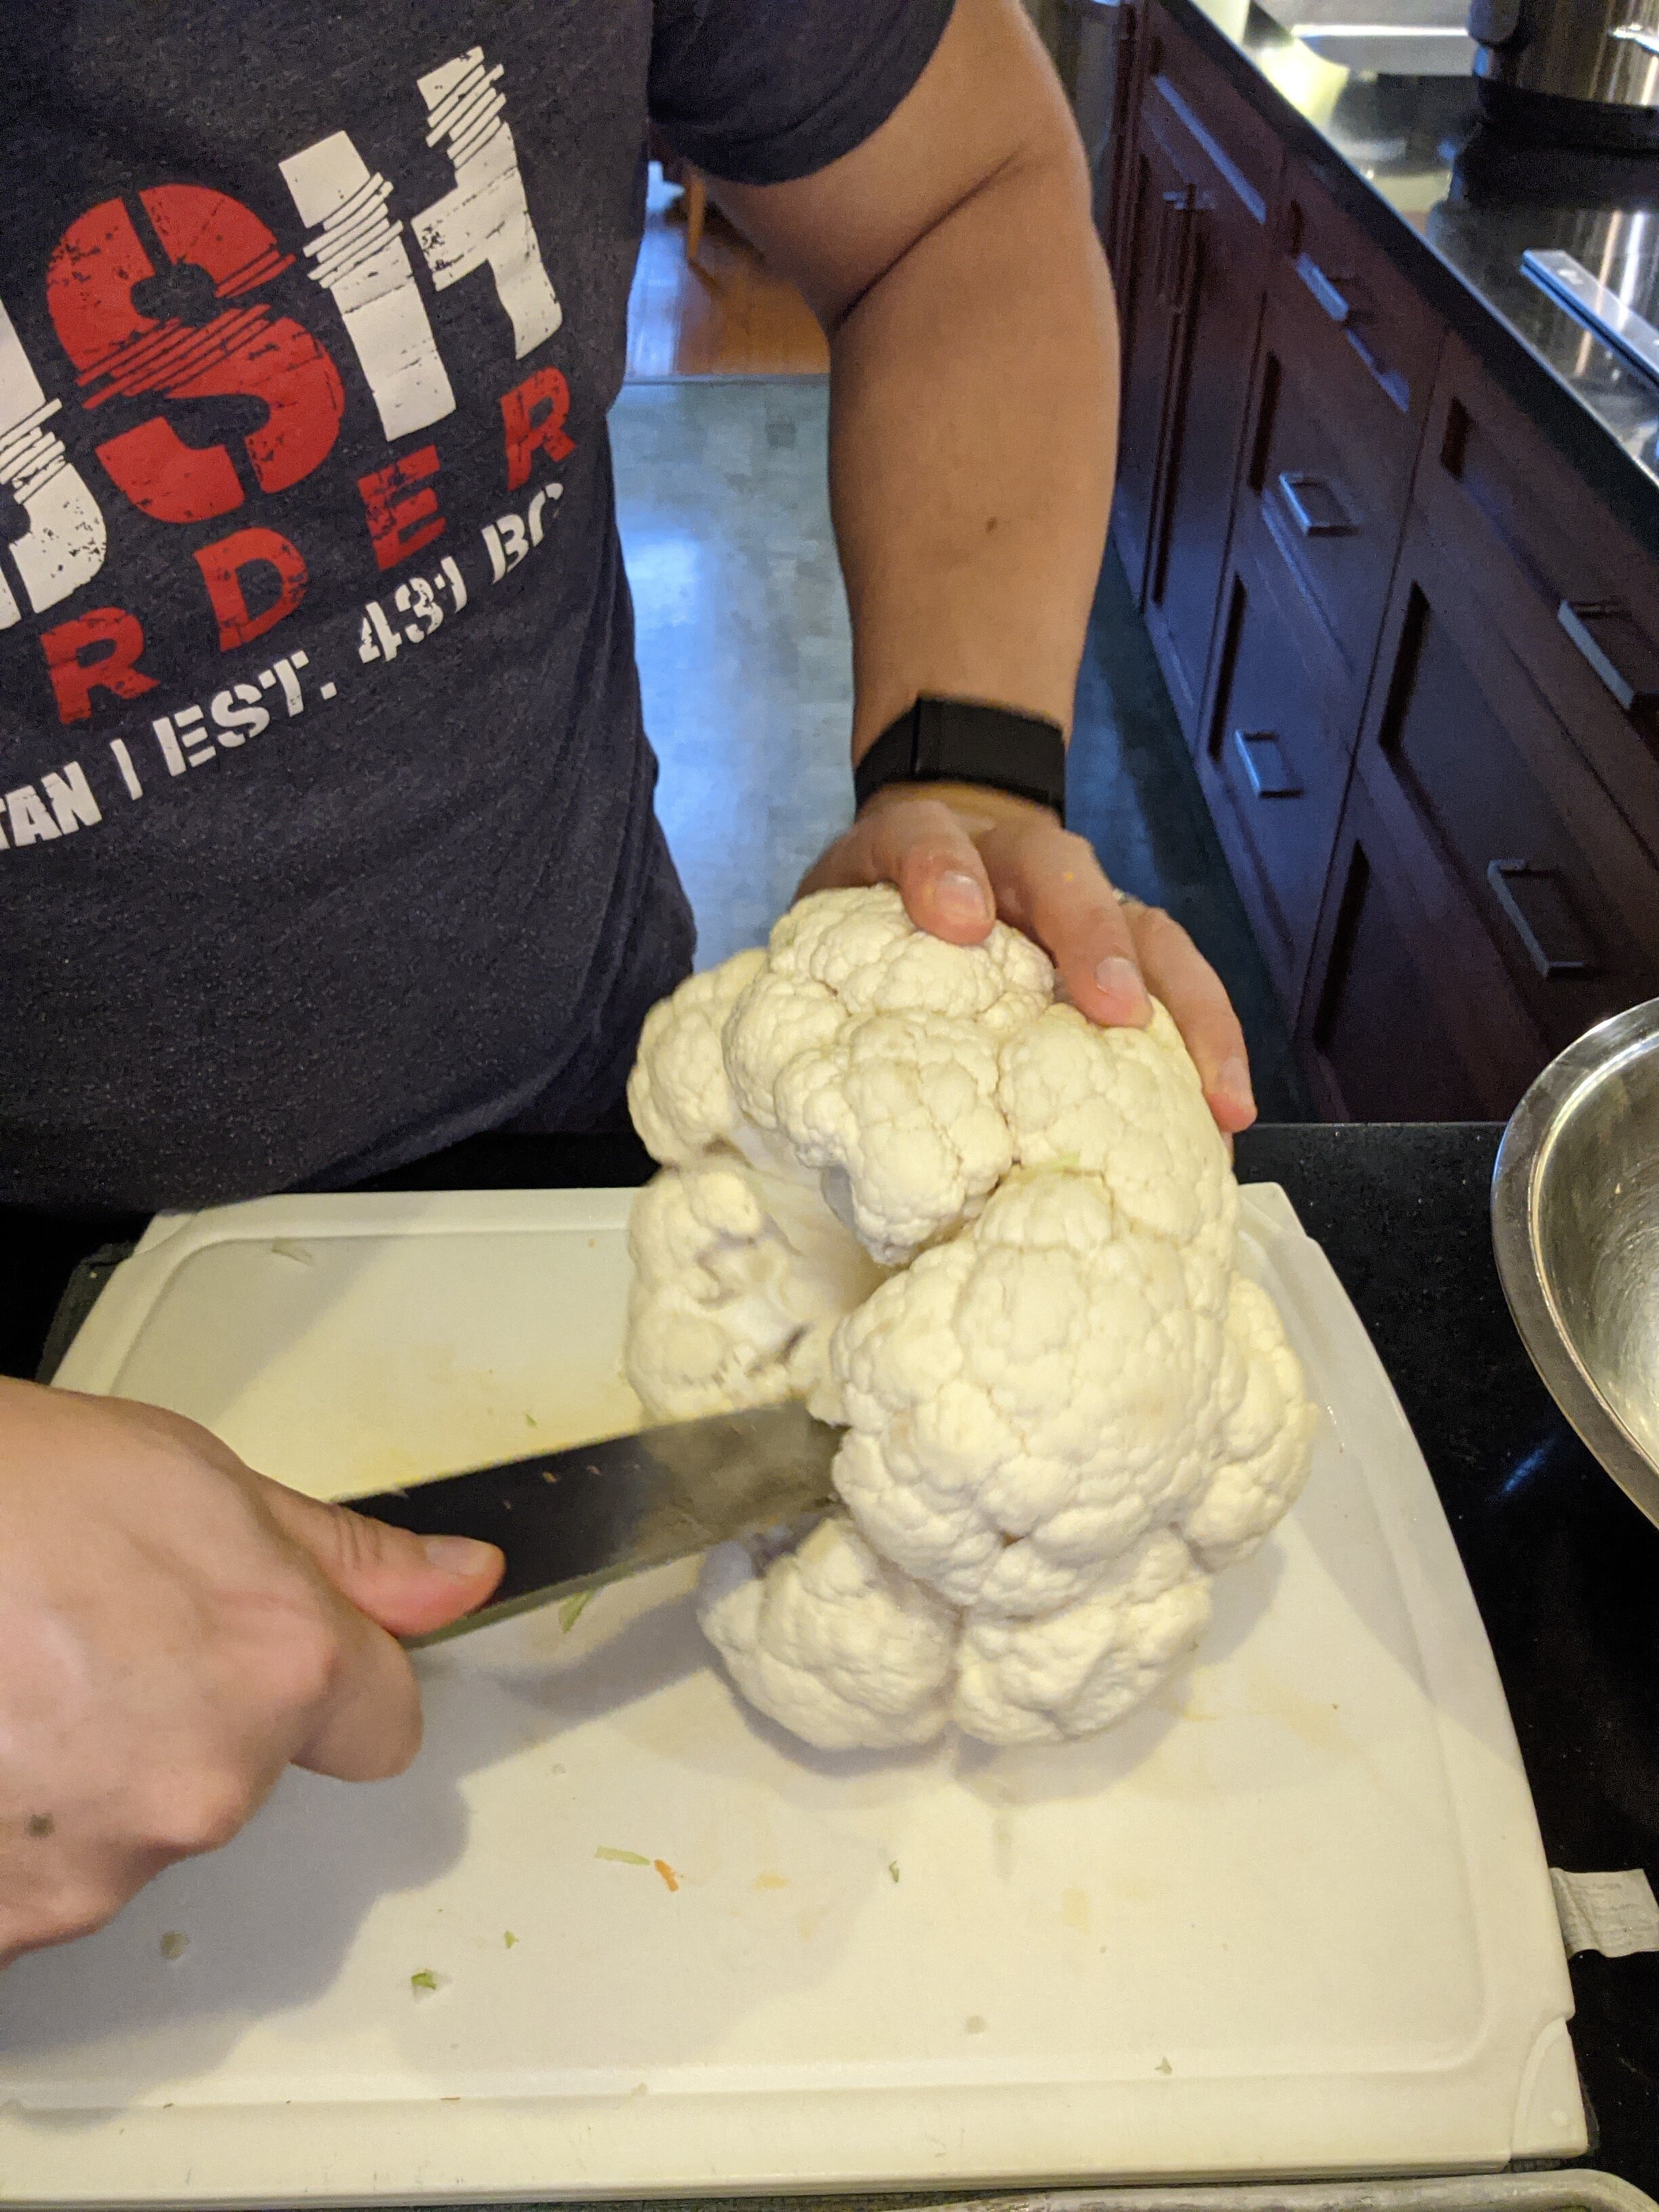
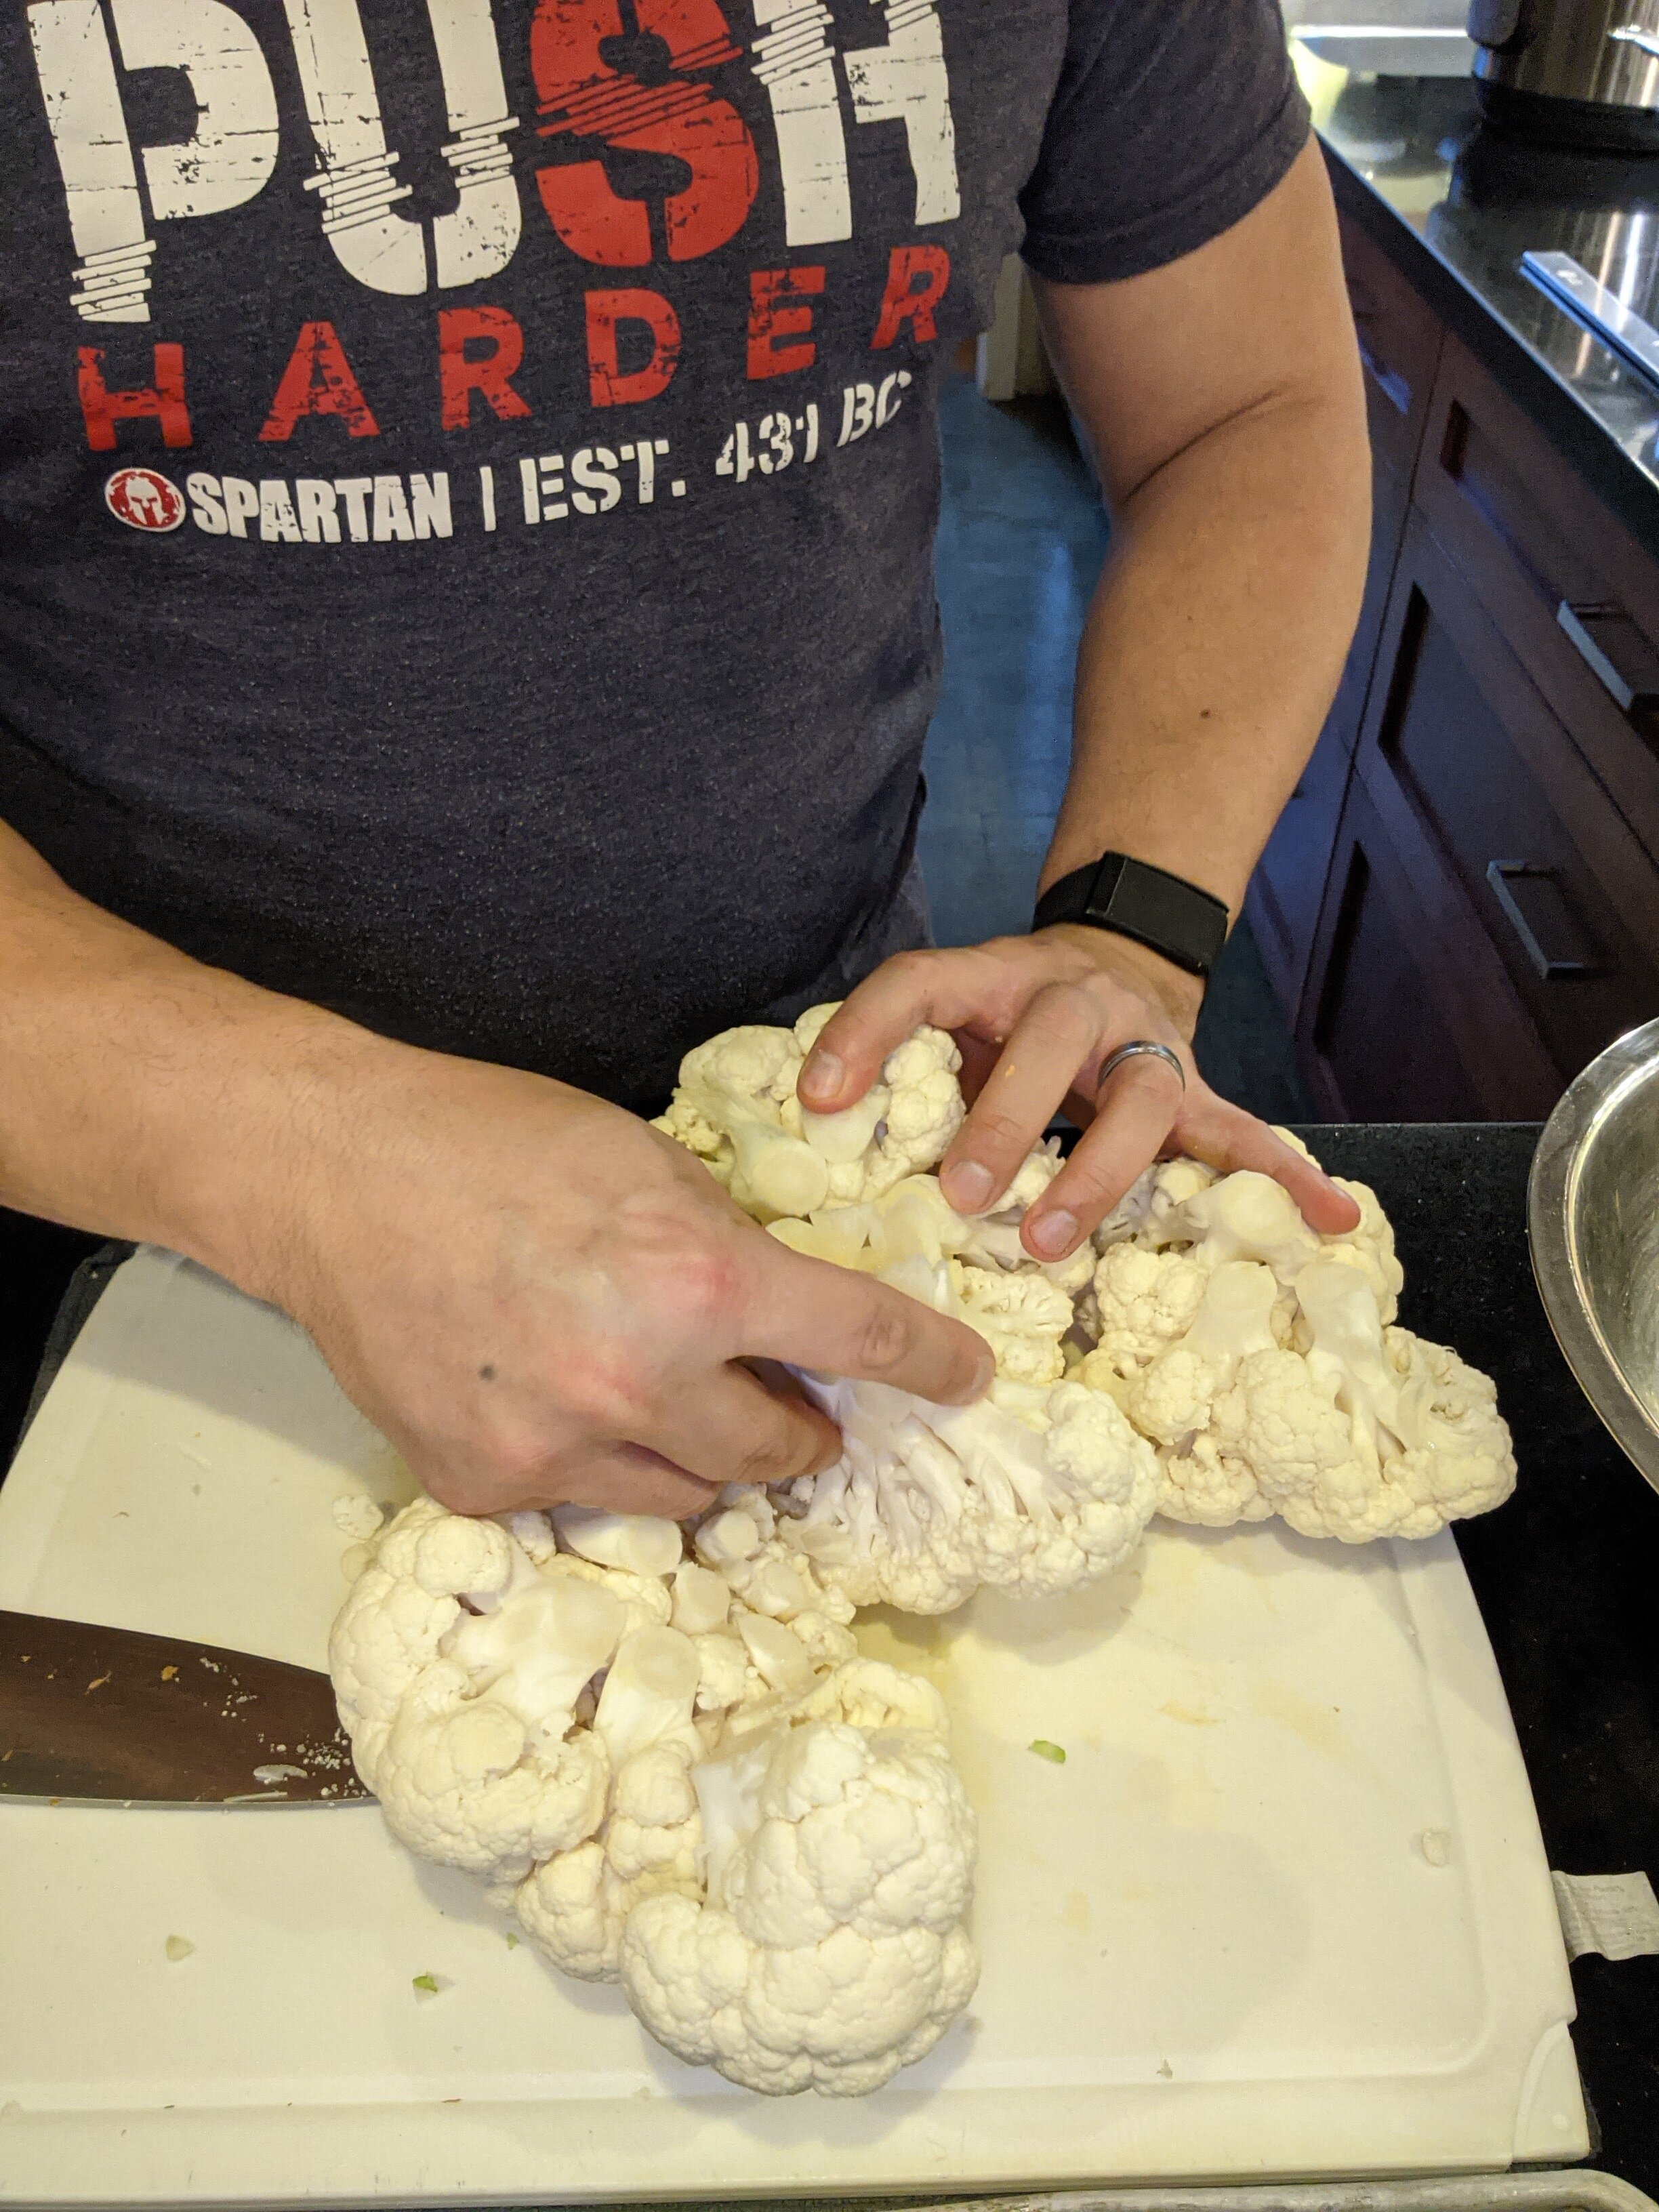
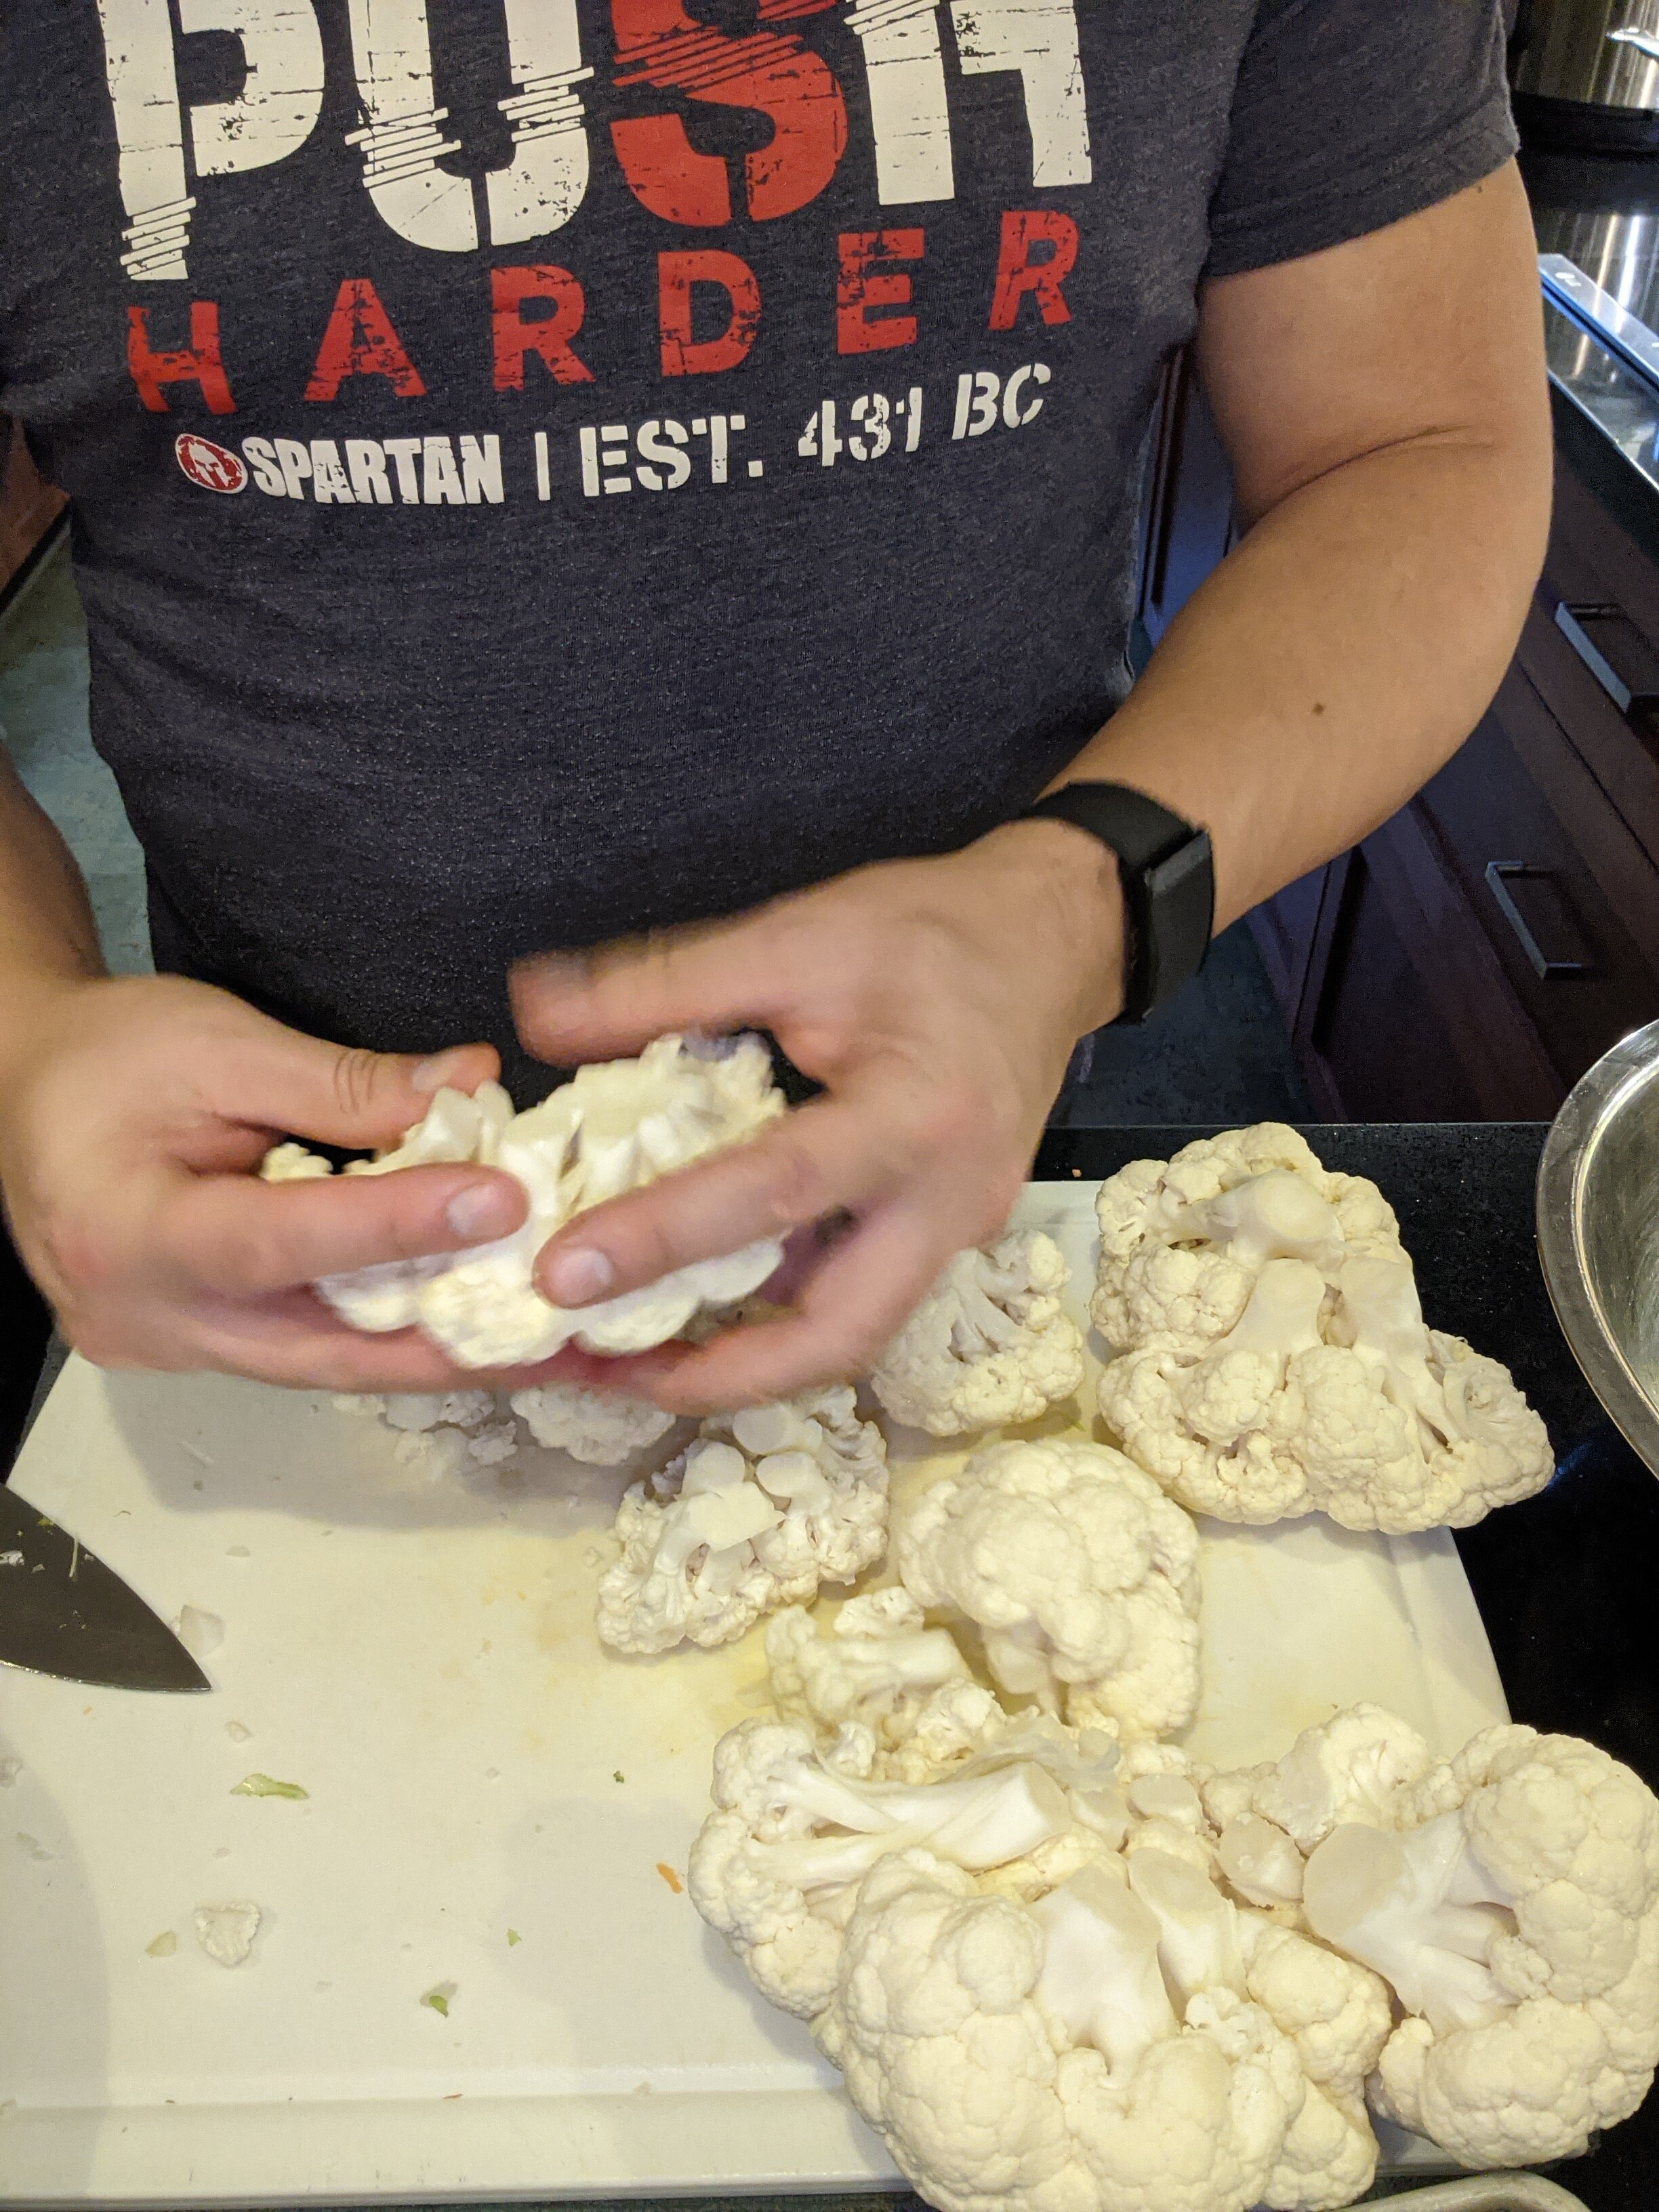
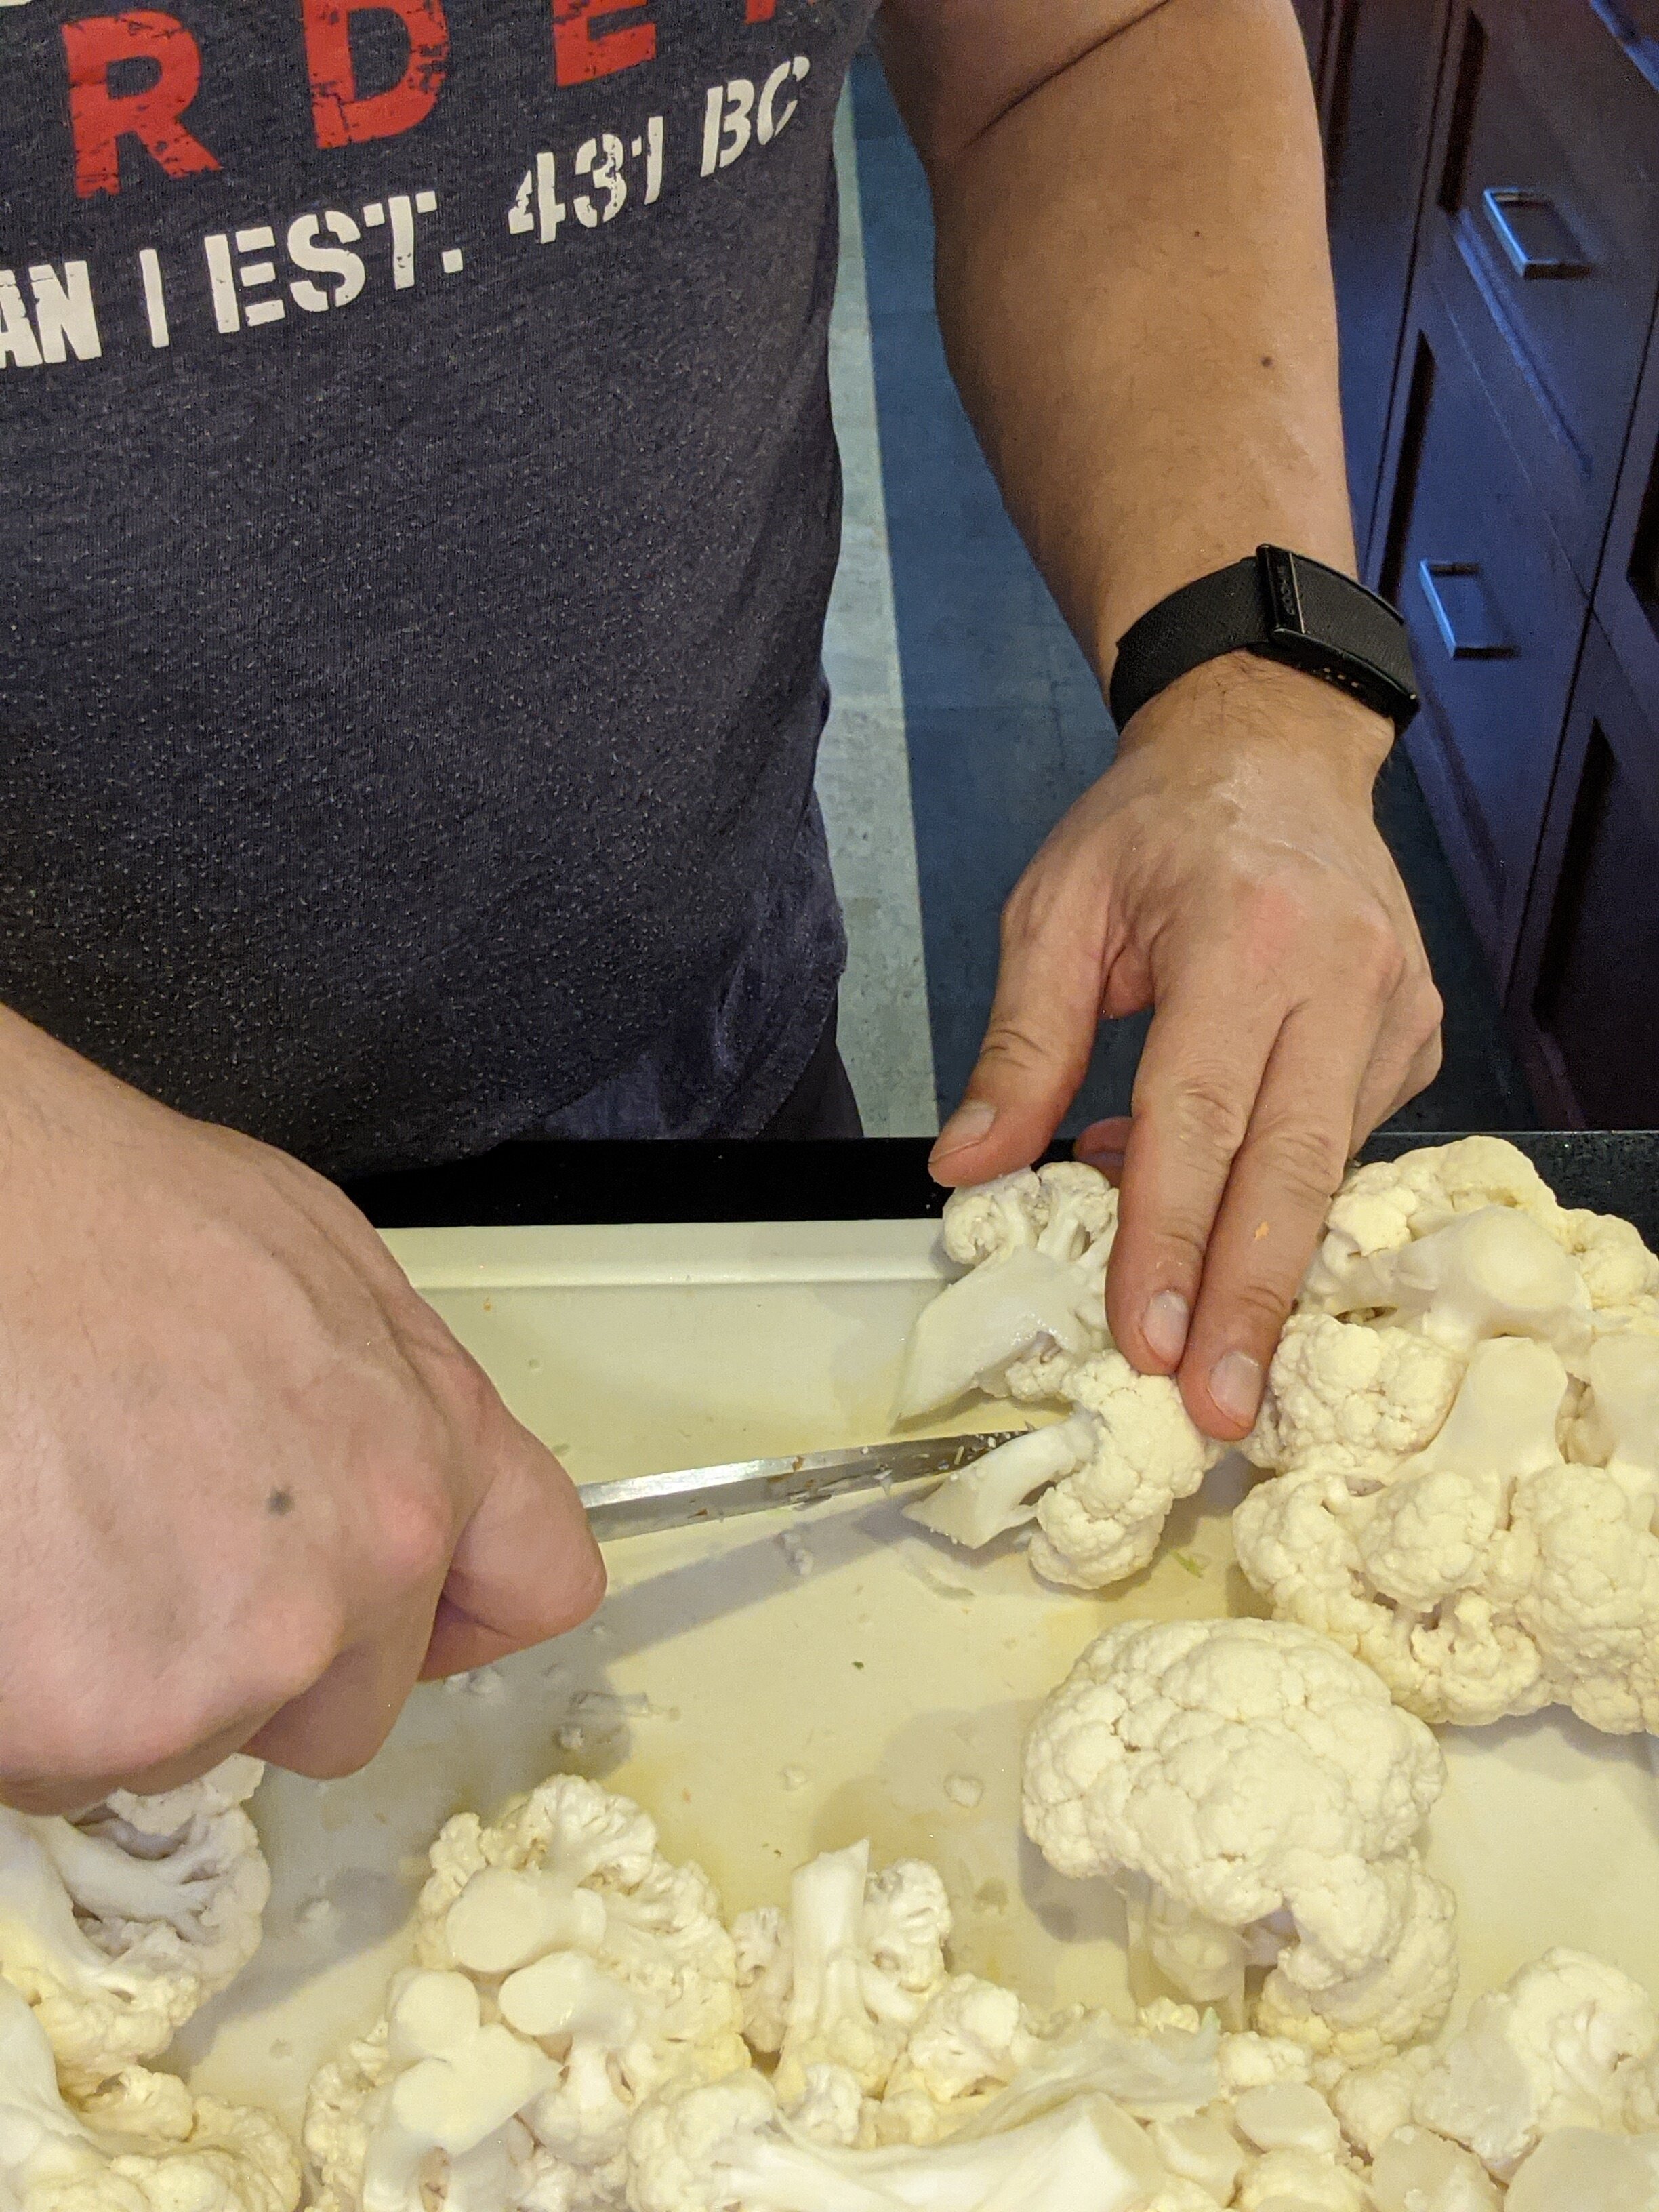
Step 1: Break down the head of cauliflower (Pictures Below).
Remove and discard all the leaves (just pull them off by hand), then trim the end off the stem and discard it as well.
Cut around the main core/stem of the cauliflower with a knife, retaining the stem piece (we’ll use it later).
Break the florets apart by hand, and break down any large florets into bite-size pieces by cutting the stem with a knife and prying it apart.
Reserve about two fist-size portions of the florets in a bowl. Cut the reserved main stem / core piece up into small-ish pieces and place in the pot with these cauliflower pieces. This is for the potato and cauliflower mash. Set it aside for now.
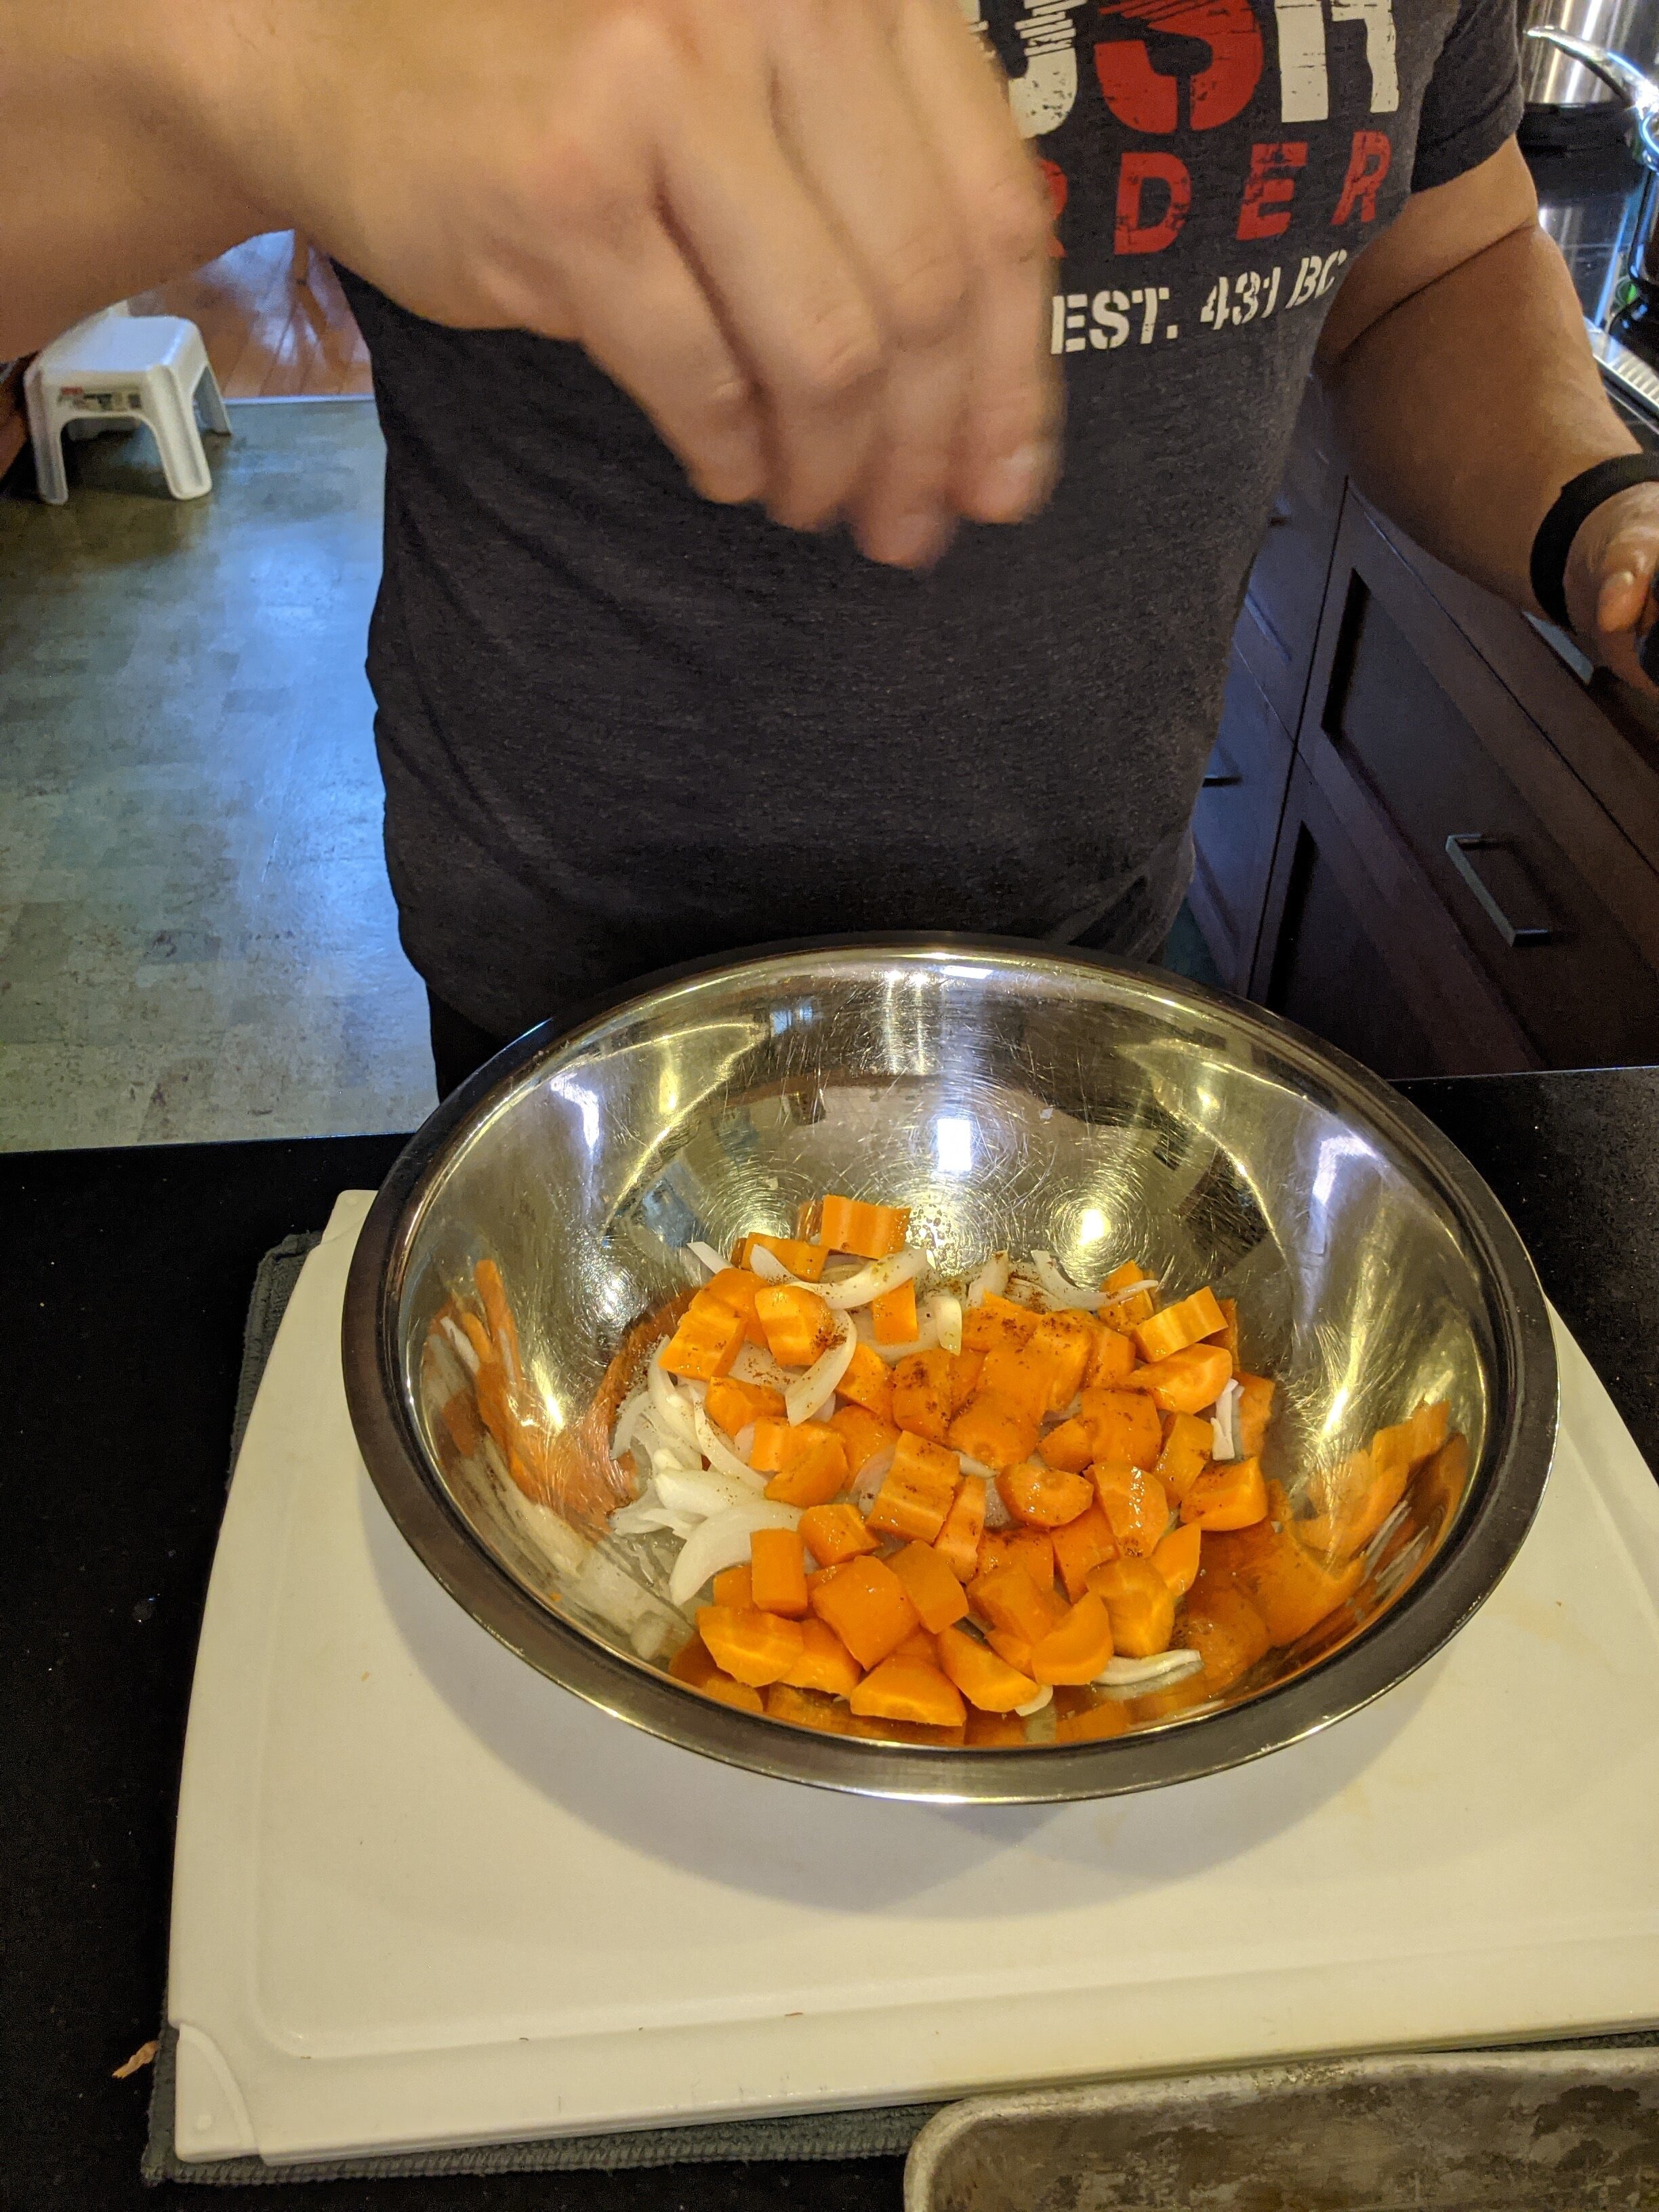
Put the remaining cauliflower florets in a large mixing bowl (the largest you have, so you have room to toss it). Hopefully this will be about another three or four fist-size portions. This is all going to be roasted off together. Drizzle some olive oil over top and toss the cauliflower so it’s evenly coated, then sprinkle on some sea salt and either black pepper or chili powder, and toss a bit more to coat evenly.
Transfer all of this to your baking sheet(s) / roasting pan(s). Again, lining with parchment paper is highly recommended, but not necessary.
Keep the oiled and seasoned bowl handy for later.
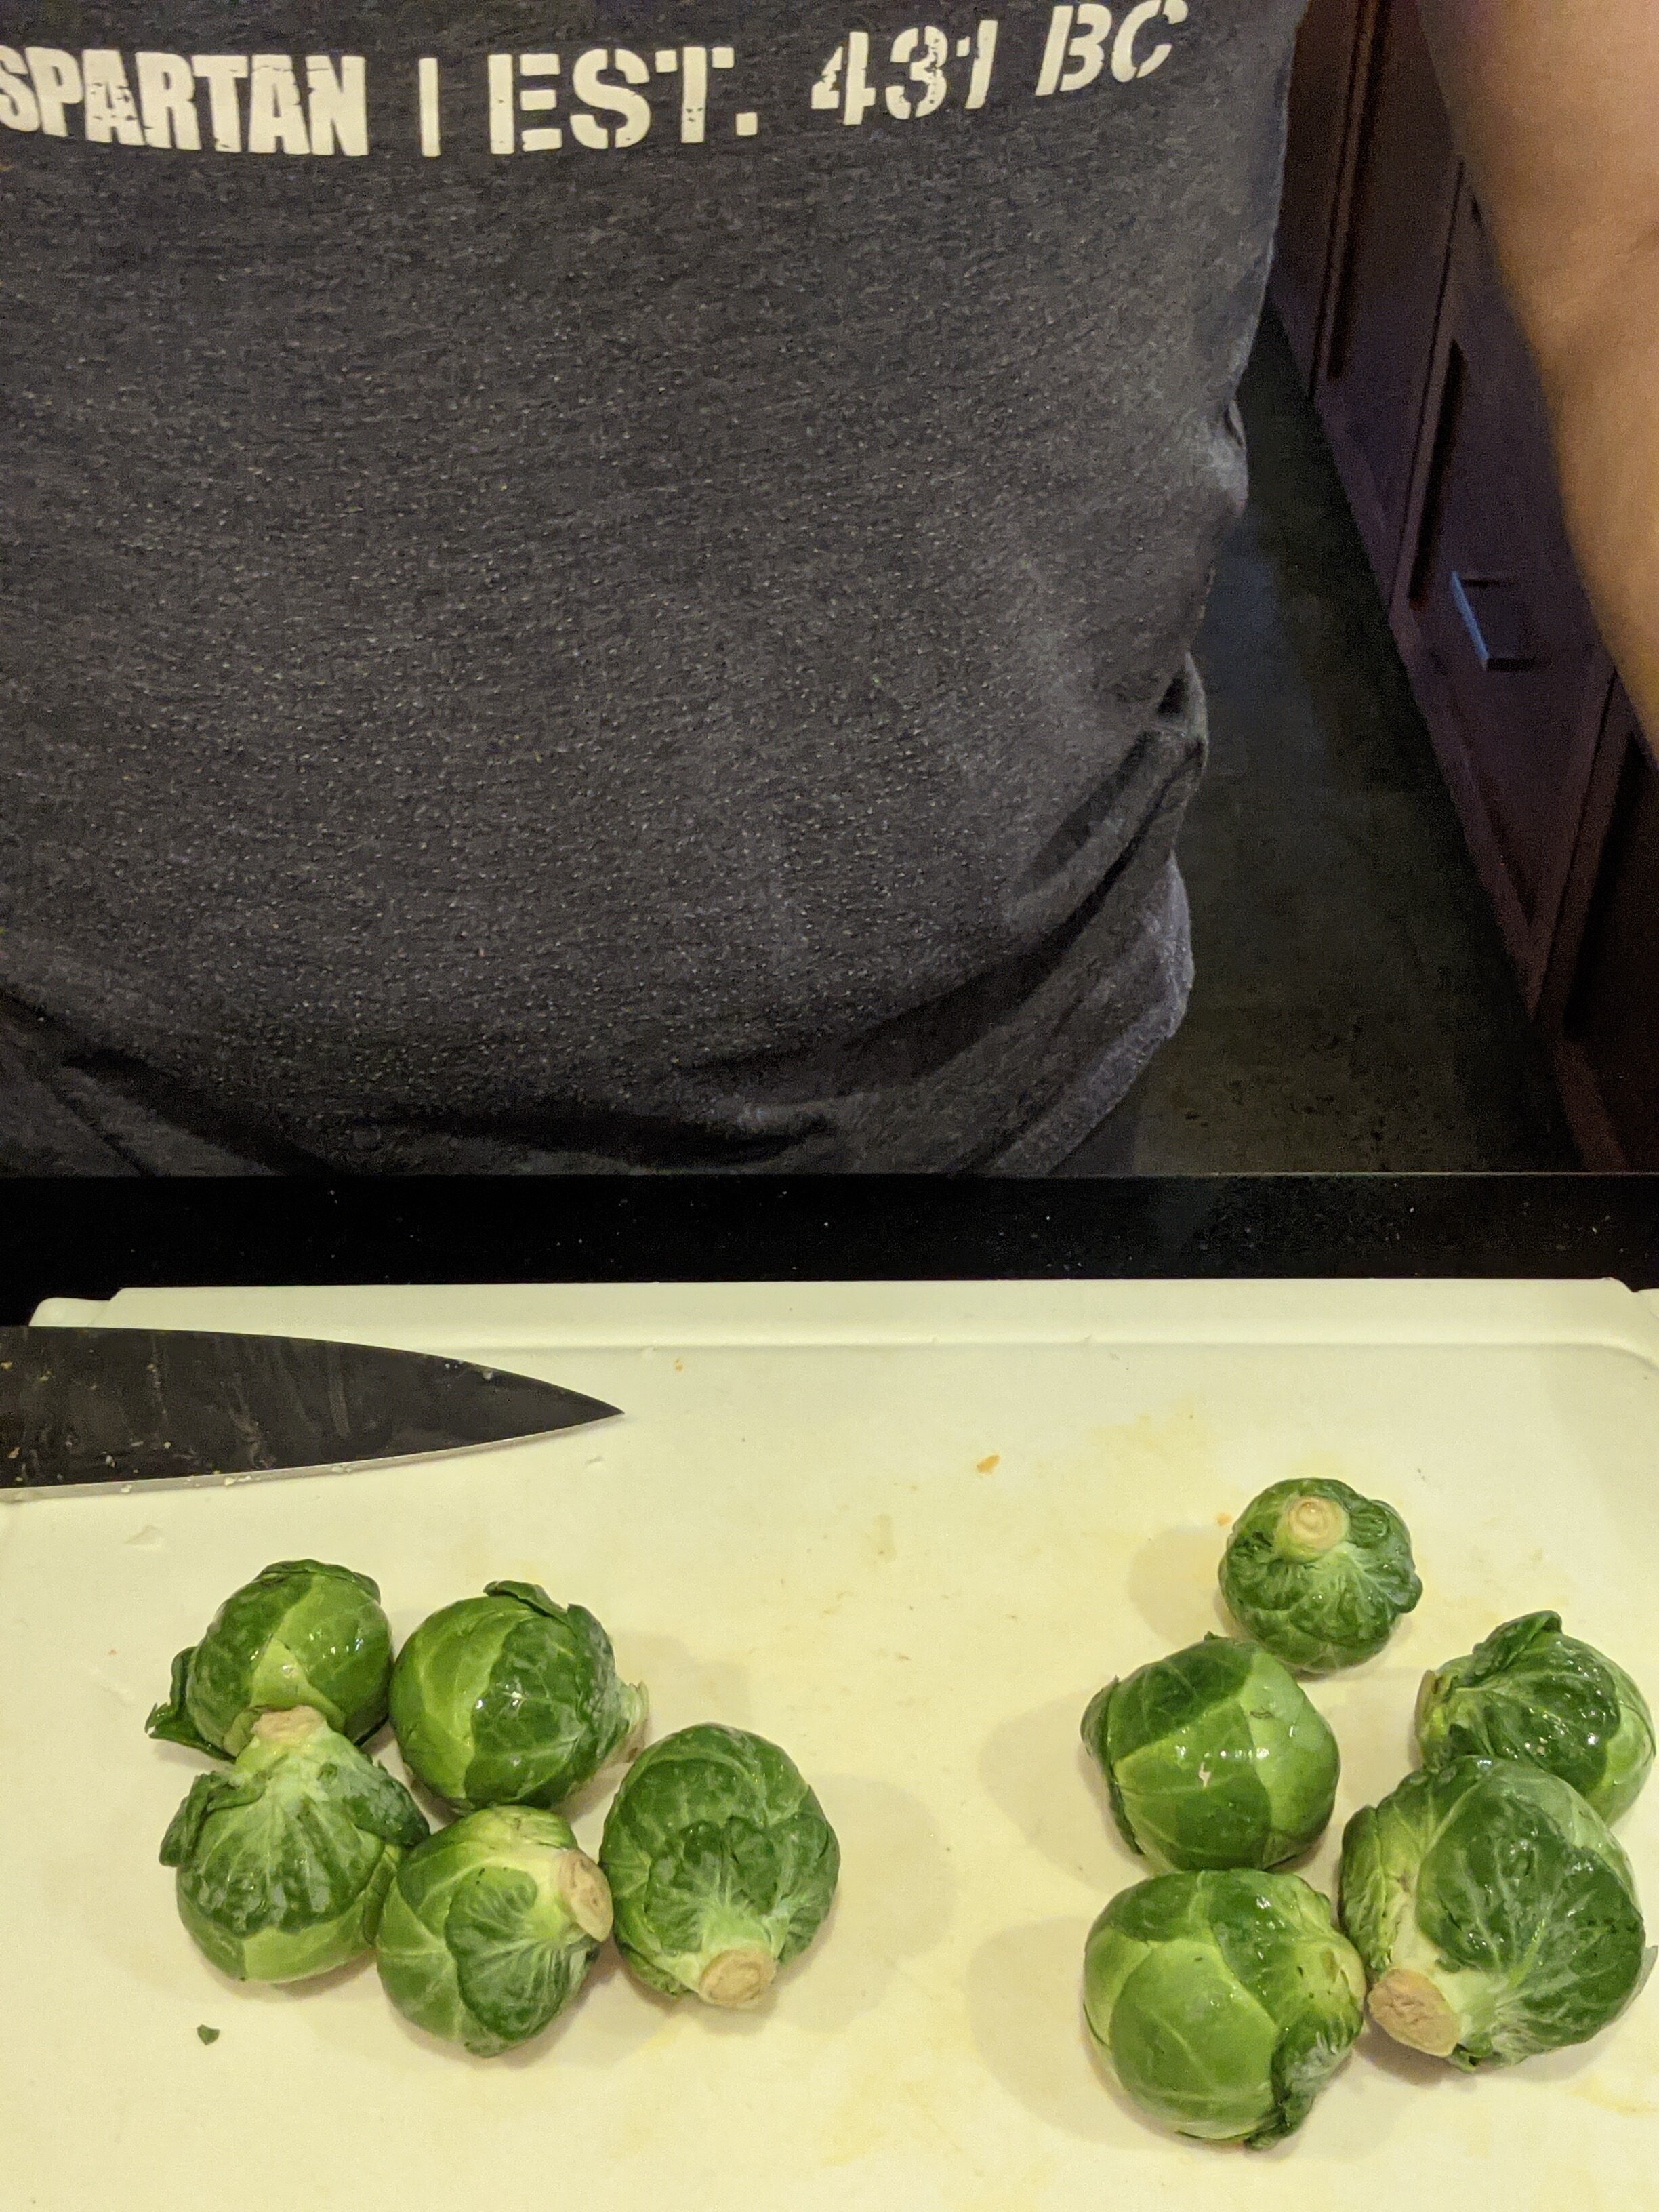
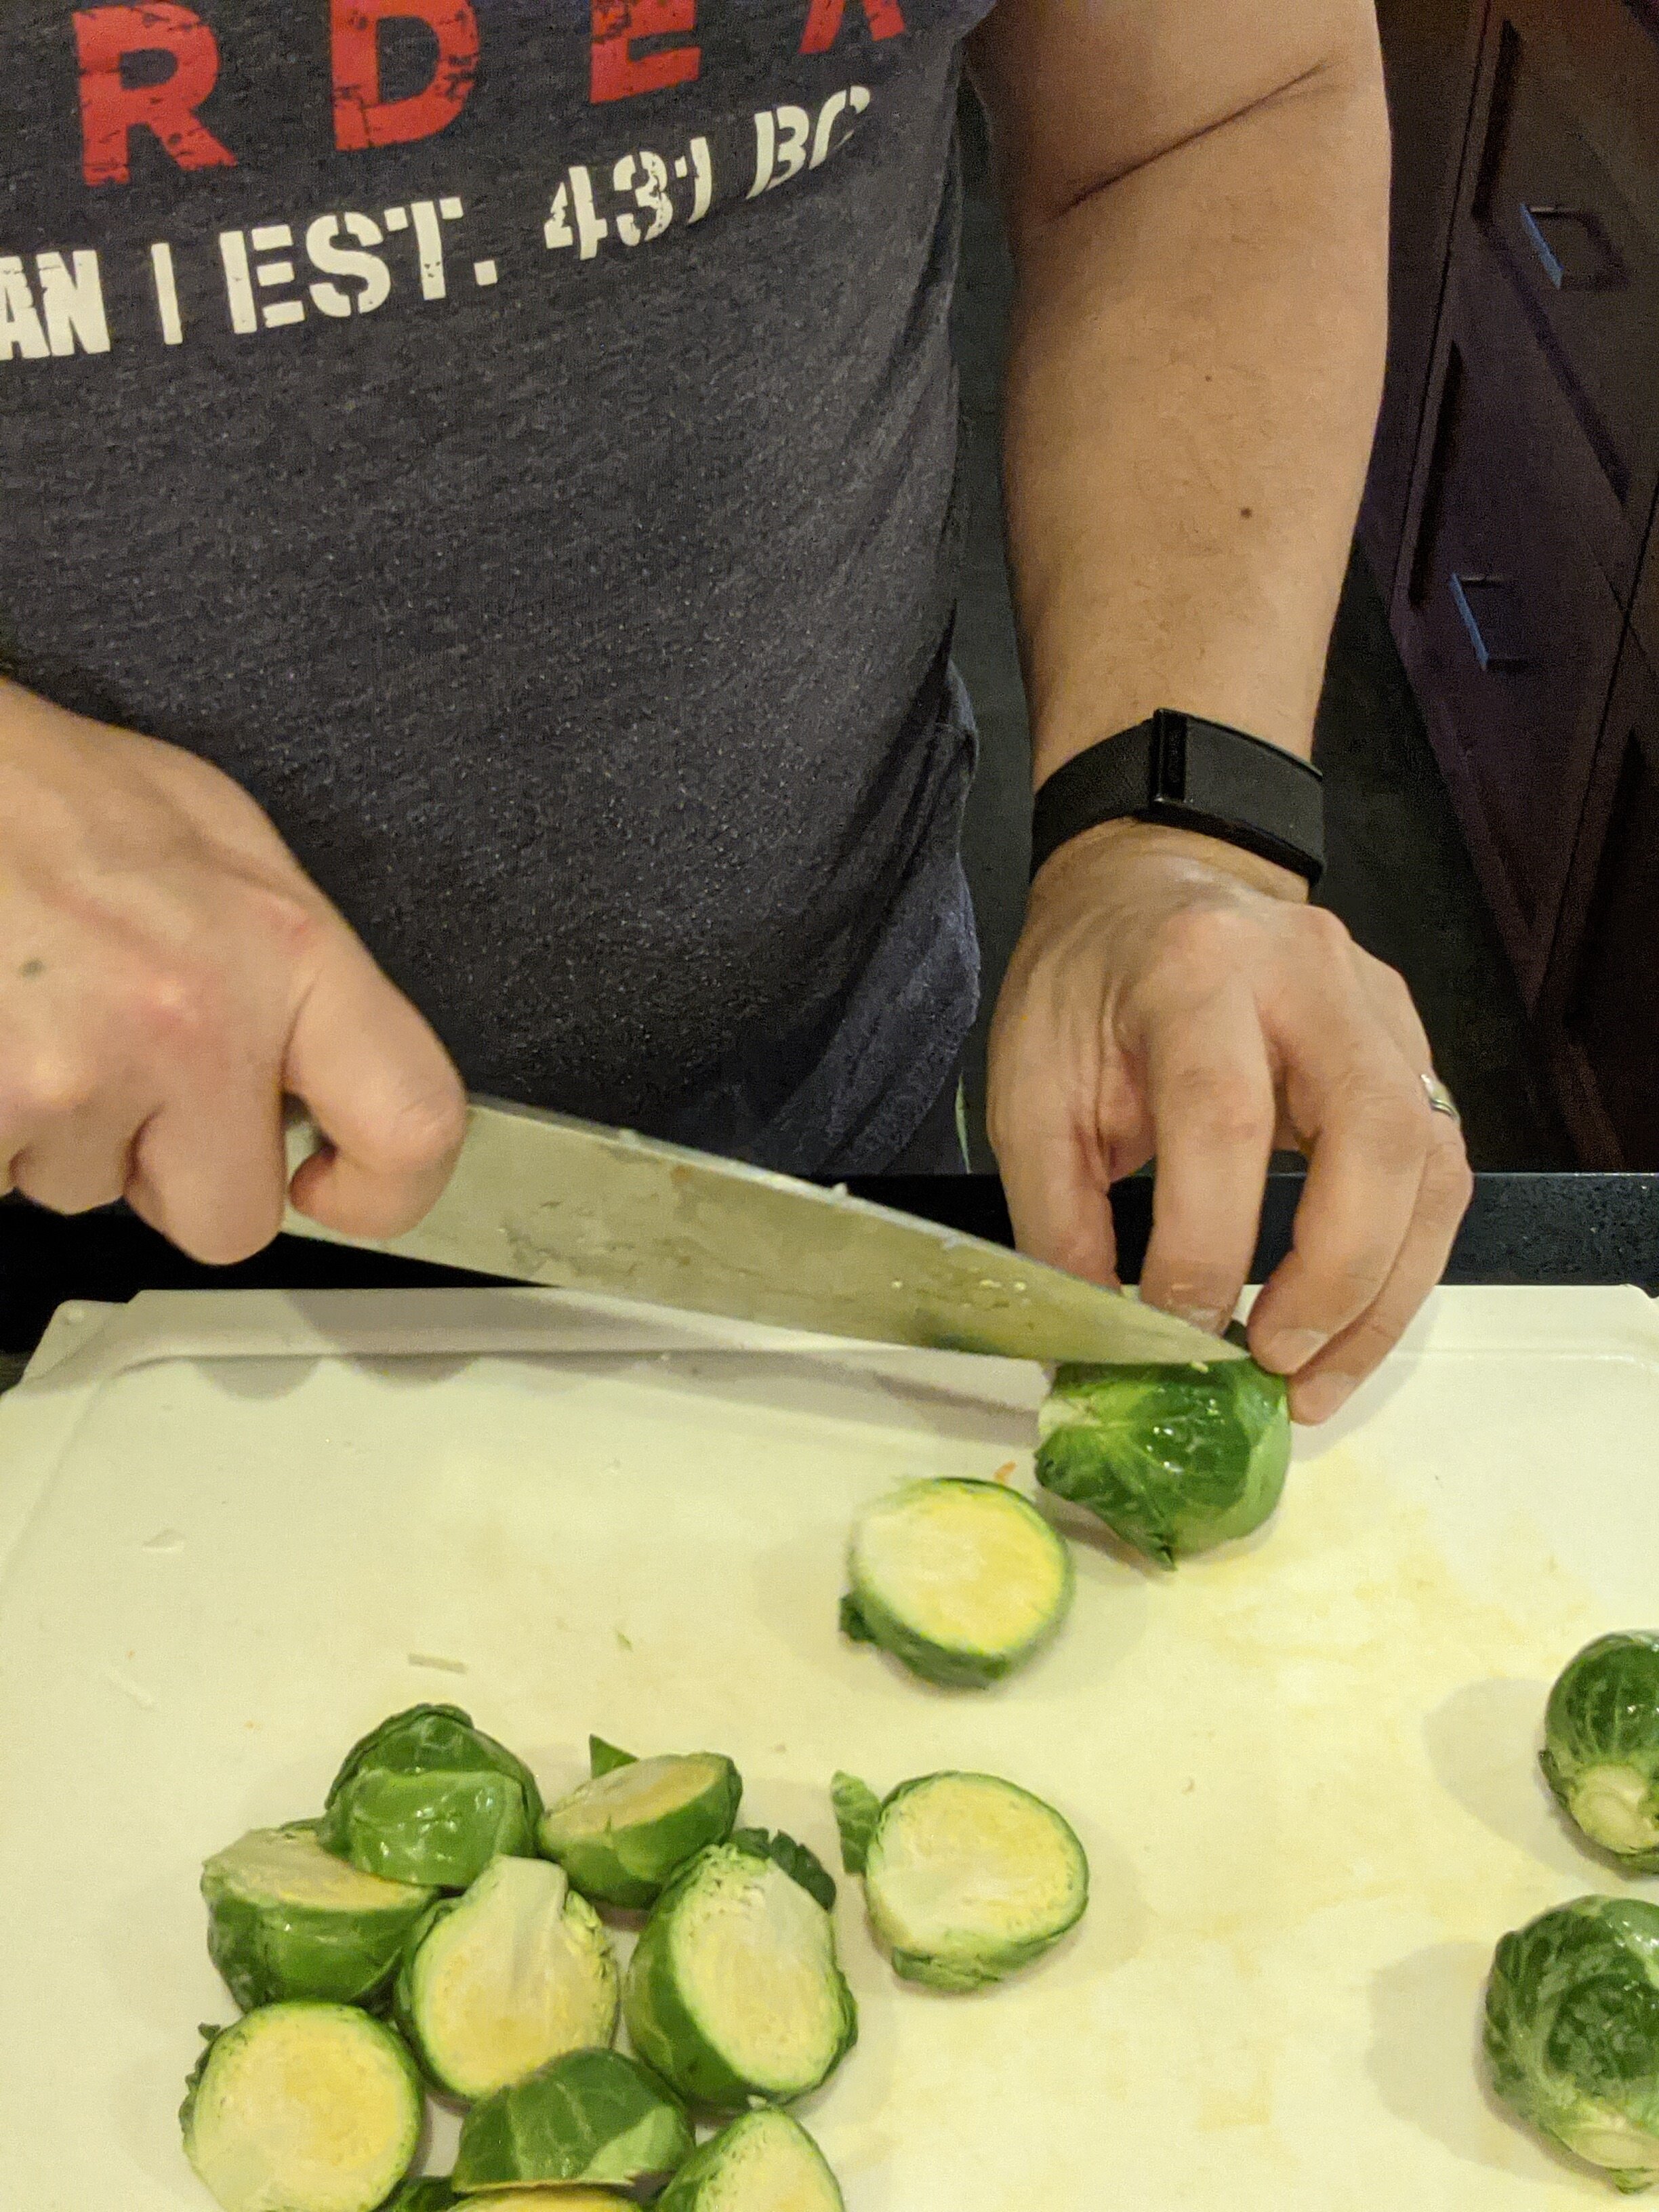
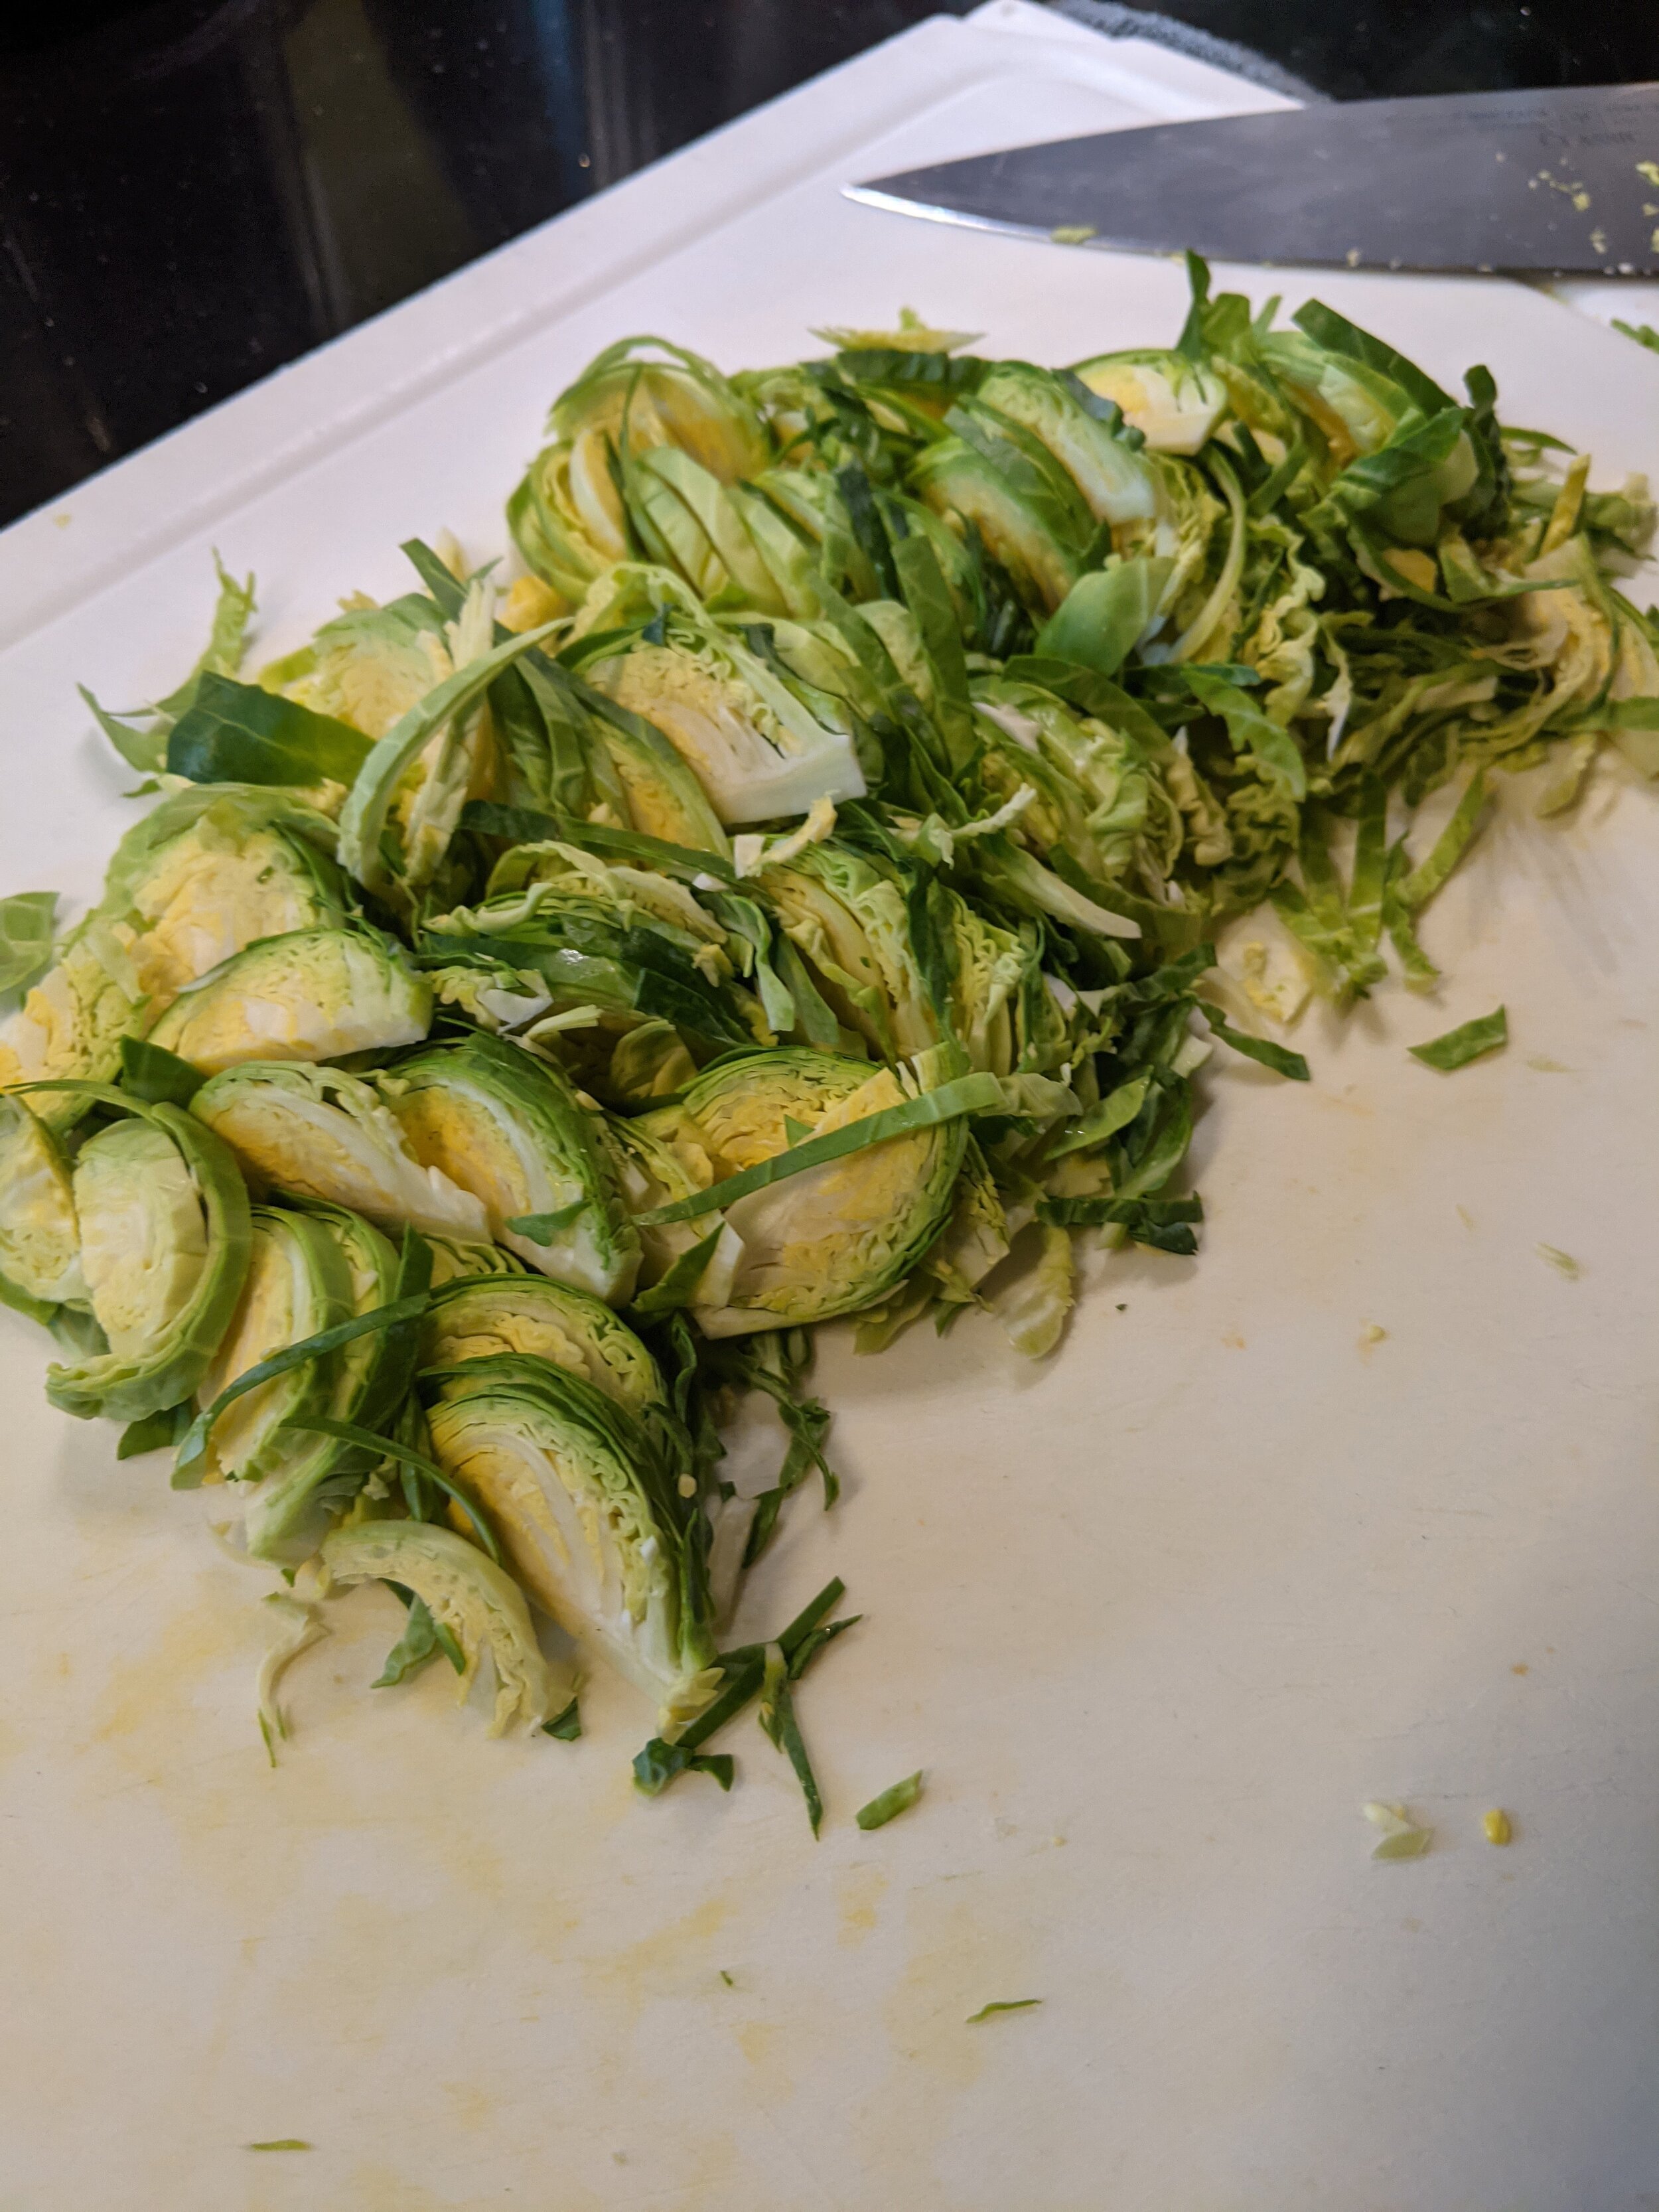
Step 2: Prepare the Brussels Sprouts (pictures below)
Trim the very tips of the stems off the sprouts with a knife, and discard them.
Cut each of the sprouts in half lengthwise.
Set 2/3 of the sprout halves aside in a bowl (these will be blanched and roasted later).
Thinly slice the remaining 1/3 of the sprouts lengthwise, and set aside in a container (these will be stir-fried later in the week).
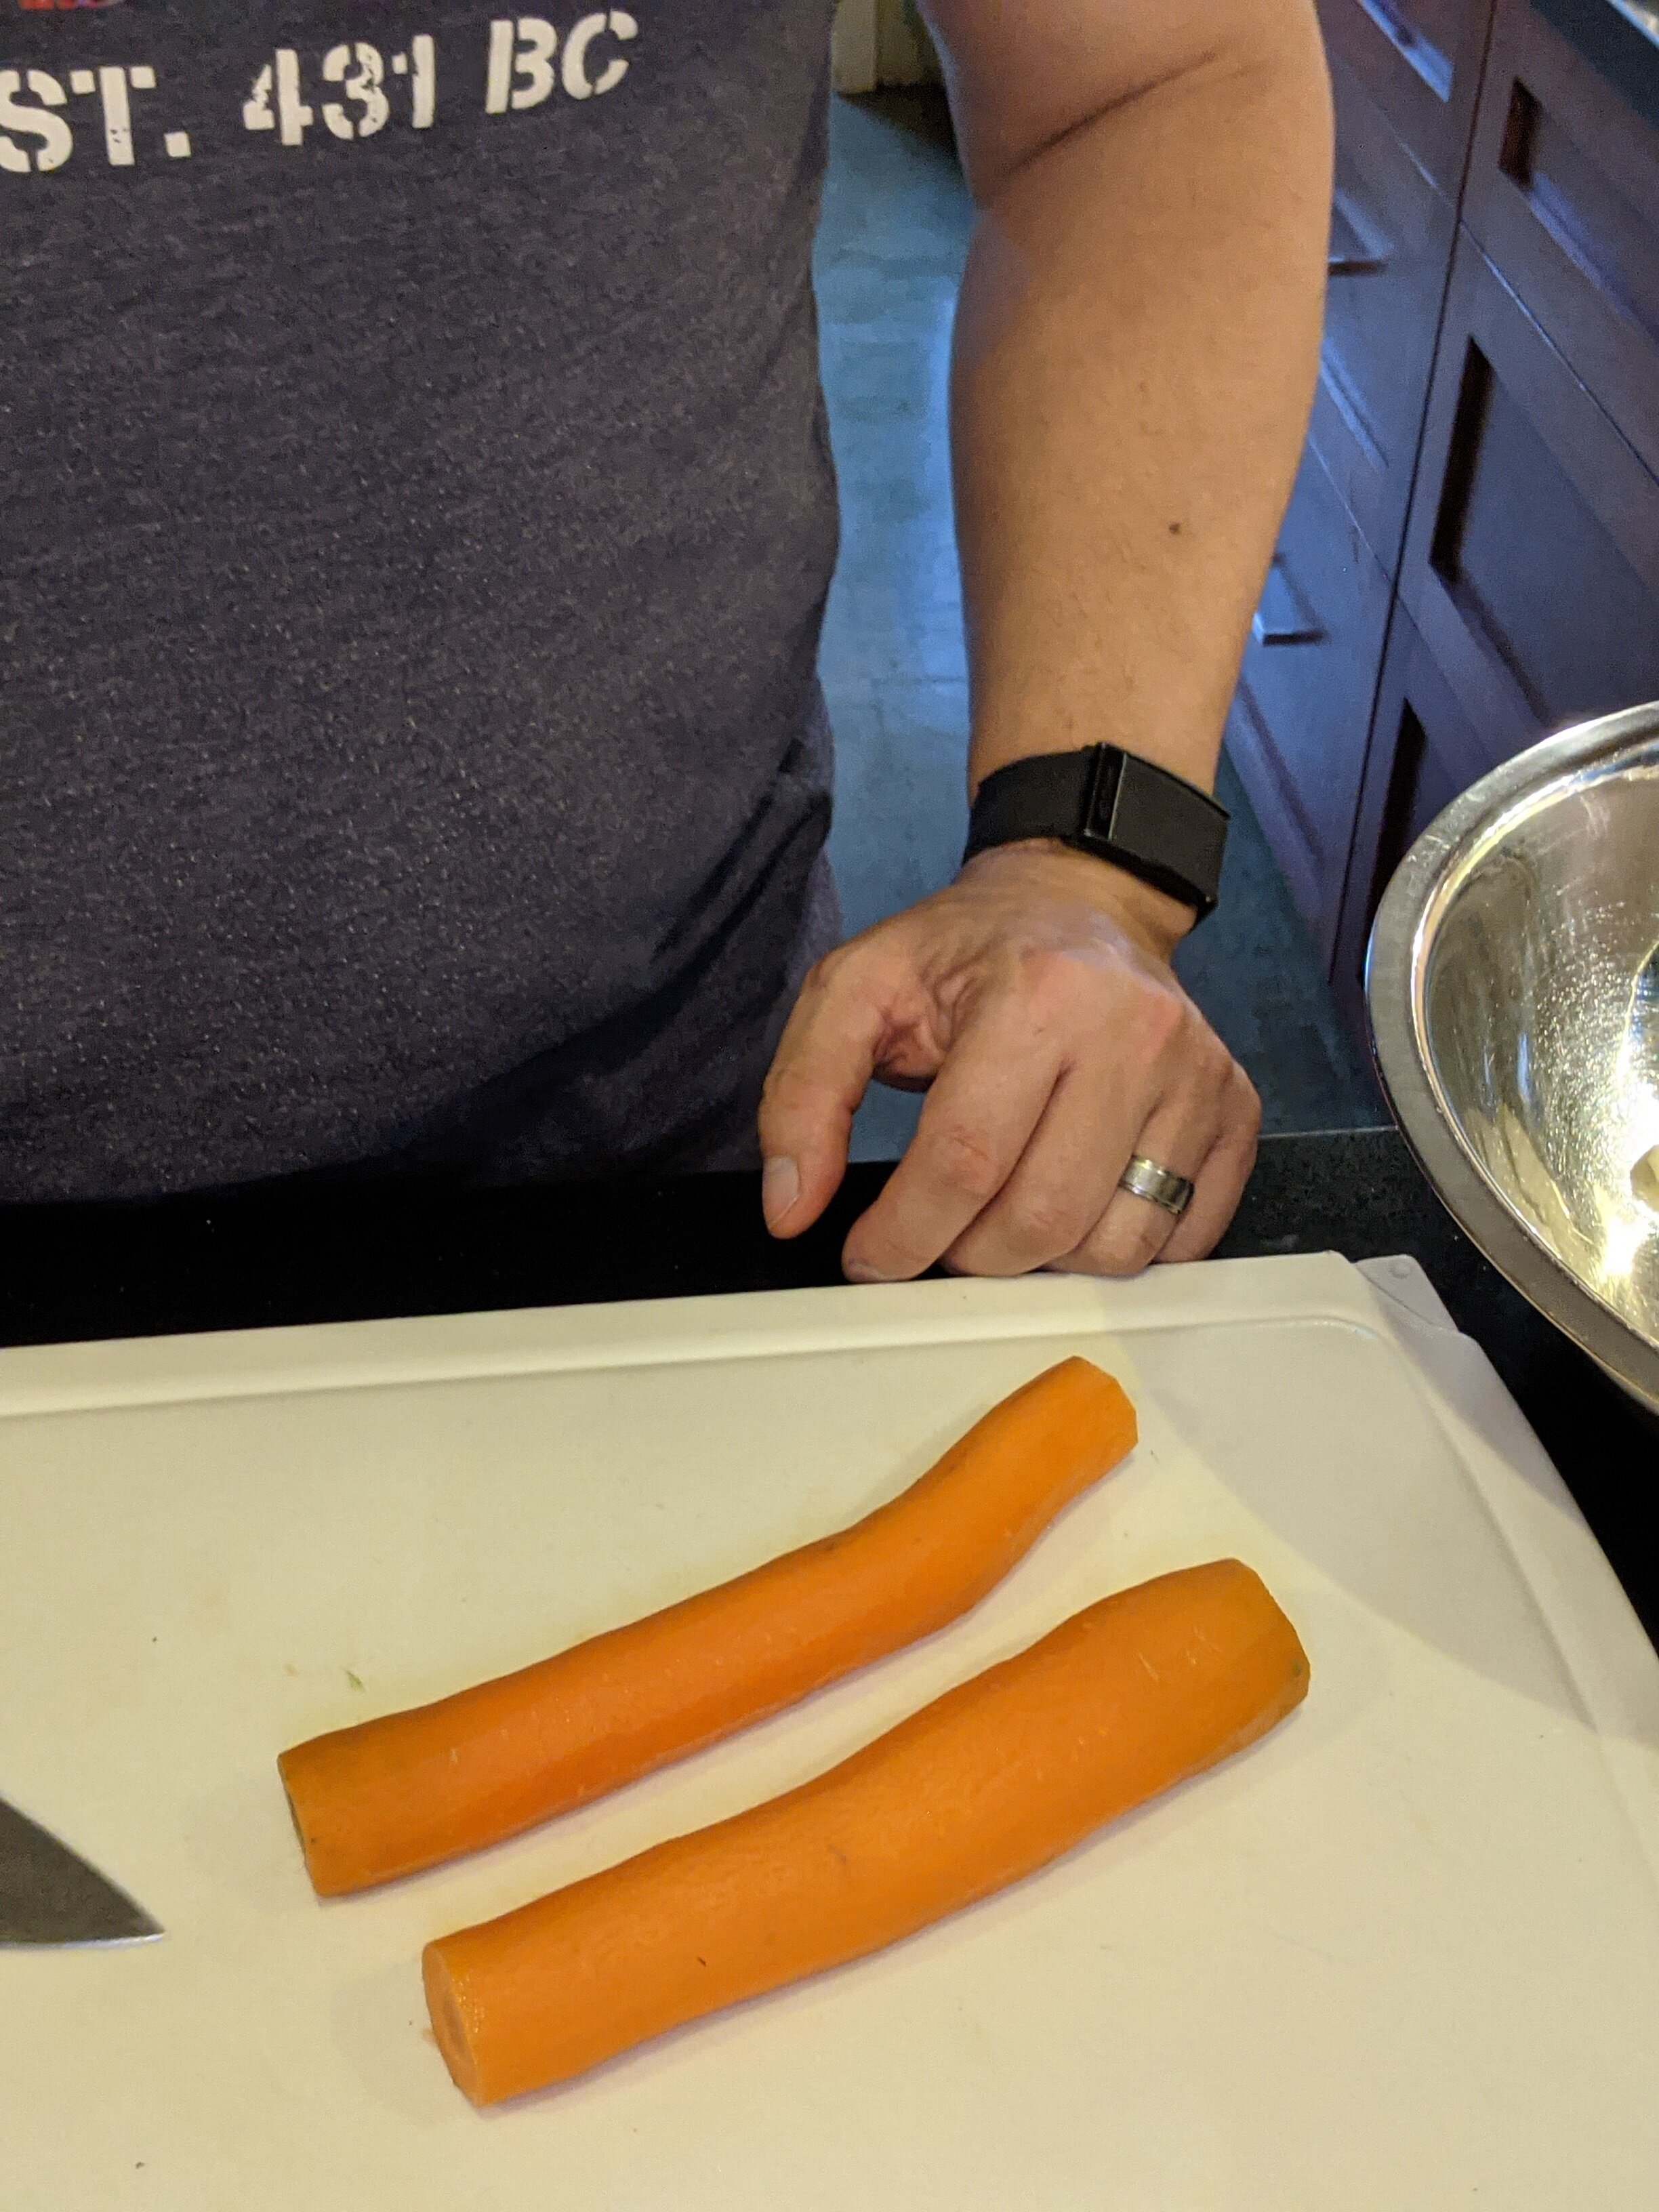
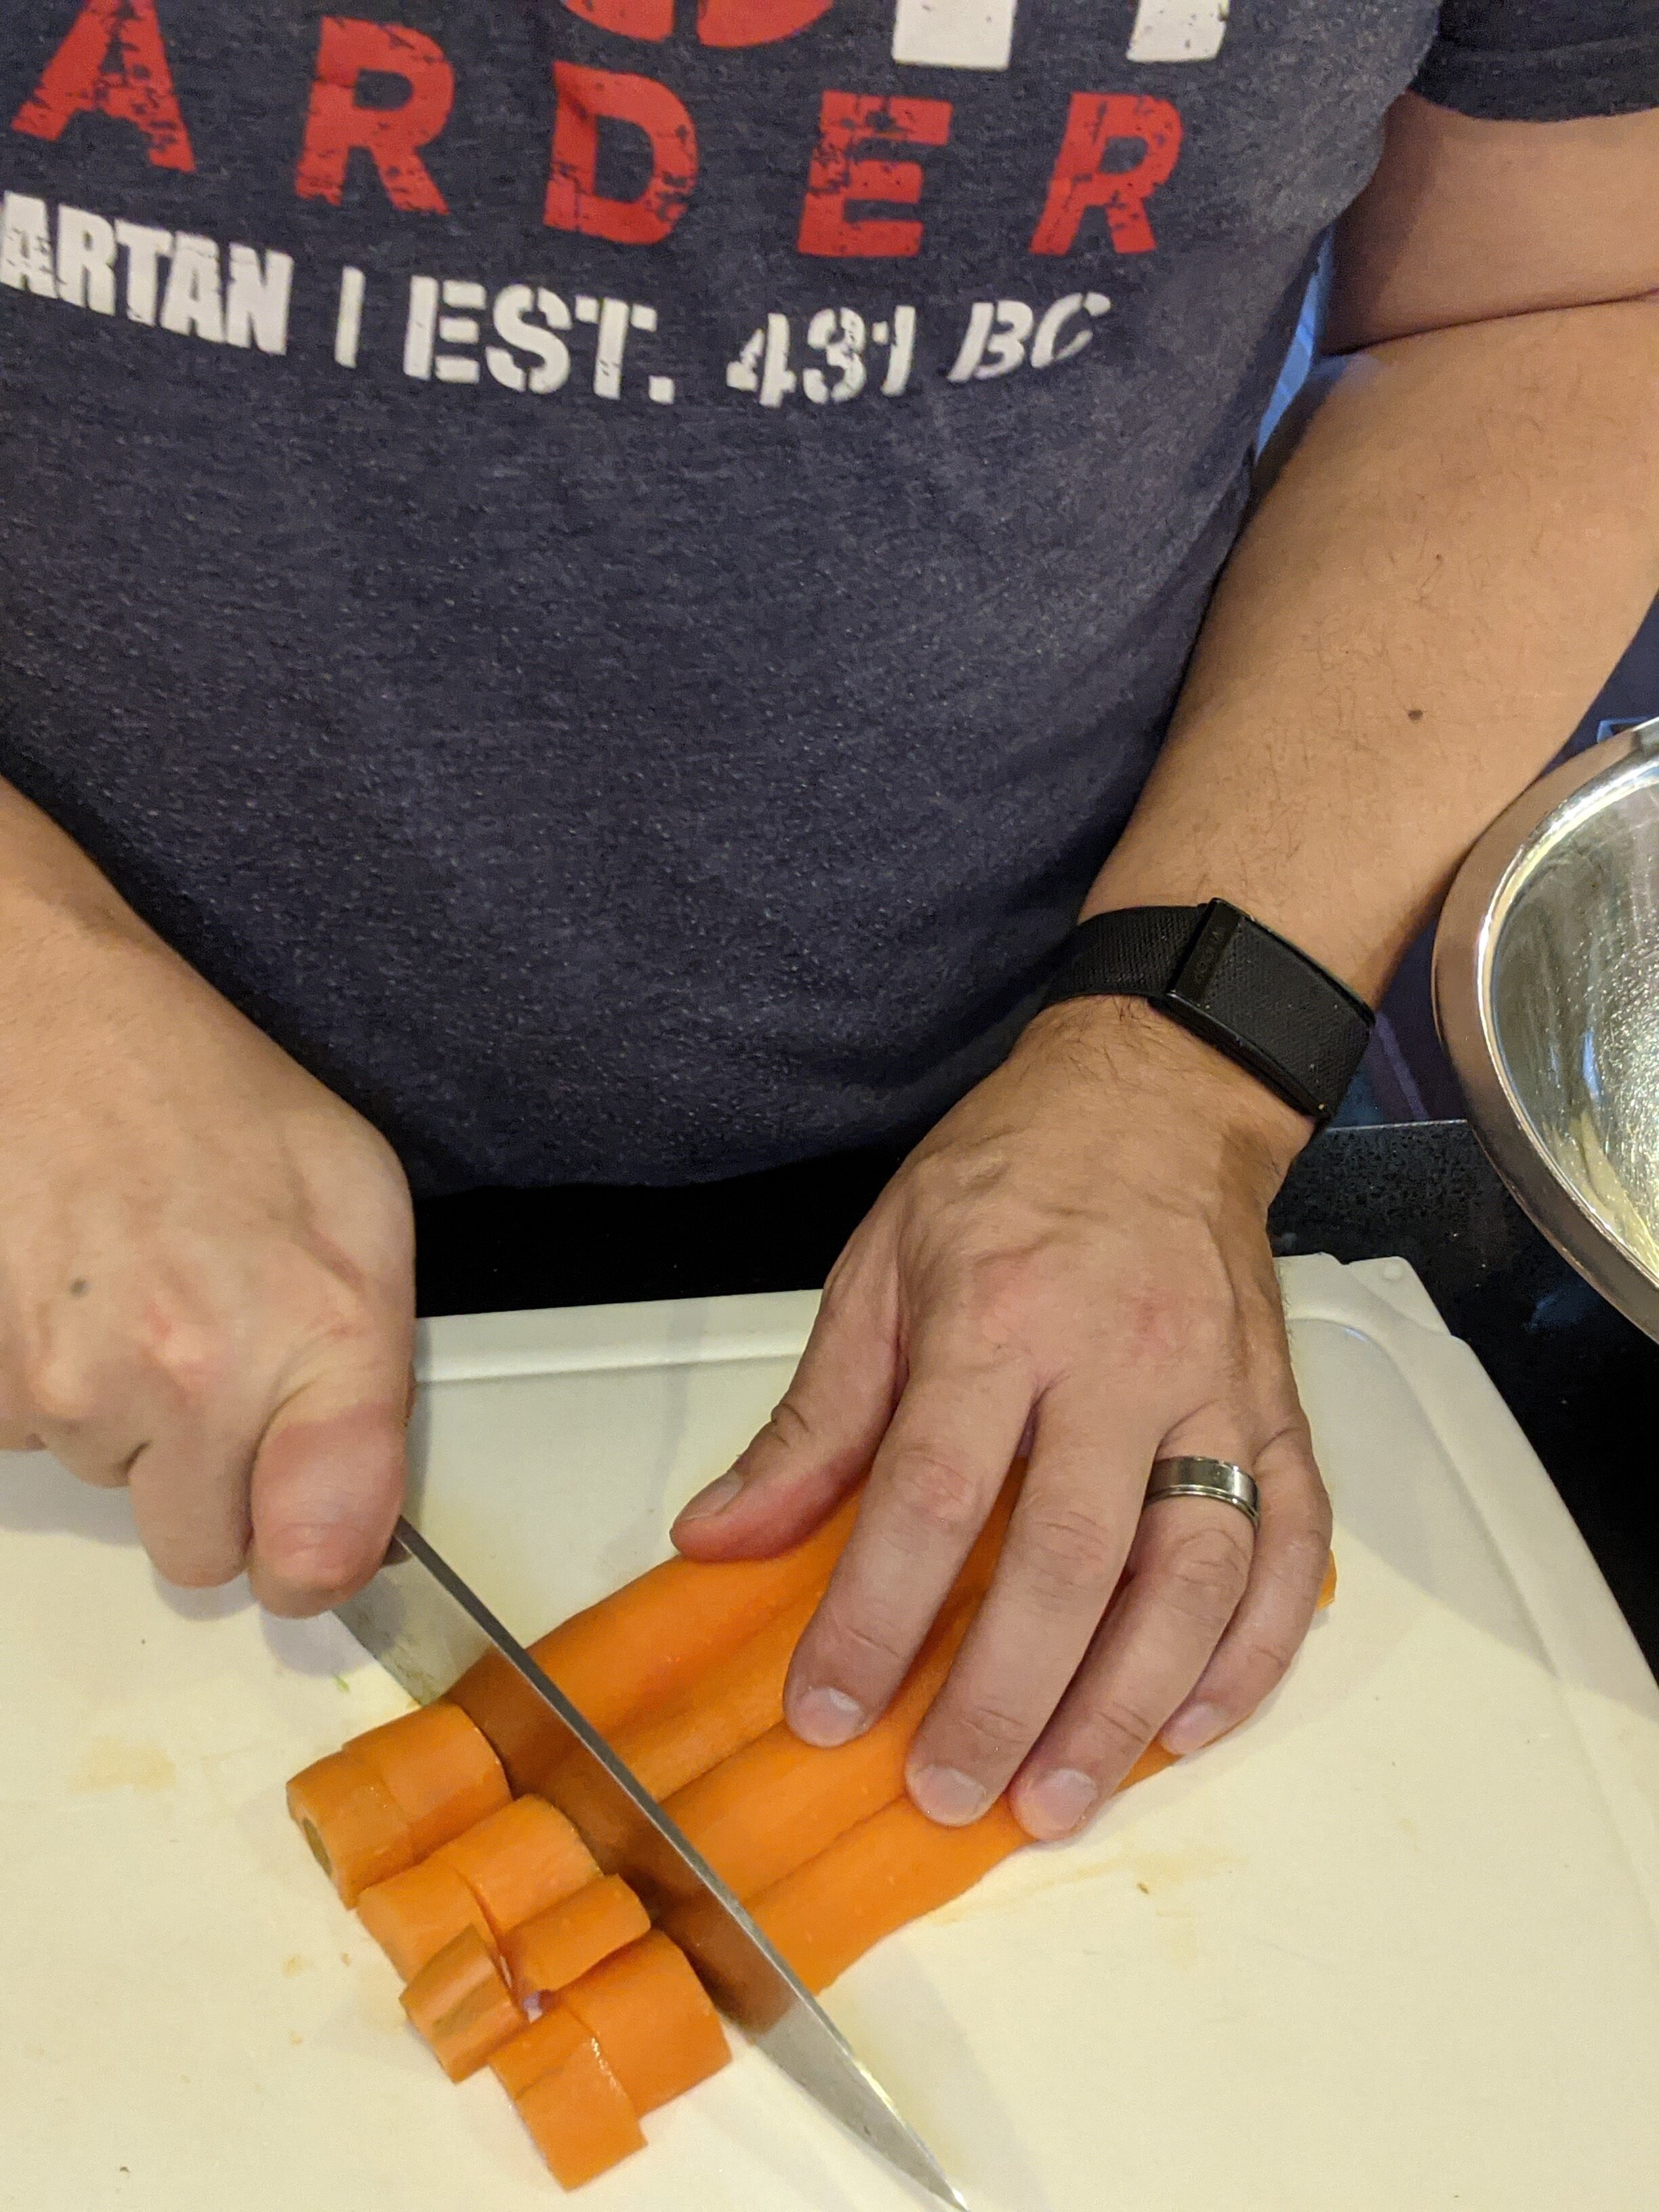
Step 3: Prepare the Carrots (pictures below)
Peel the carrots, discarding the peels, then trim the stem ends (and tips if they look a bit gnarly) and discard those as well.
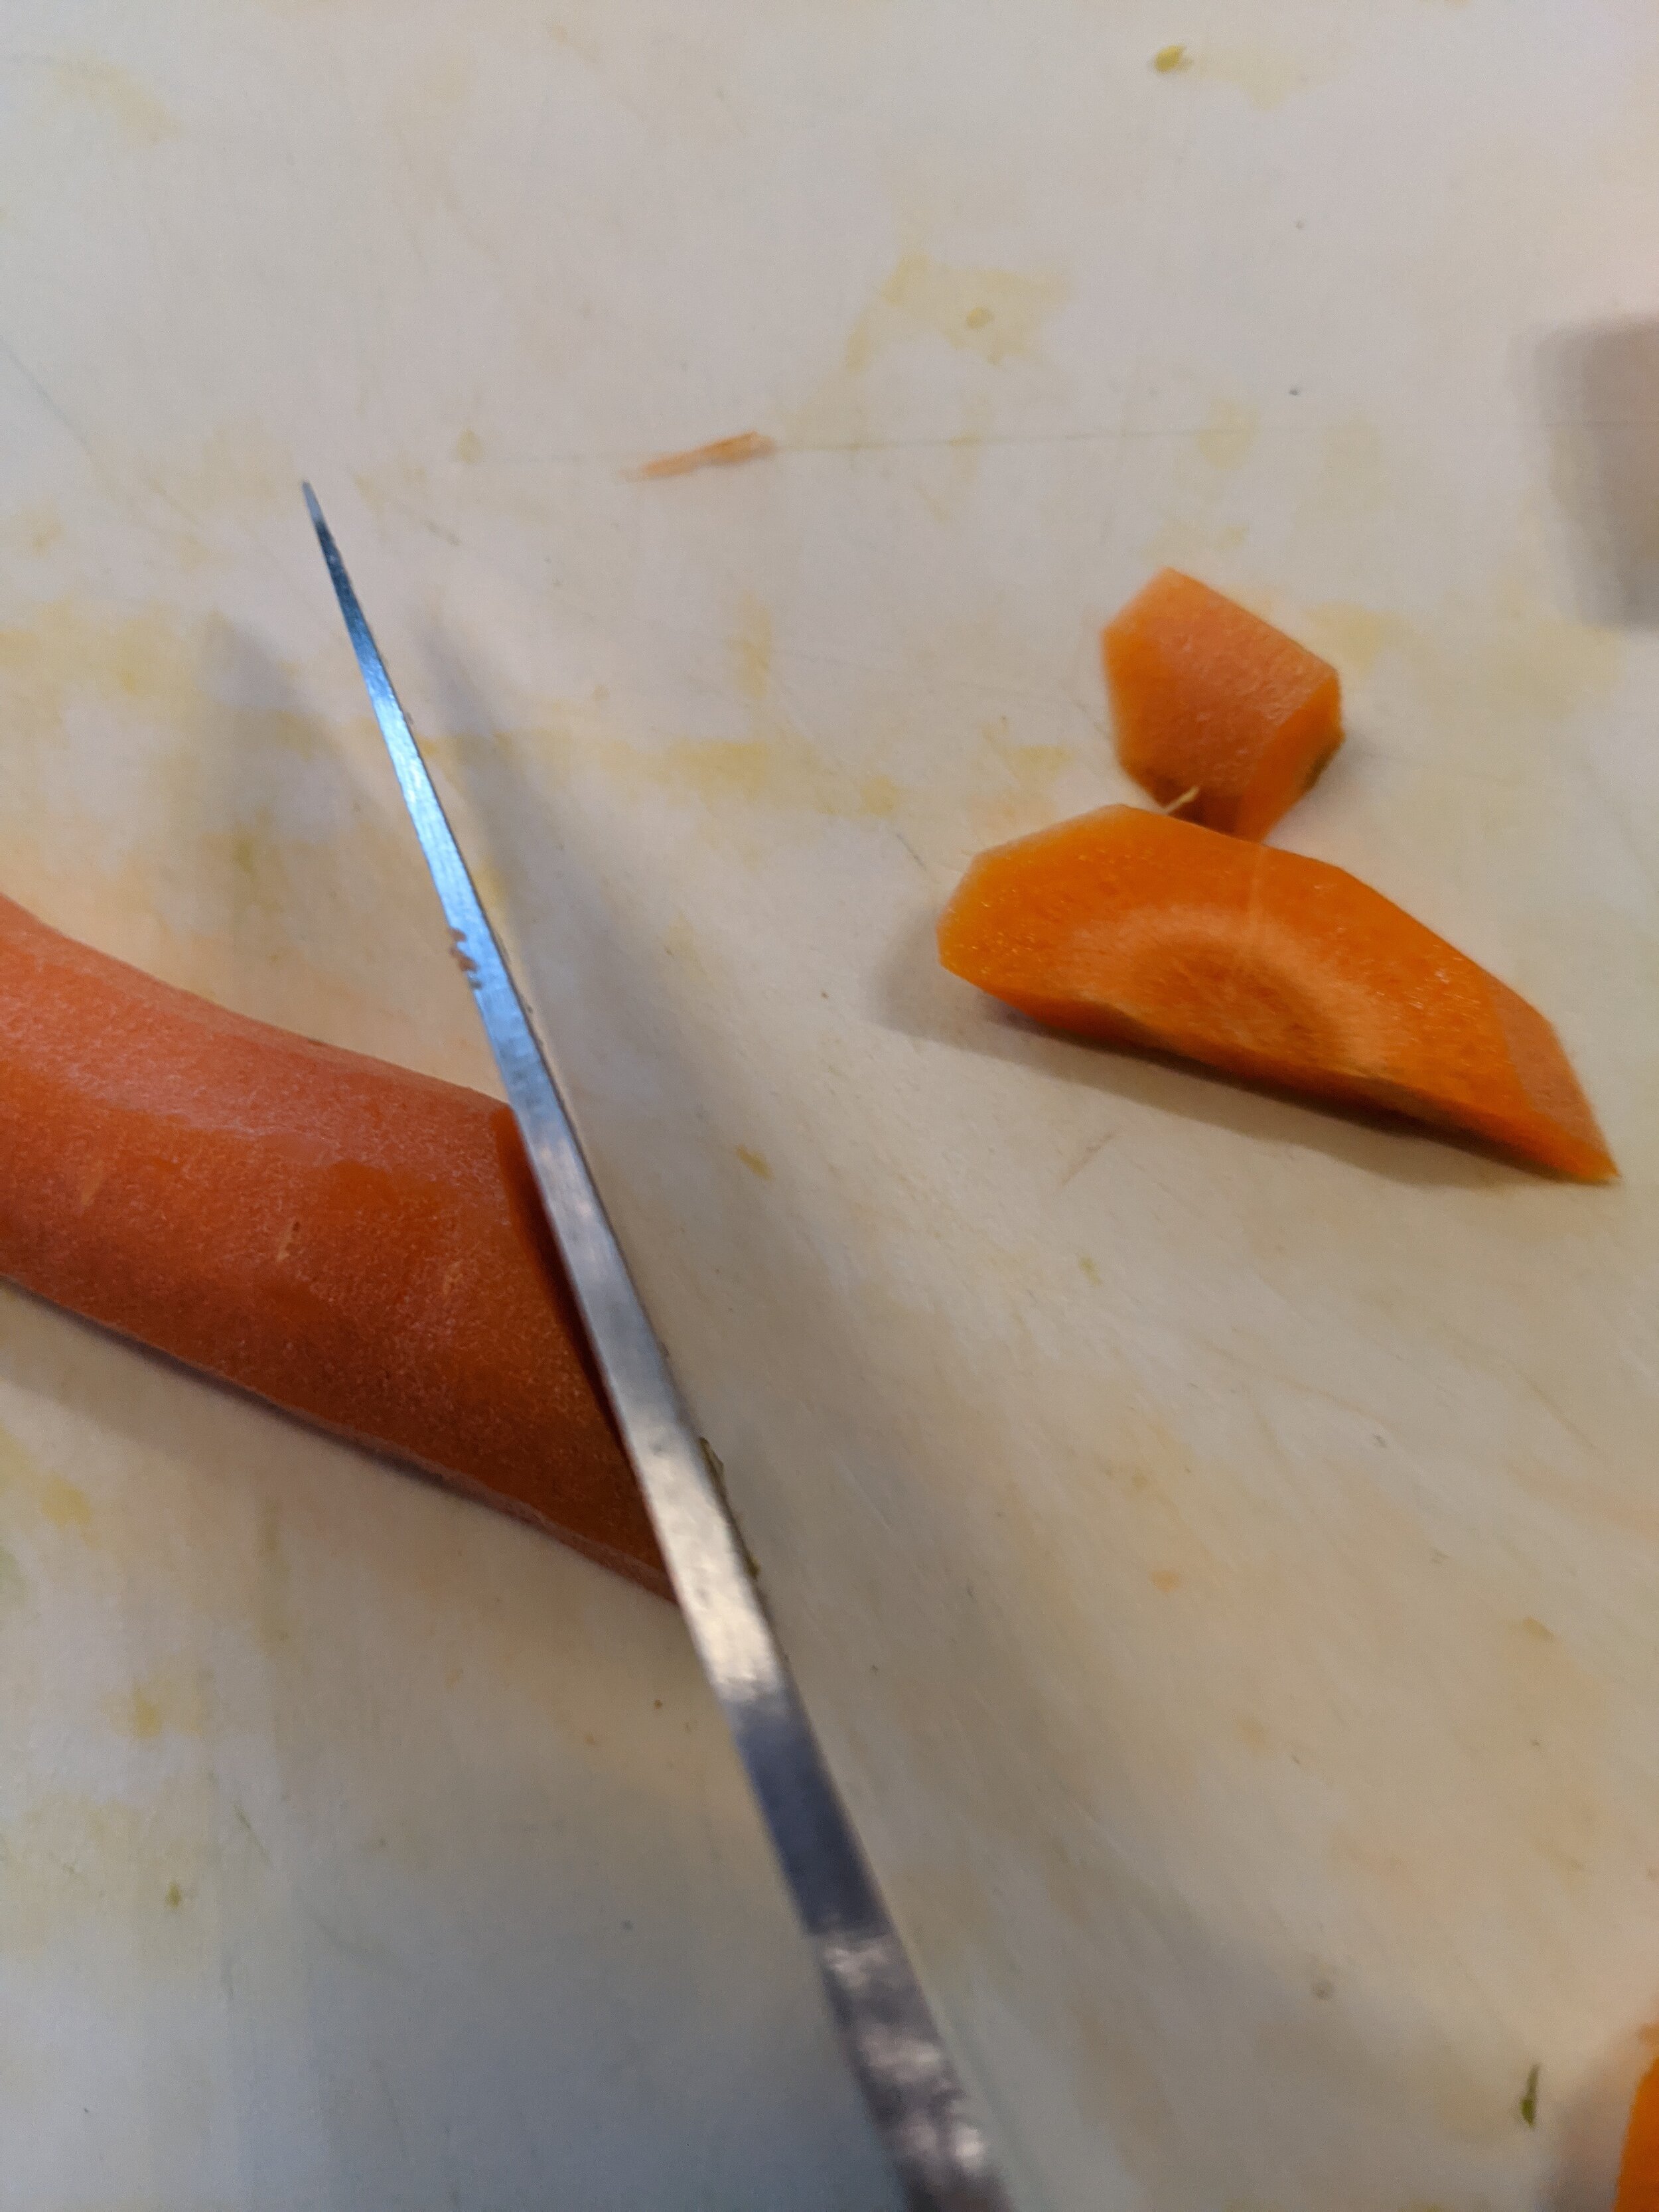
Cut the carrots into half crosswise (or just trim them to 2/3 the length of your knife). We do this to make the length manageable for the next step.
Cut each of the lengths into half lengthwise. We do this so the carrot pieces have a flat size for further prepping, to keep you from having to deal with a bunch of rolling-away carrot disks.
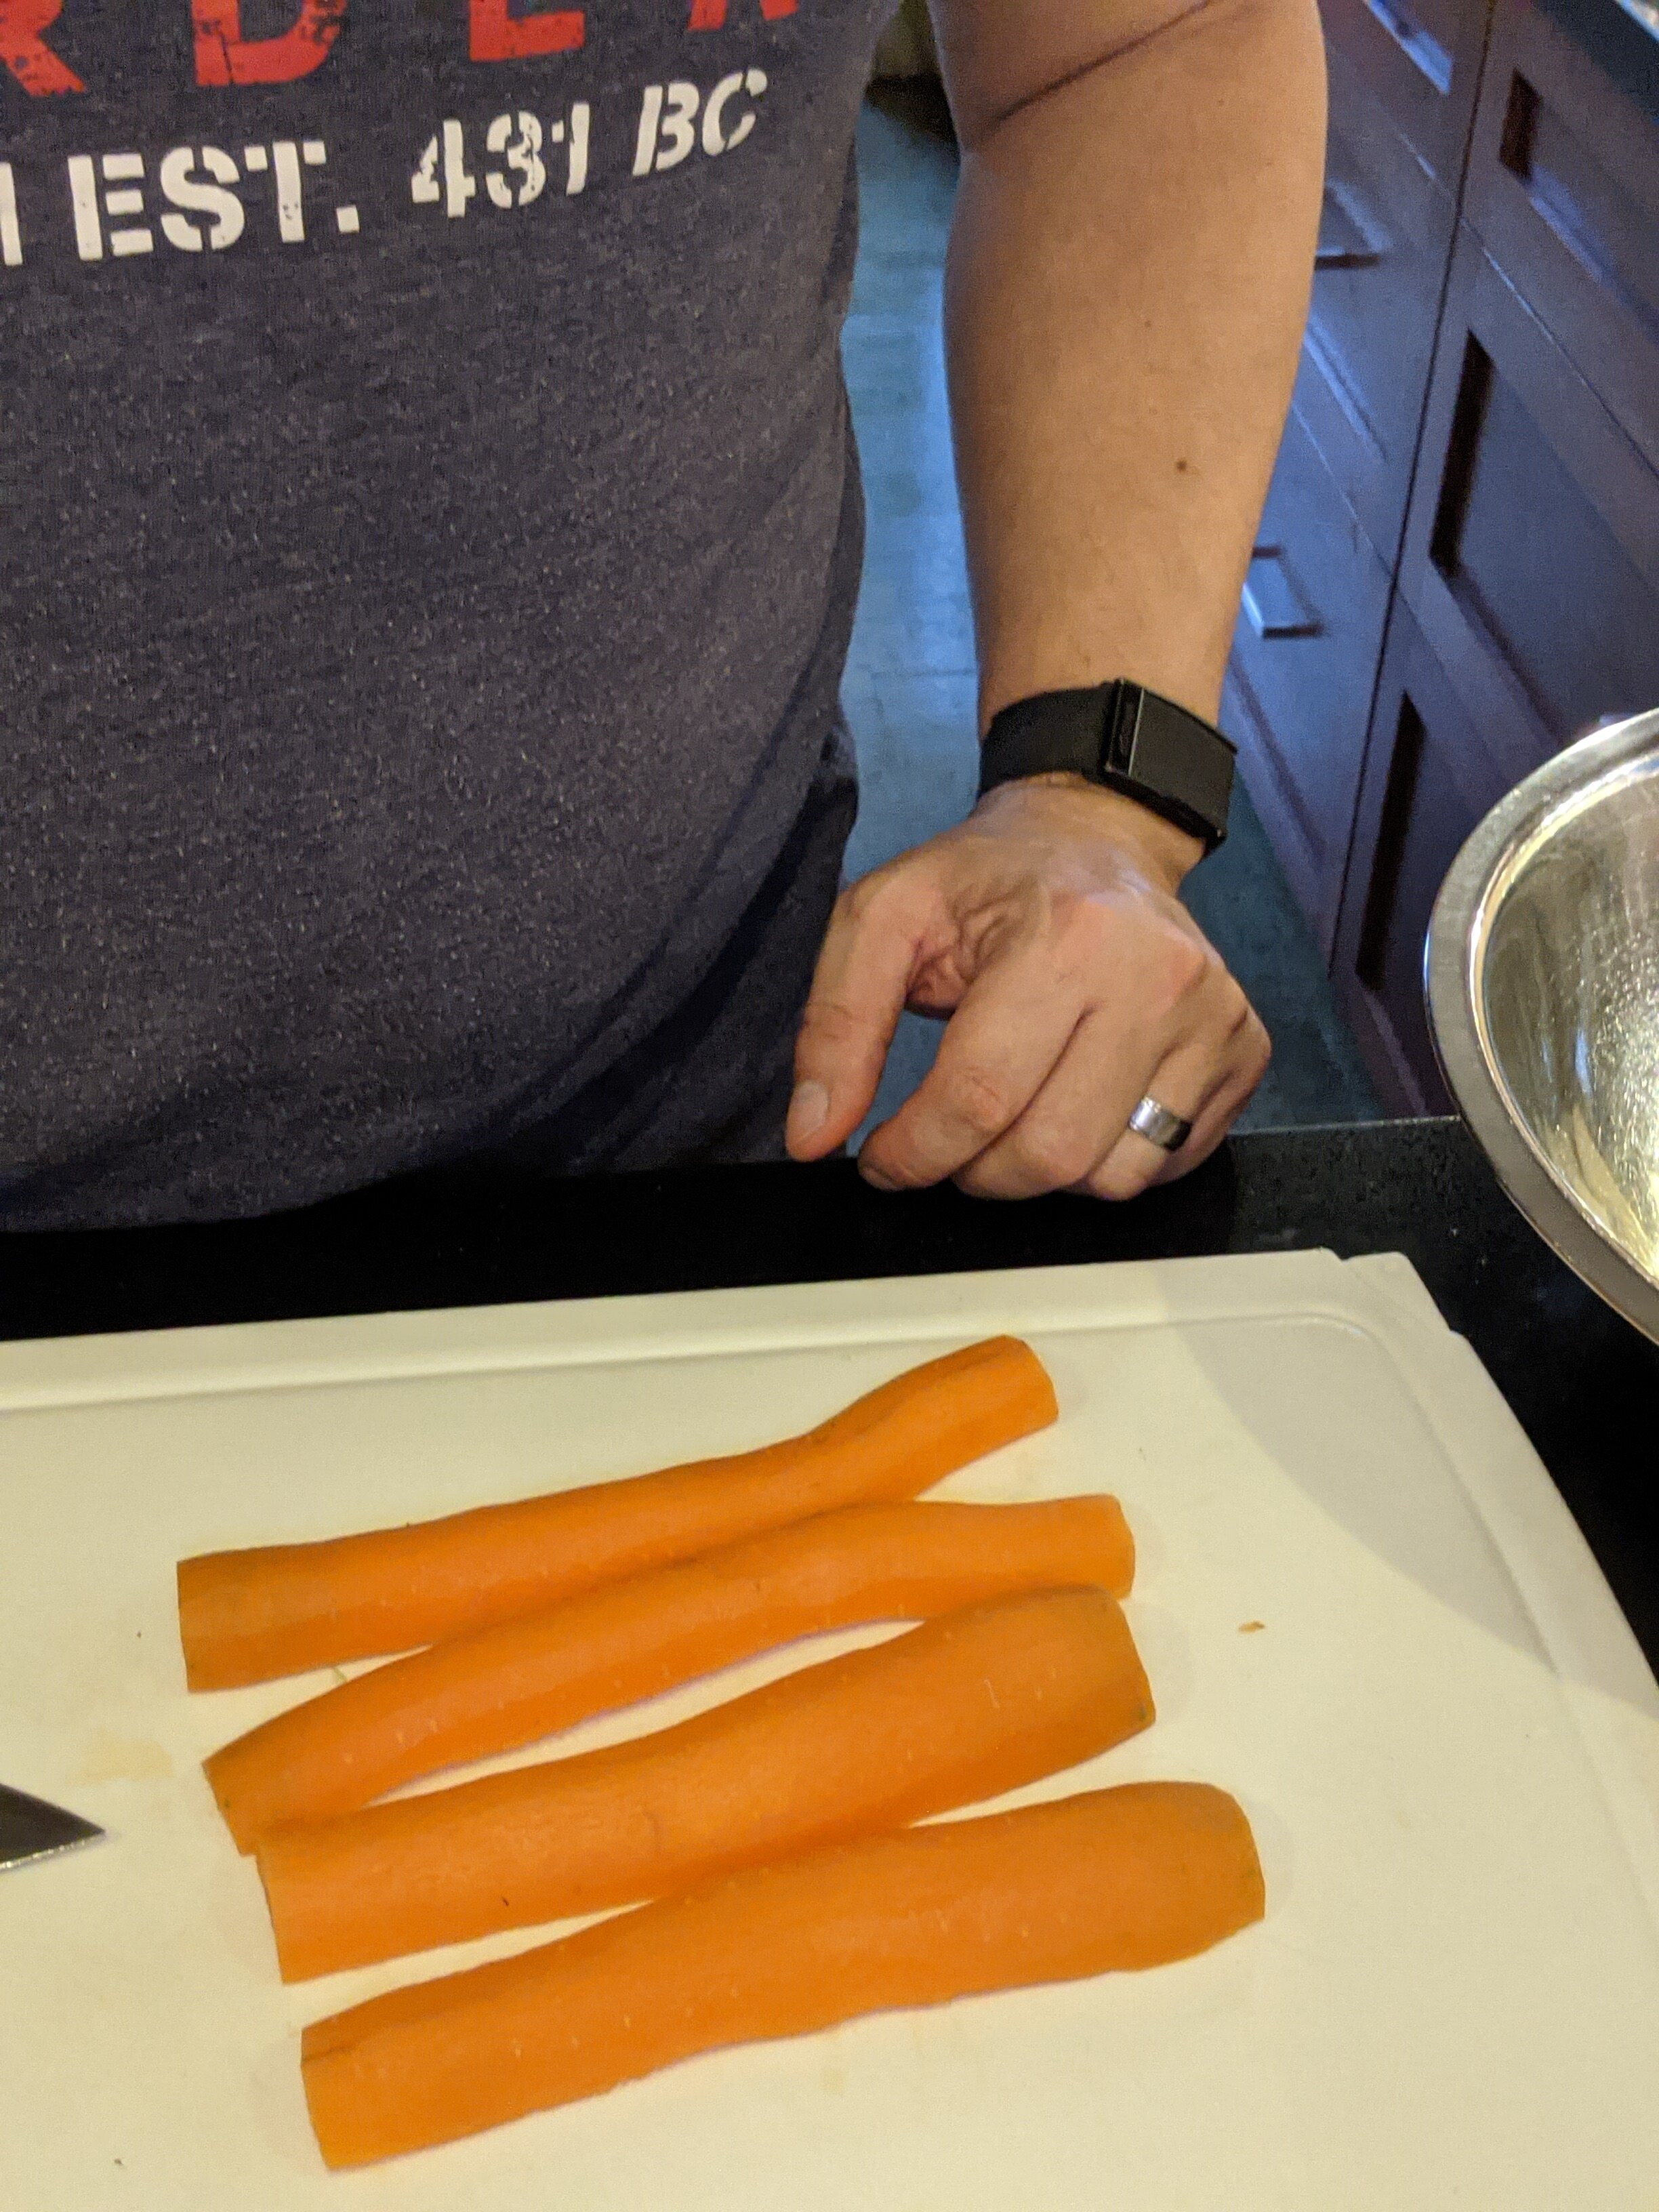
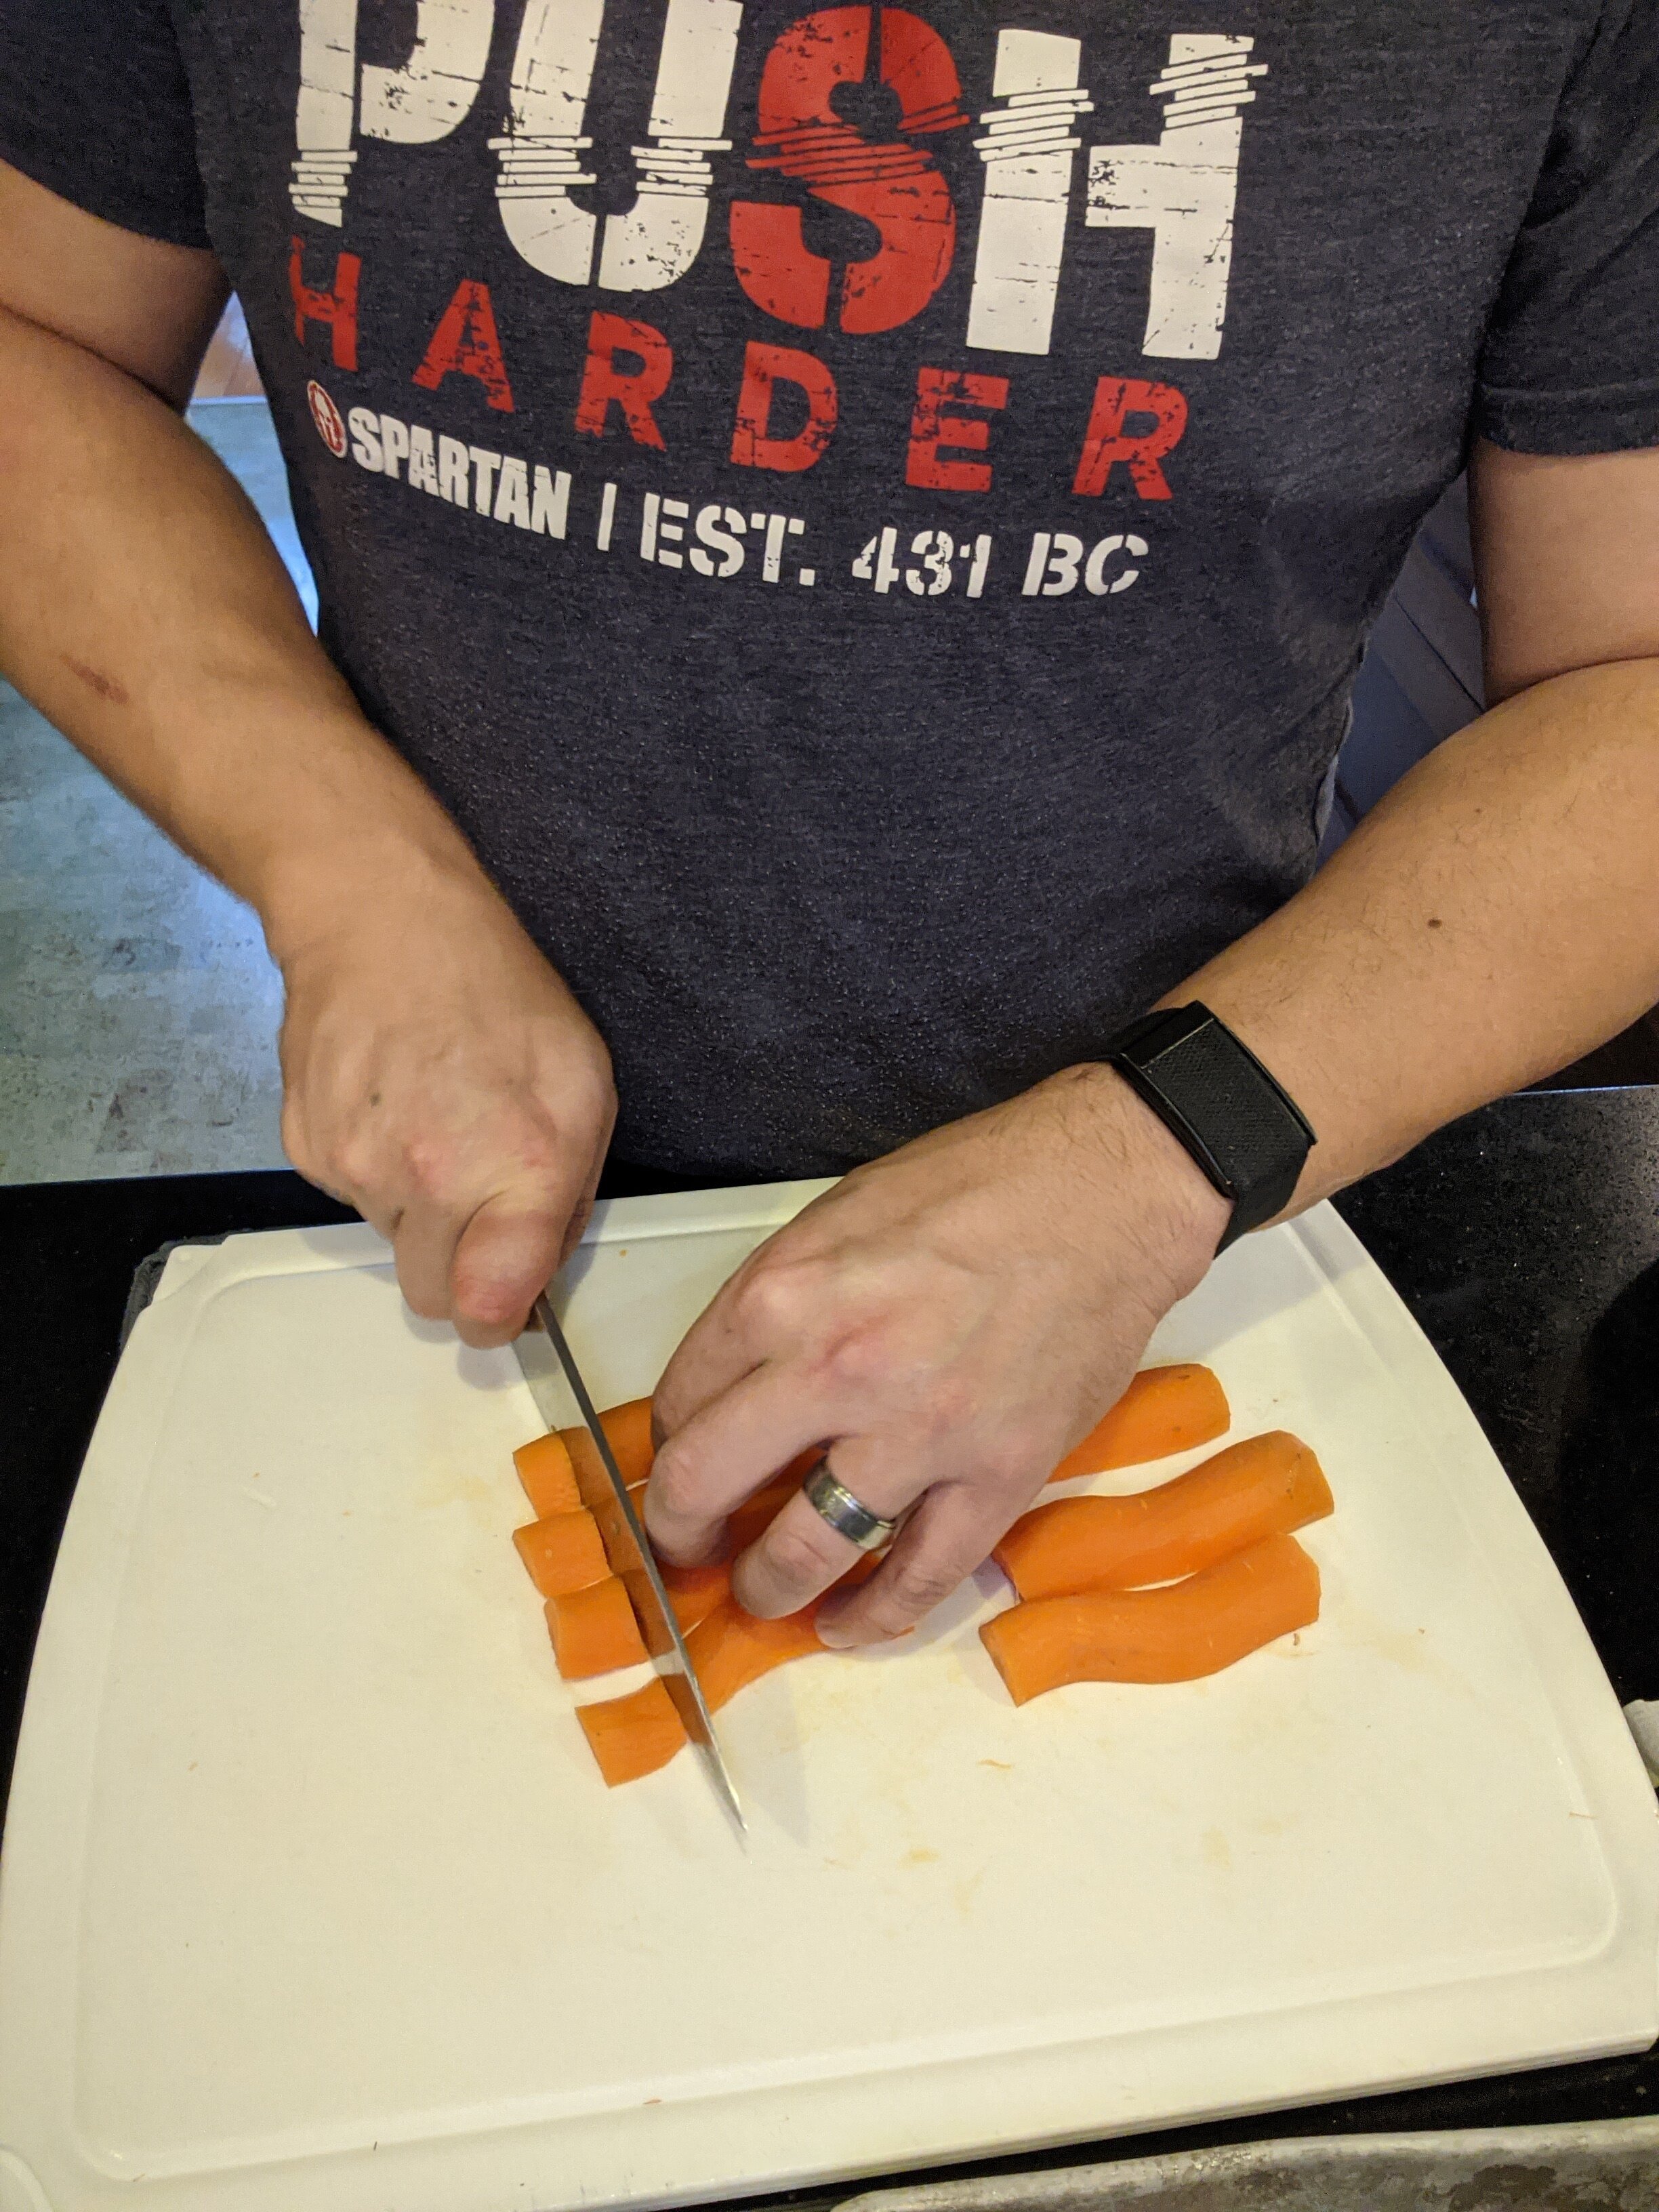
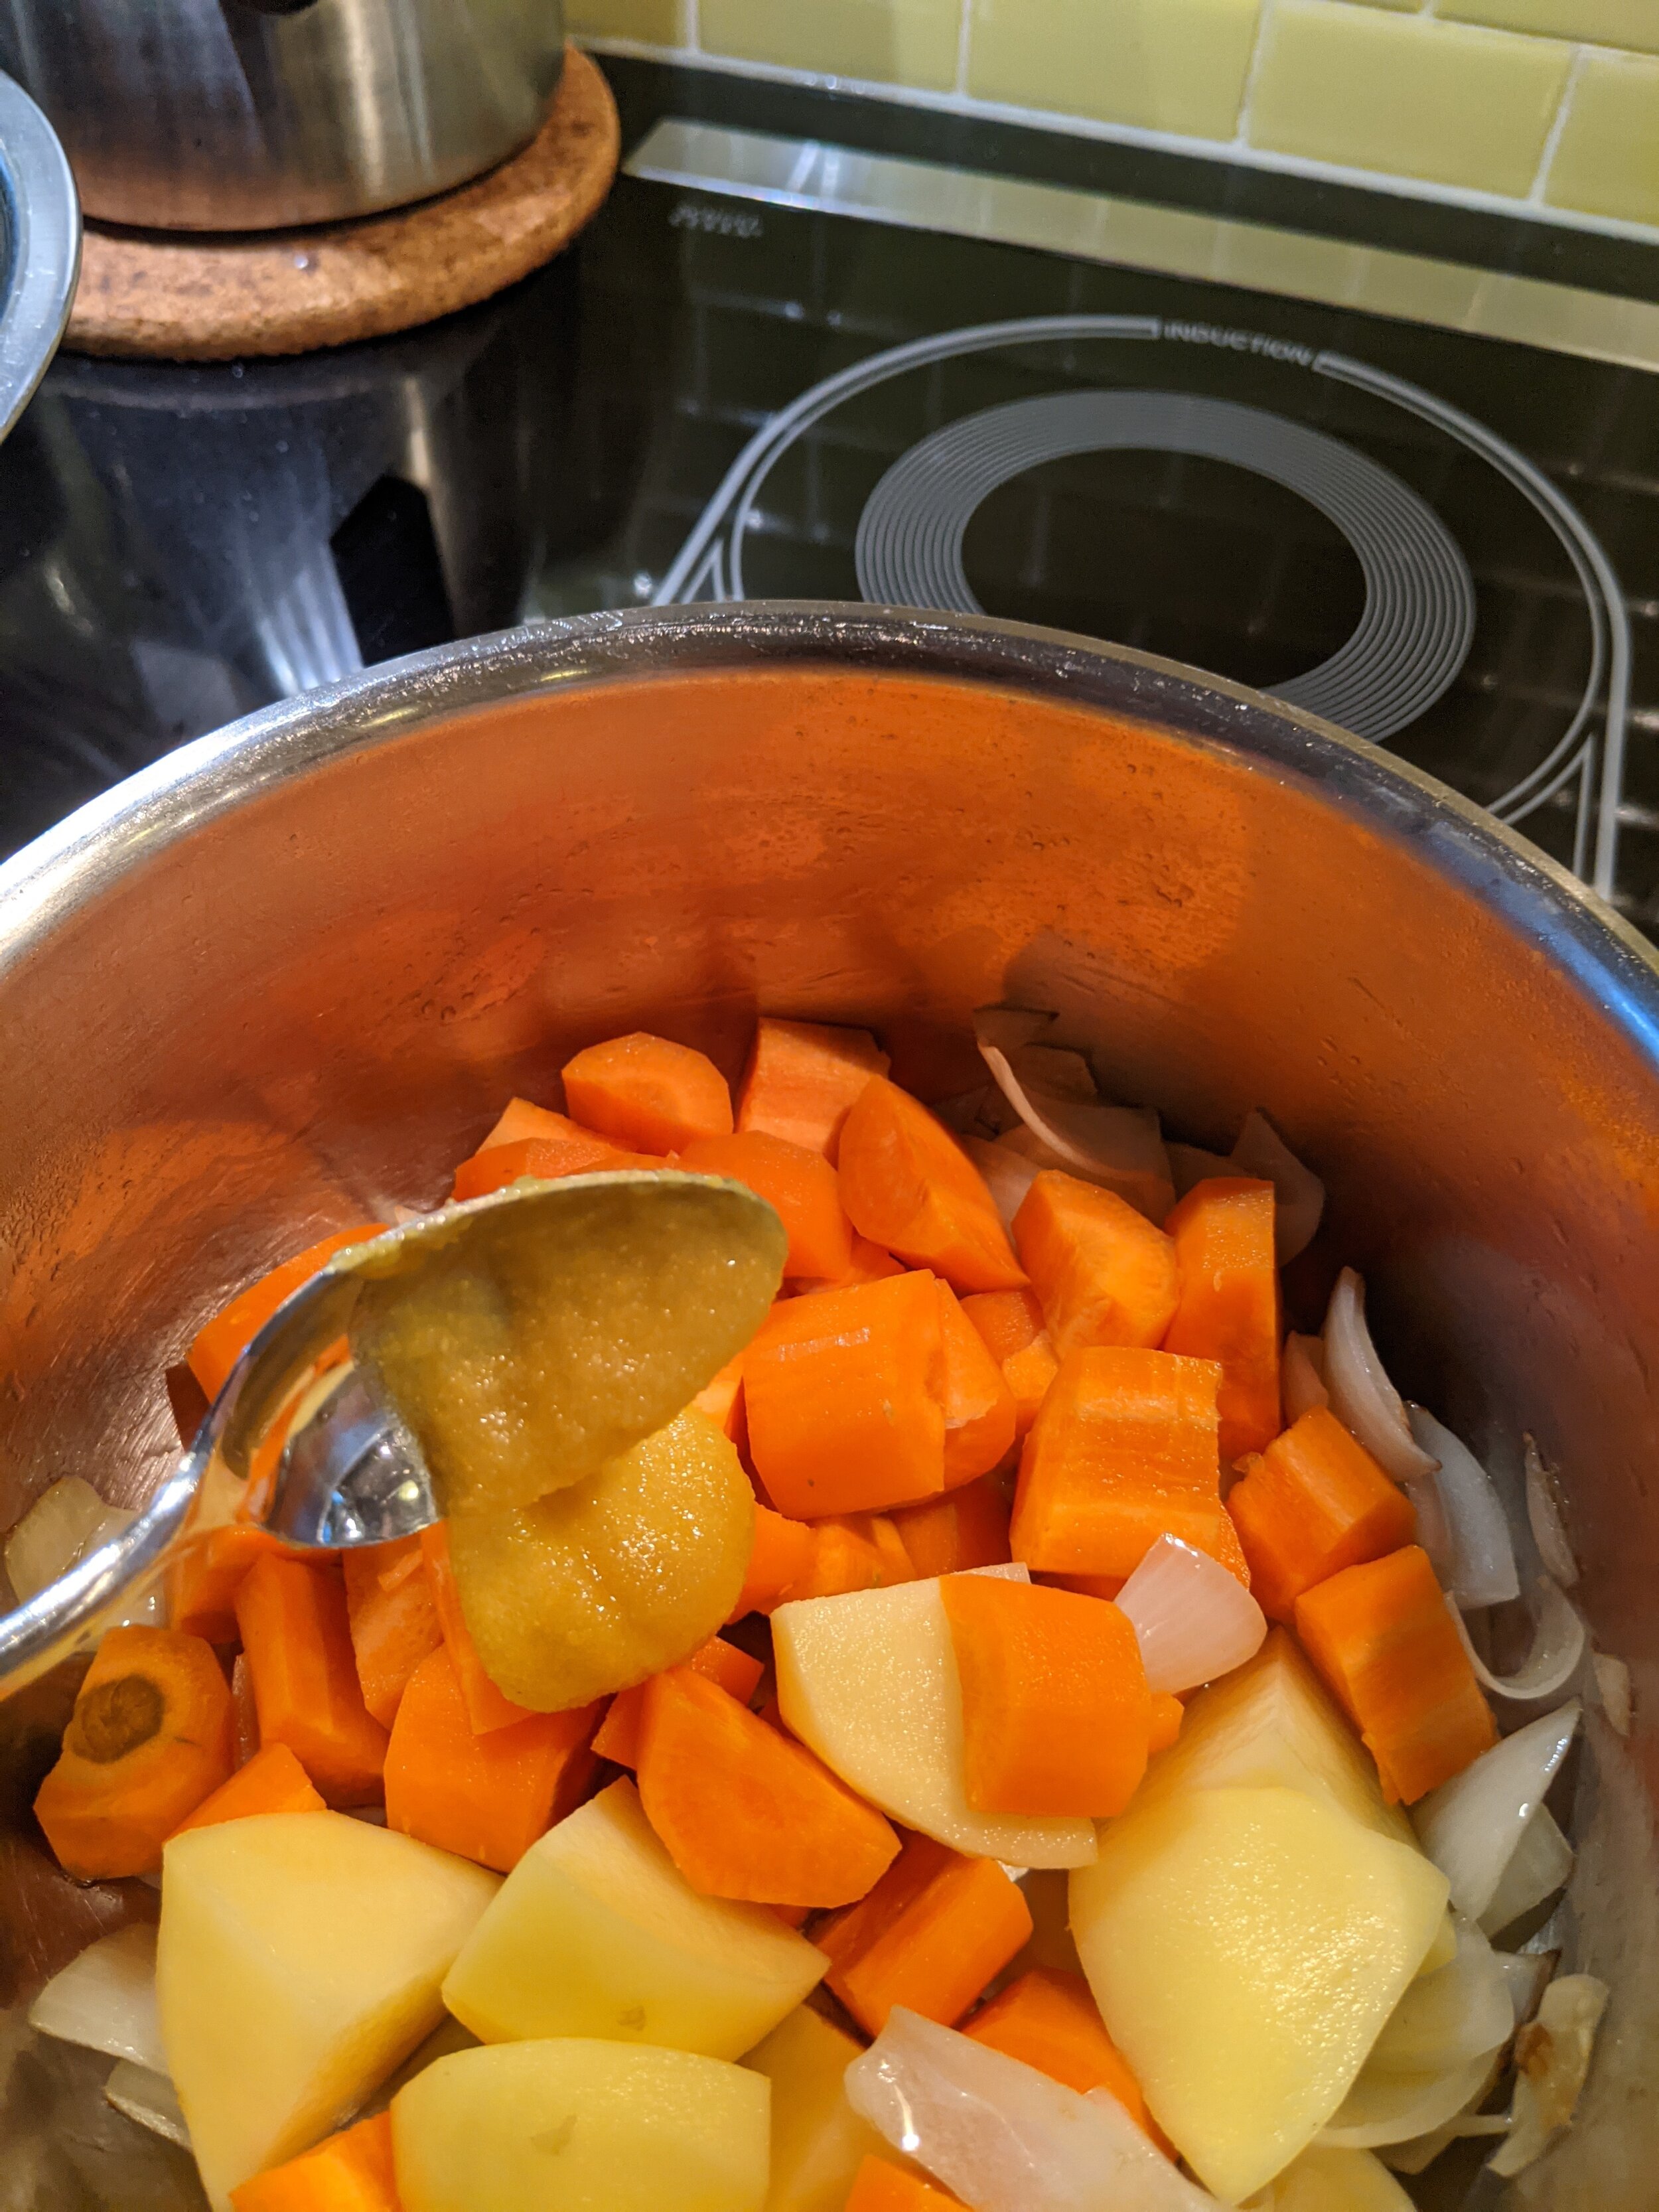
Take two carrots’ worth of pieces, and roughly chop them into chunks. Set these aside in a bowl - these are for the soup.
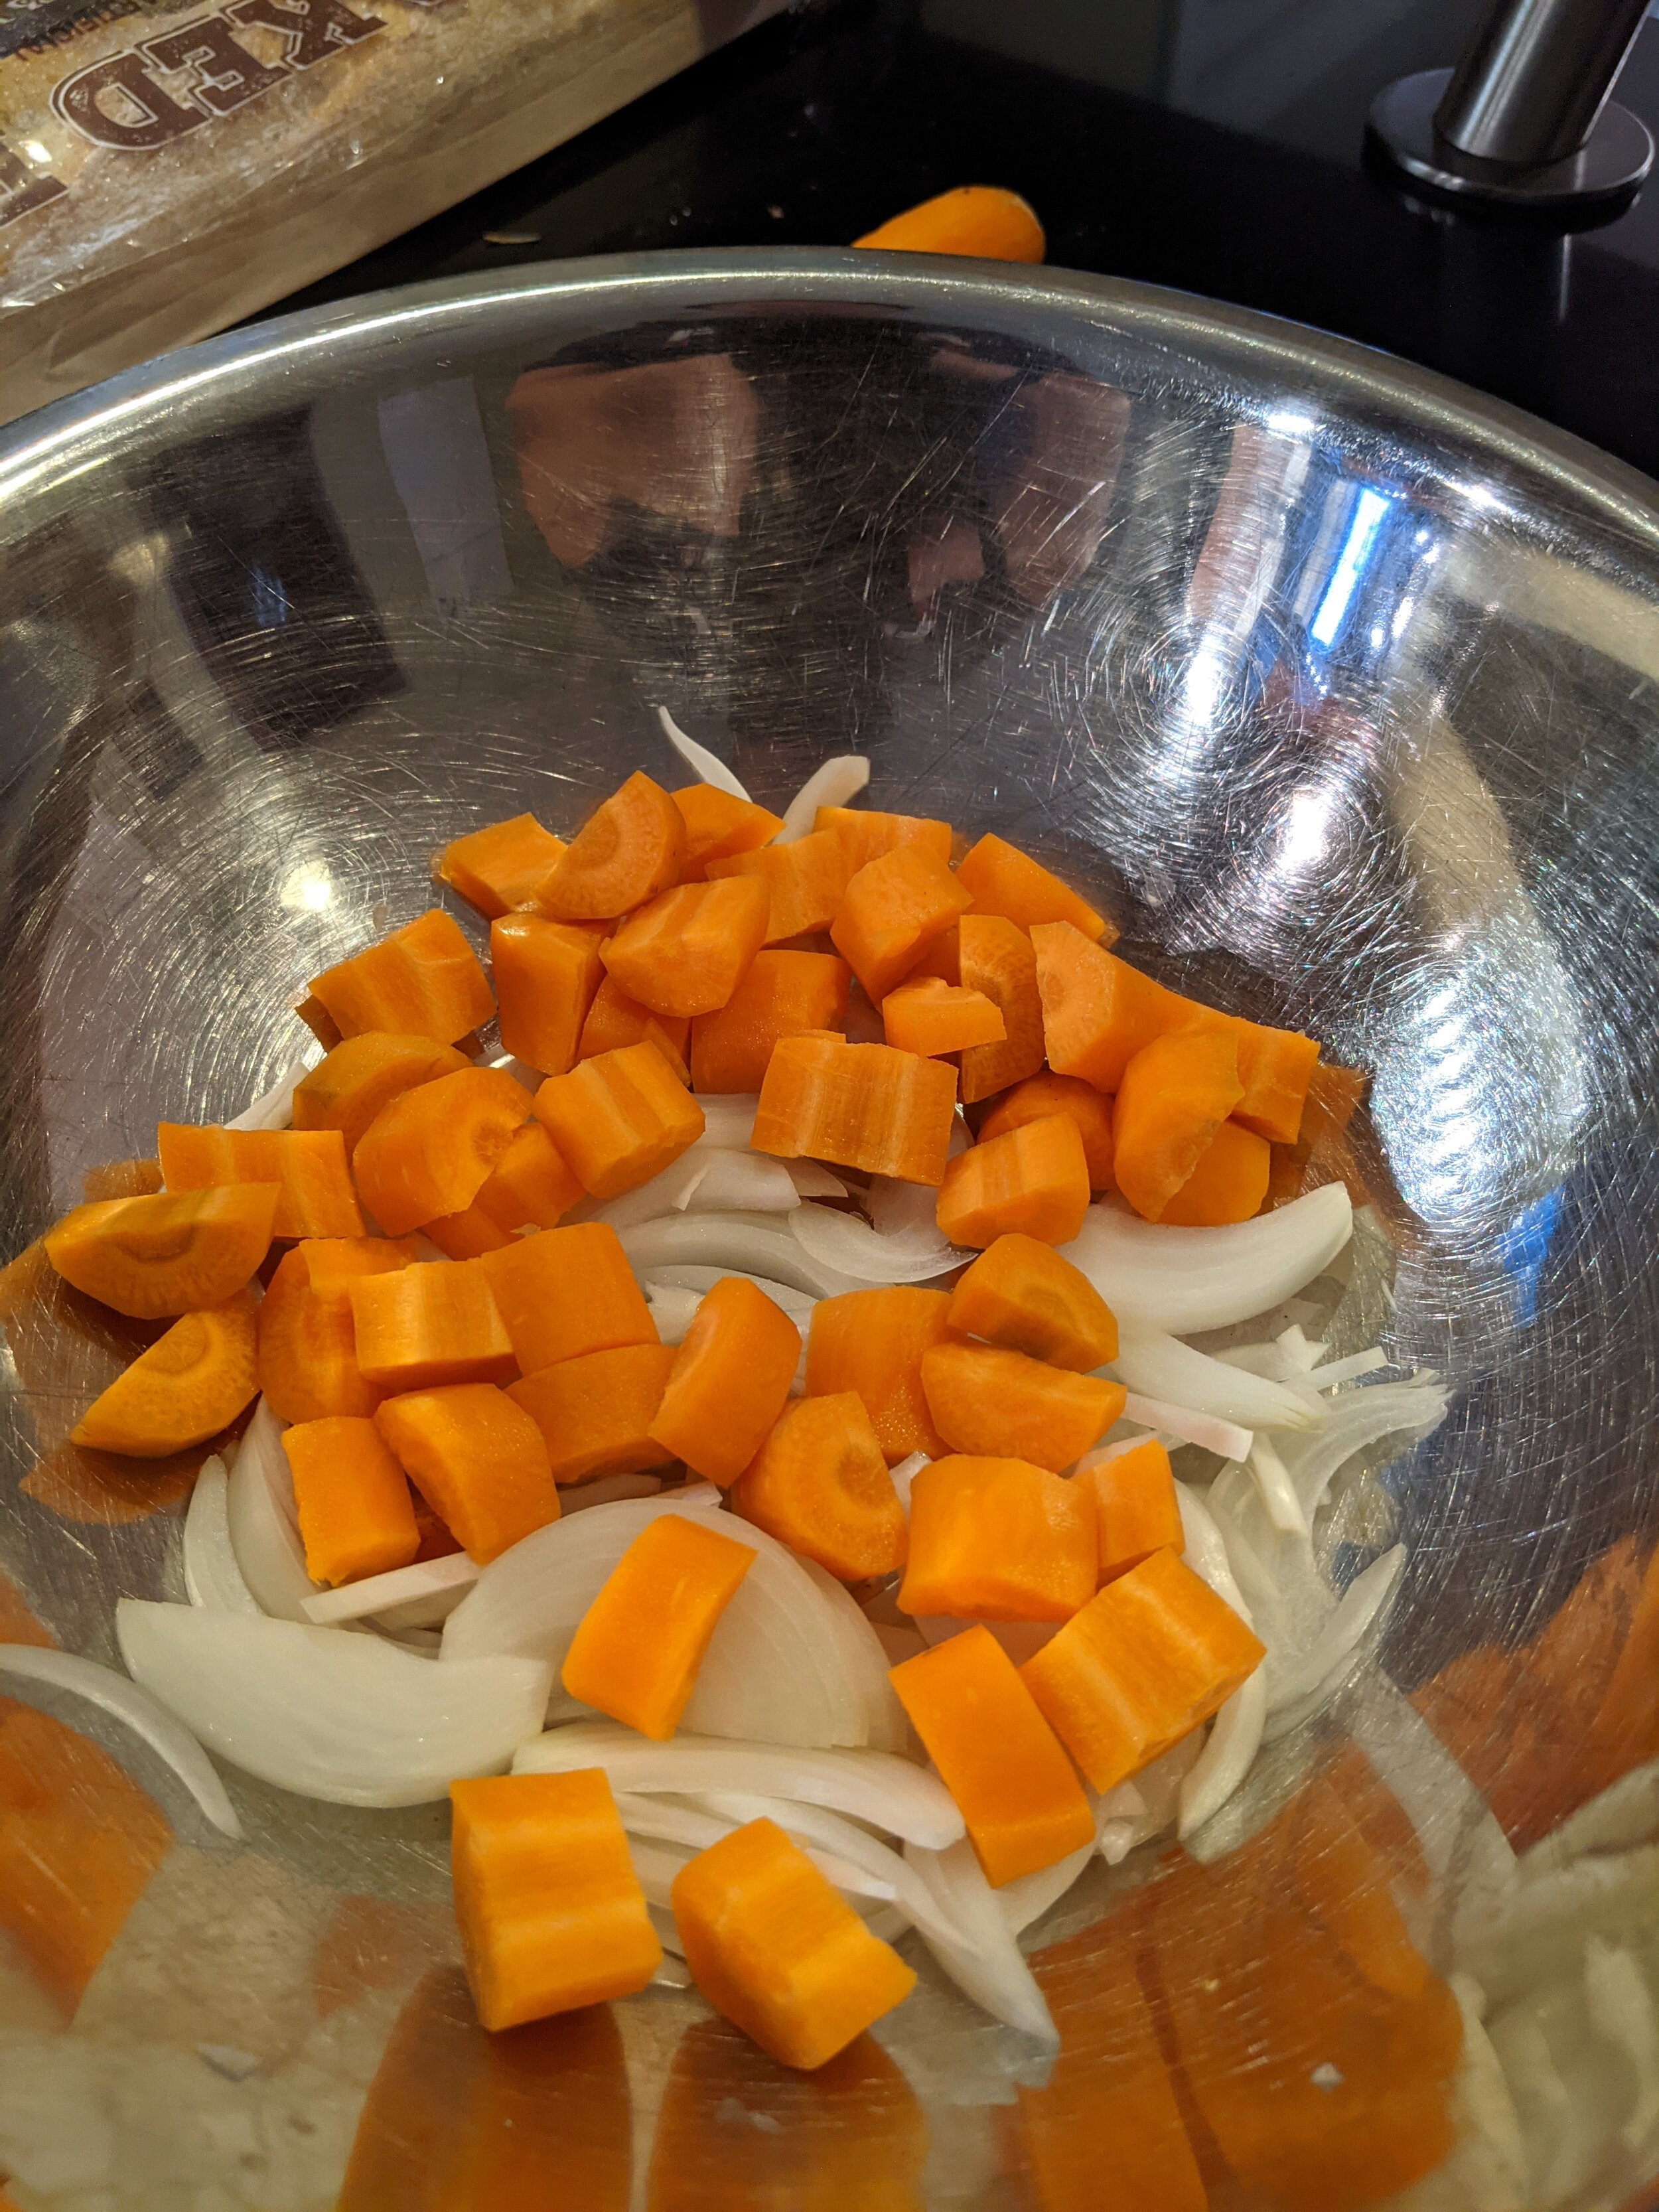
Take another three carrots’ worth of pieces, and cut them into bite-size pieces, about the thickness of a finger. Throw these pieces into the oiled and seasoned bowl you used to toss the cauliflower. Set this aside for now.
With the last carrot’s worth of pieces, slice thinly on an angle. This is called a “bias cut”. You want these fairly thin so they cook quickly when stir-fried. Set these aside in a container for later in the week.

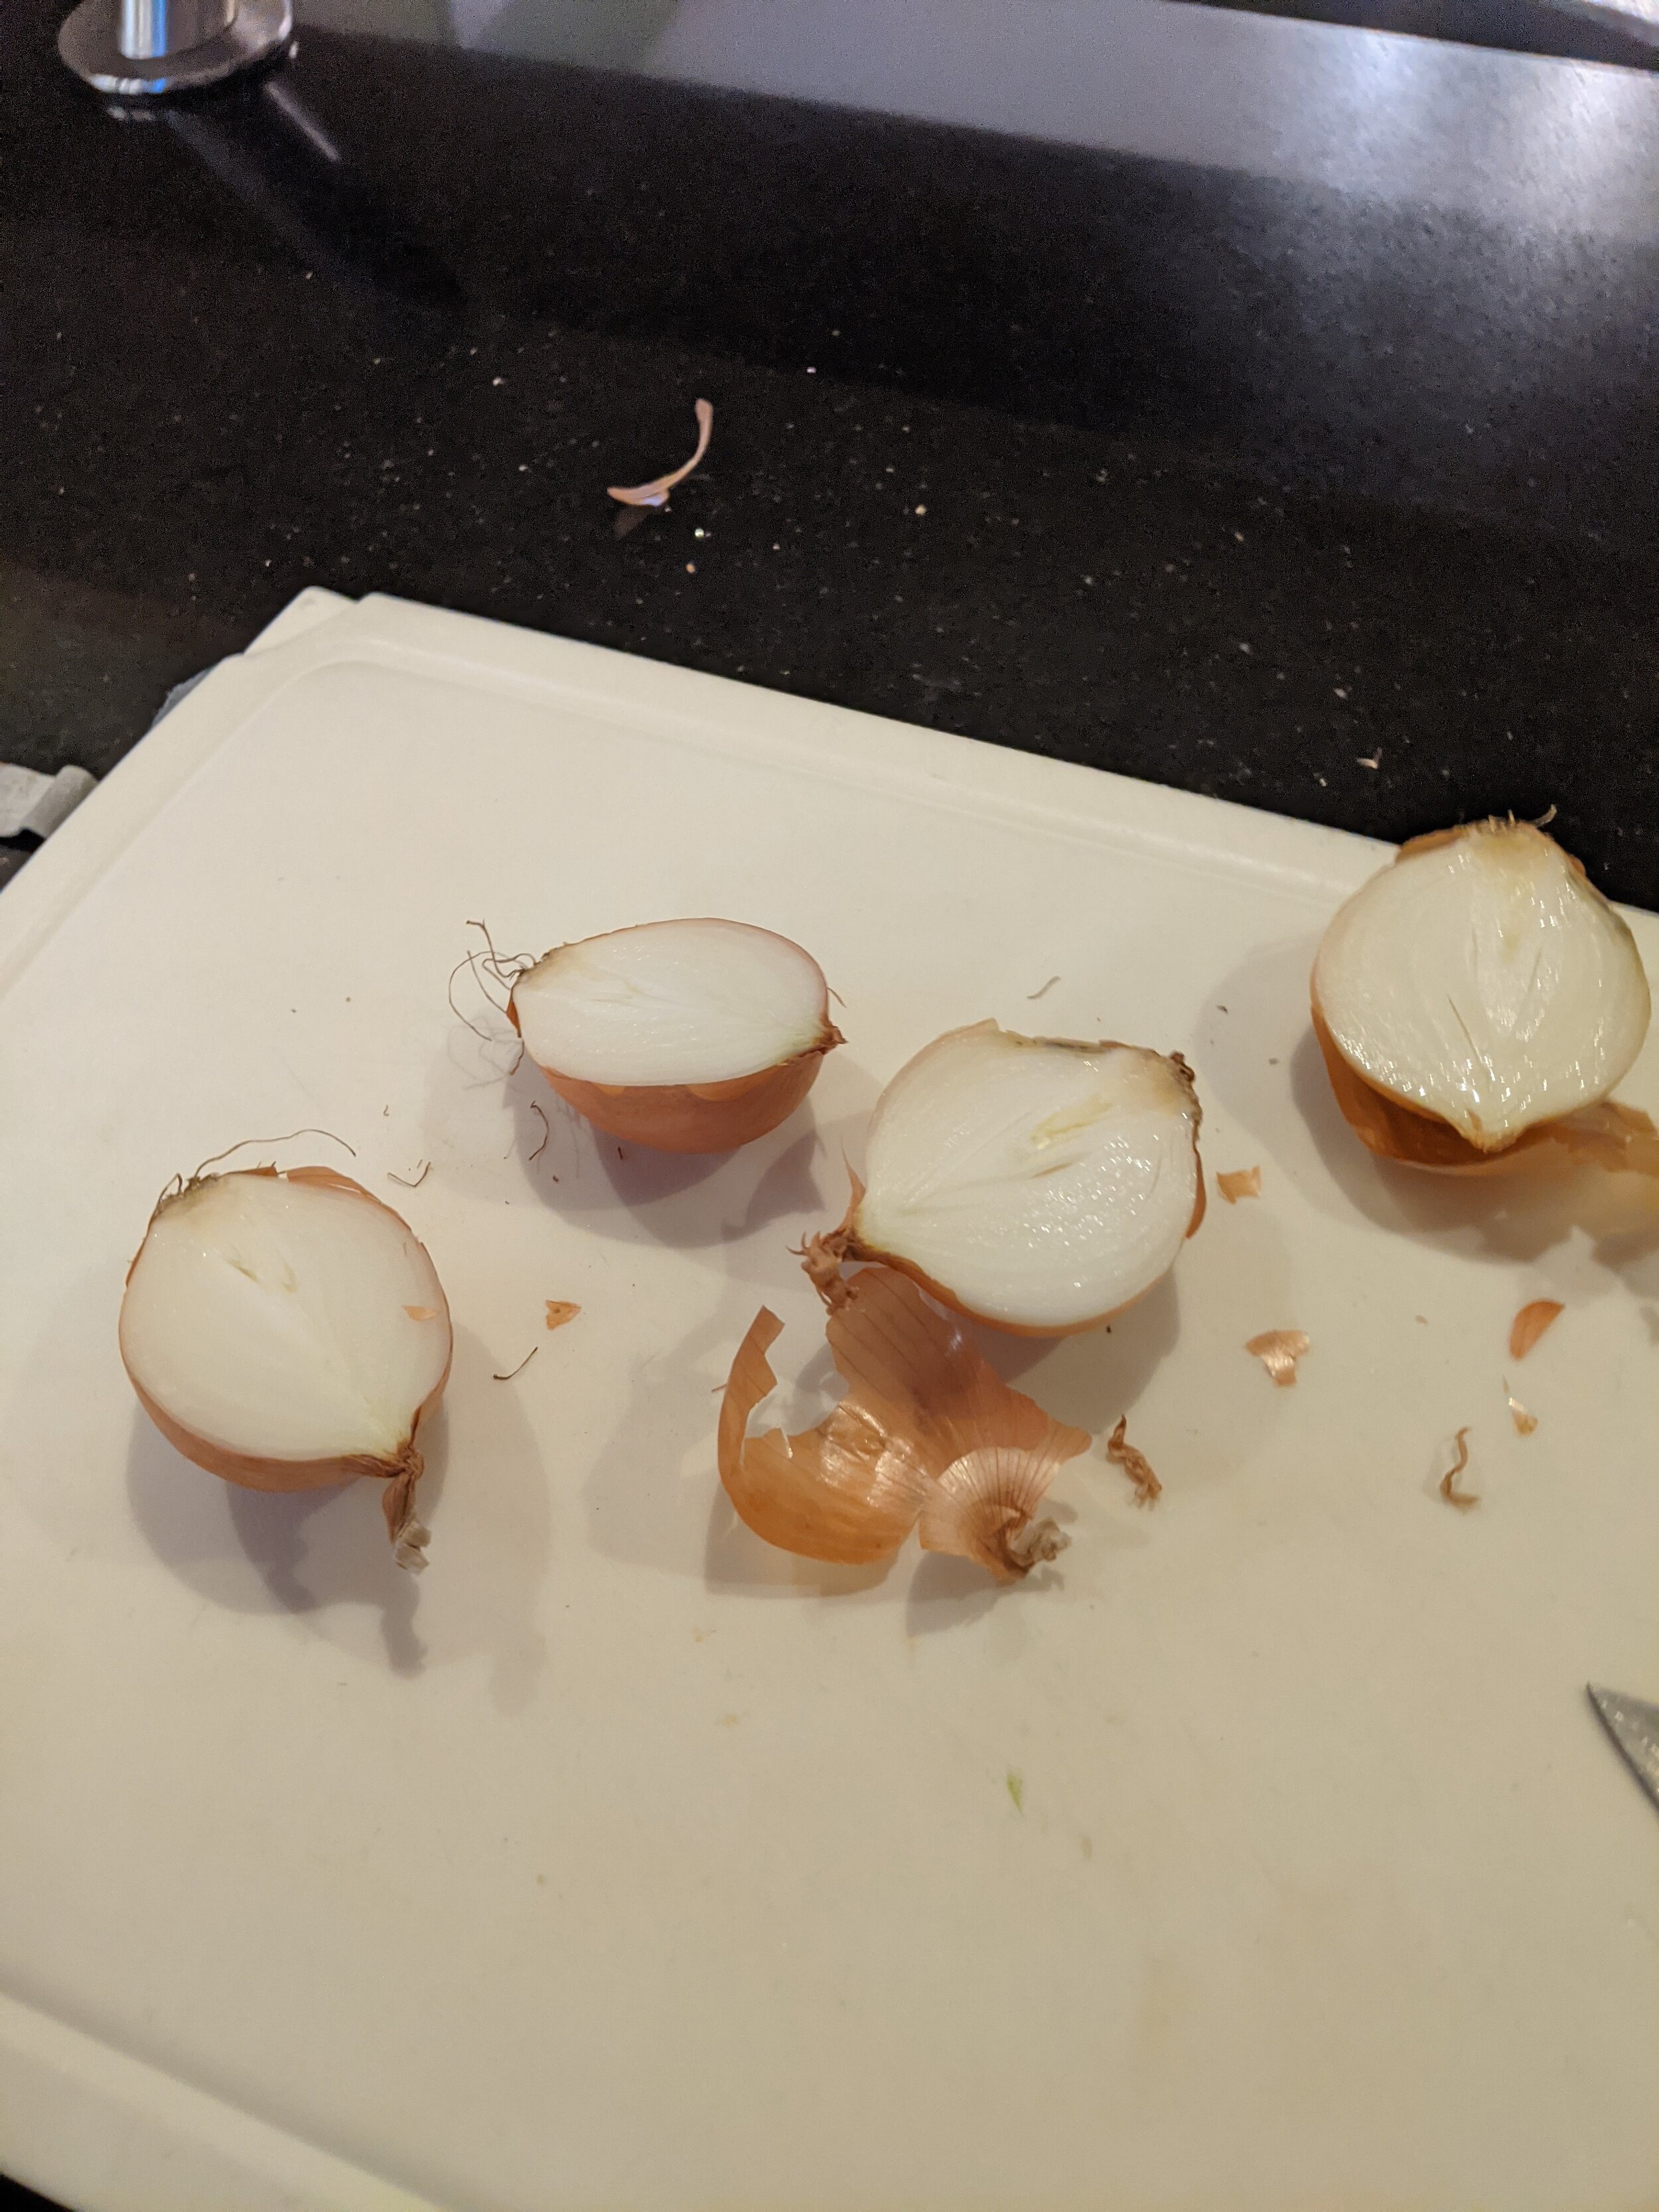
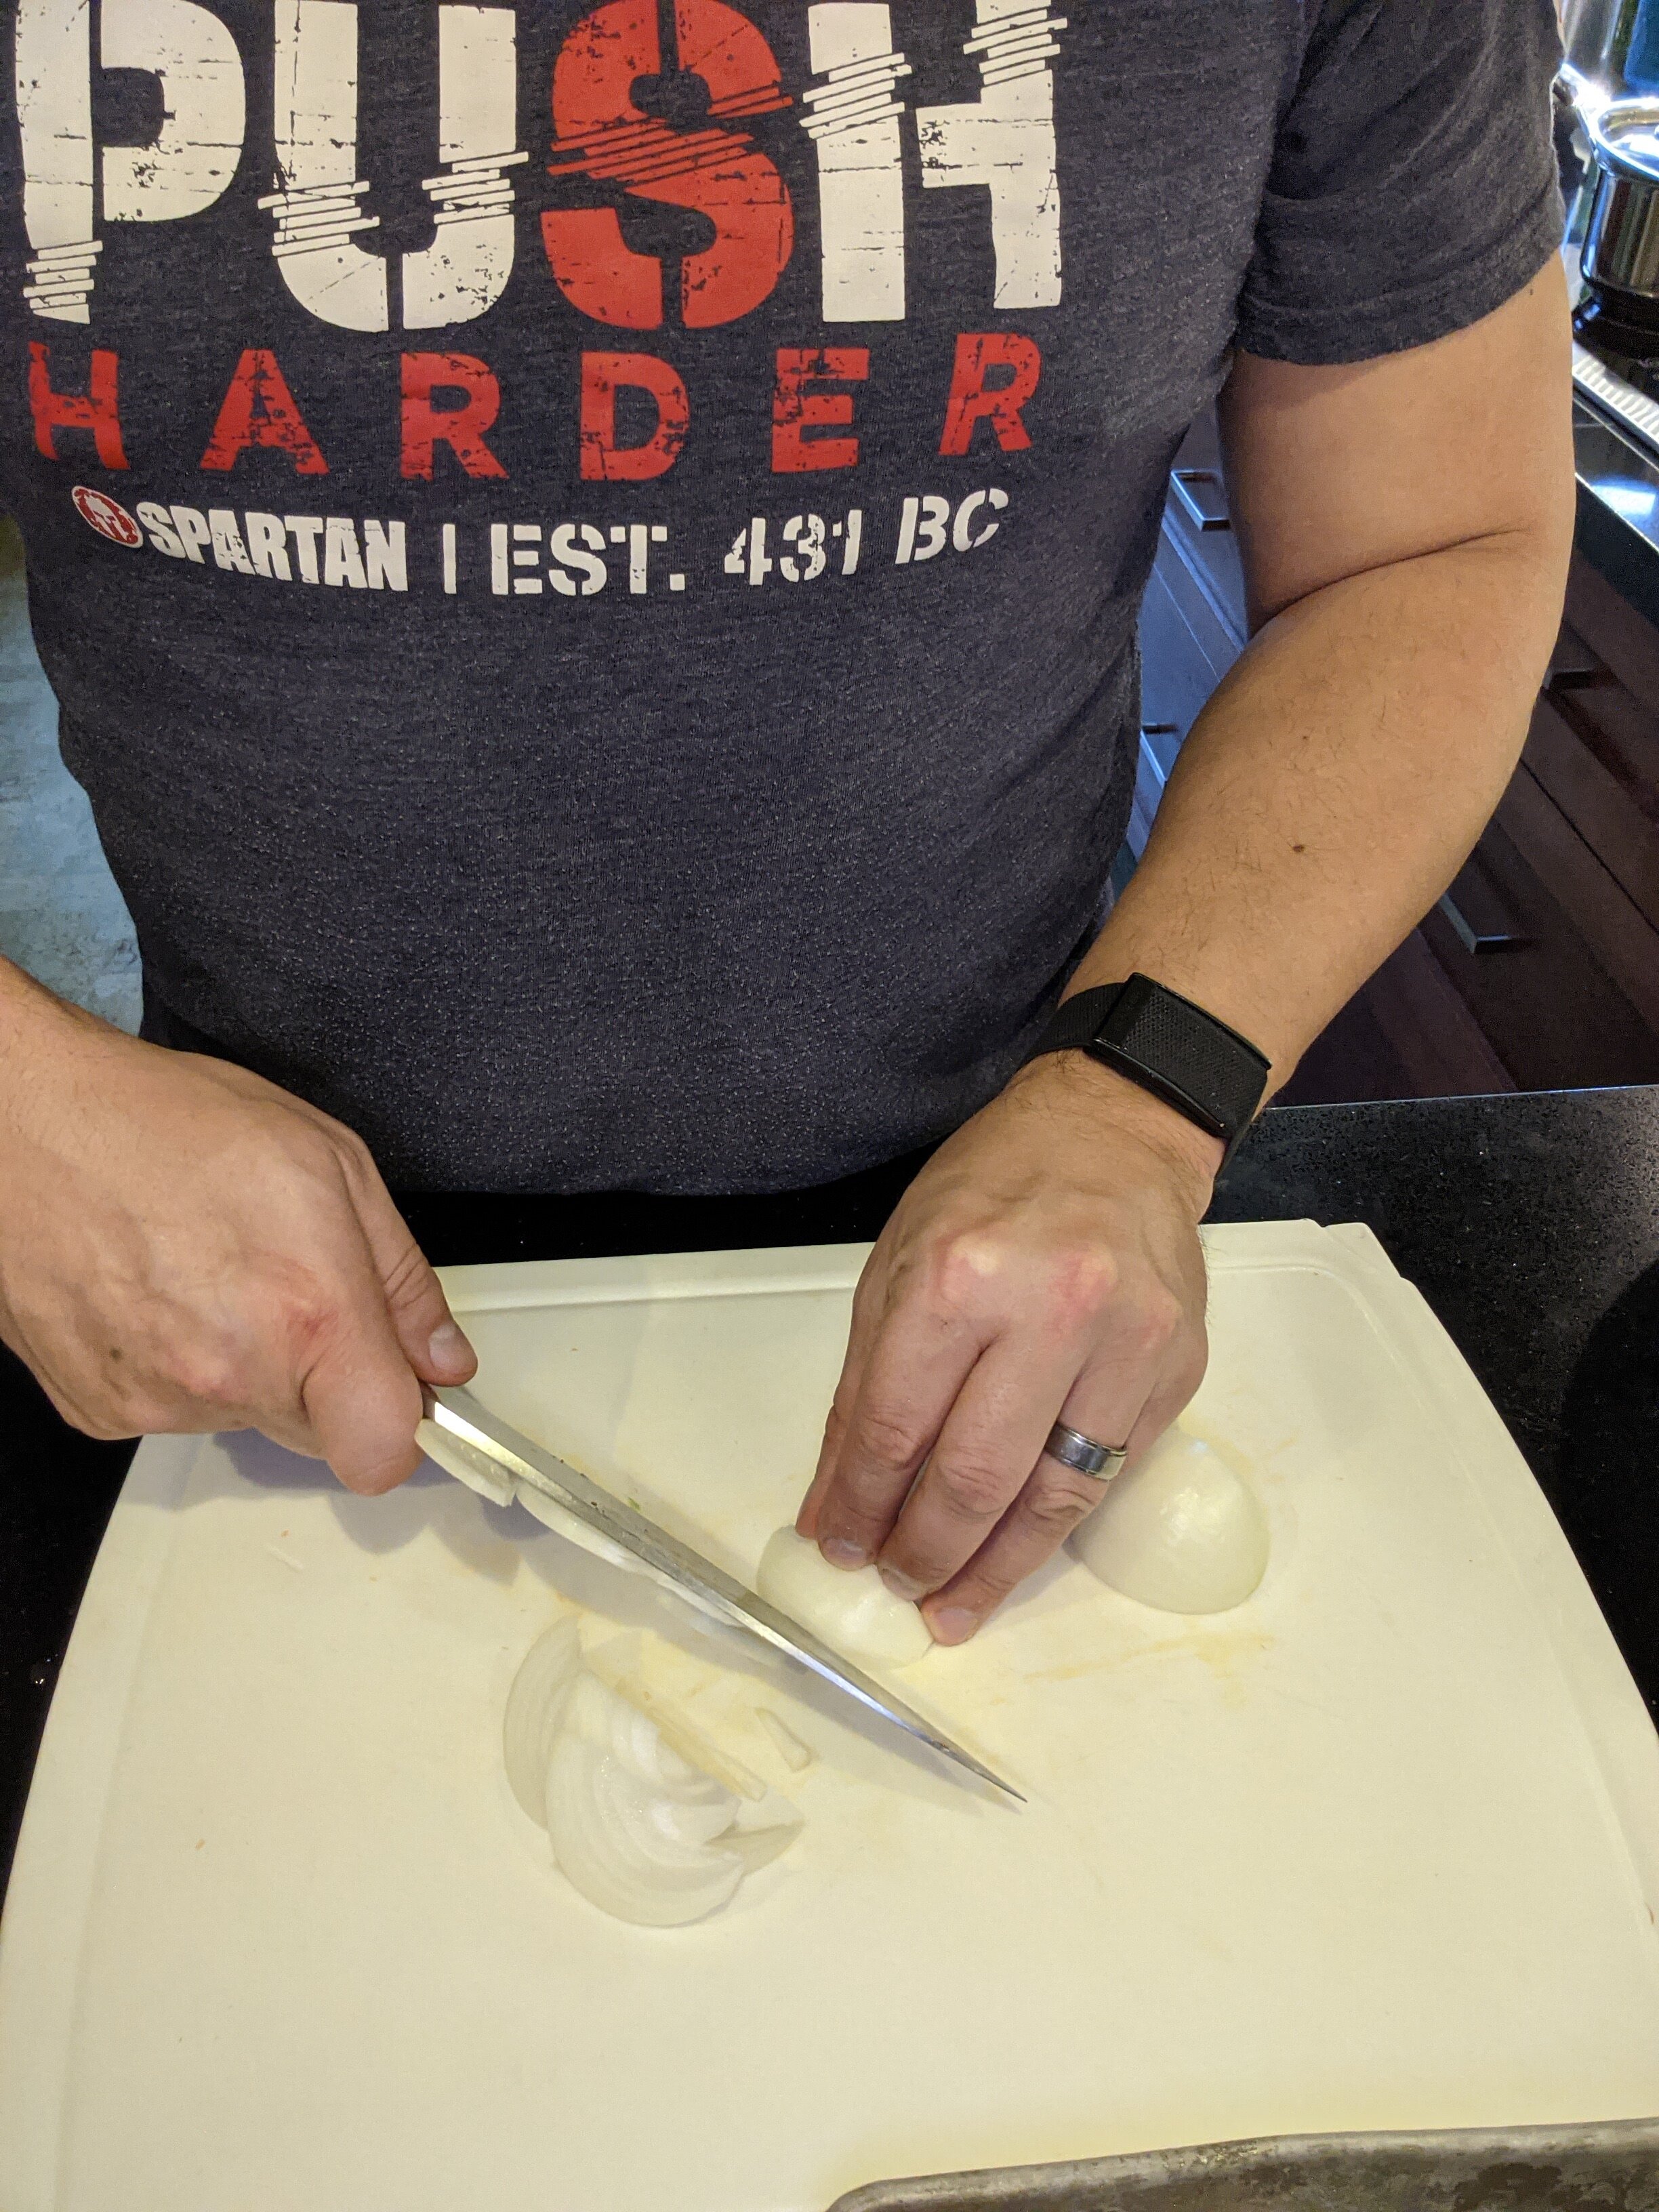
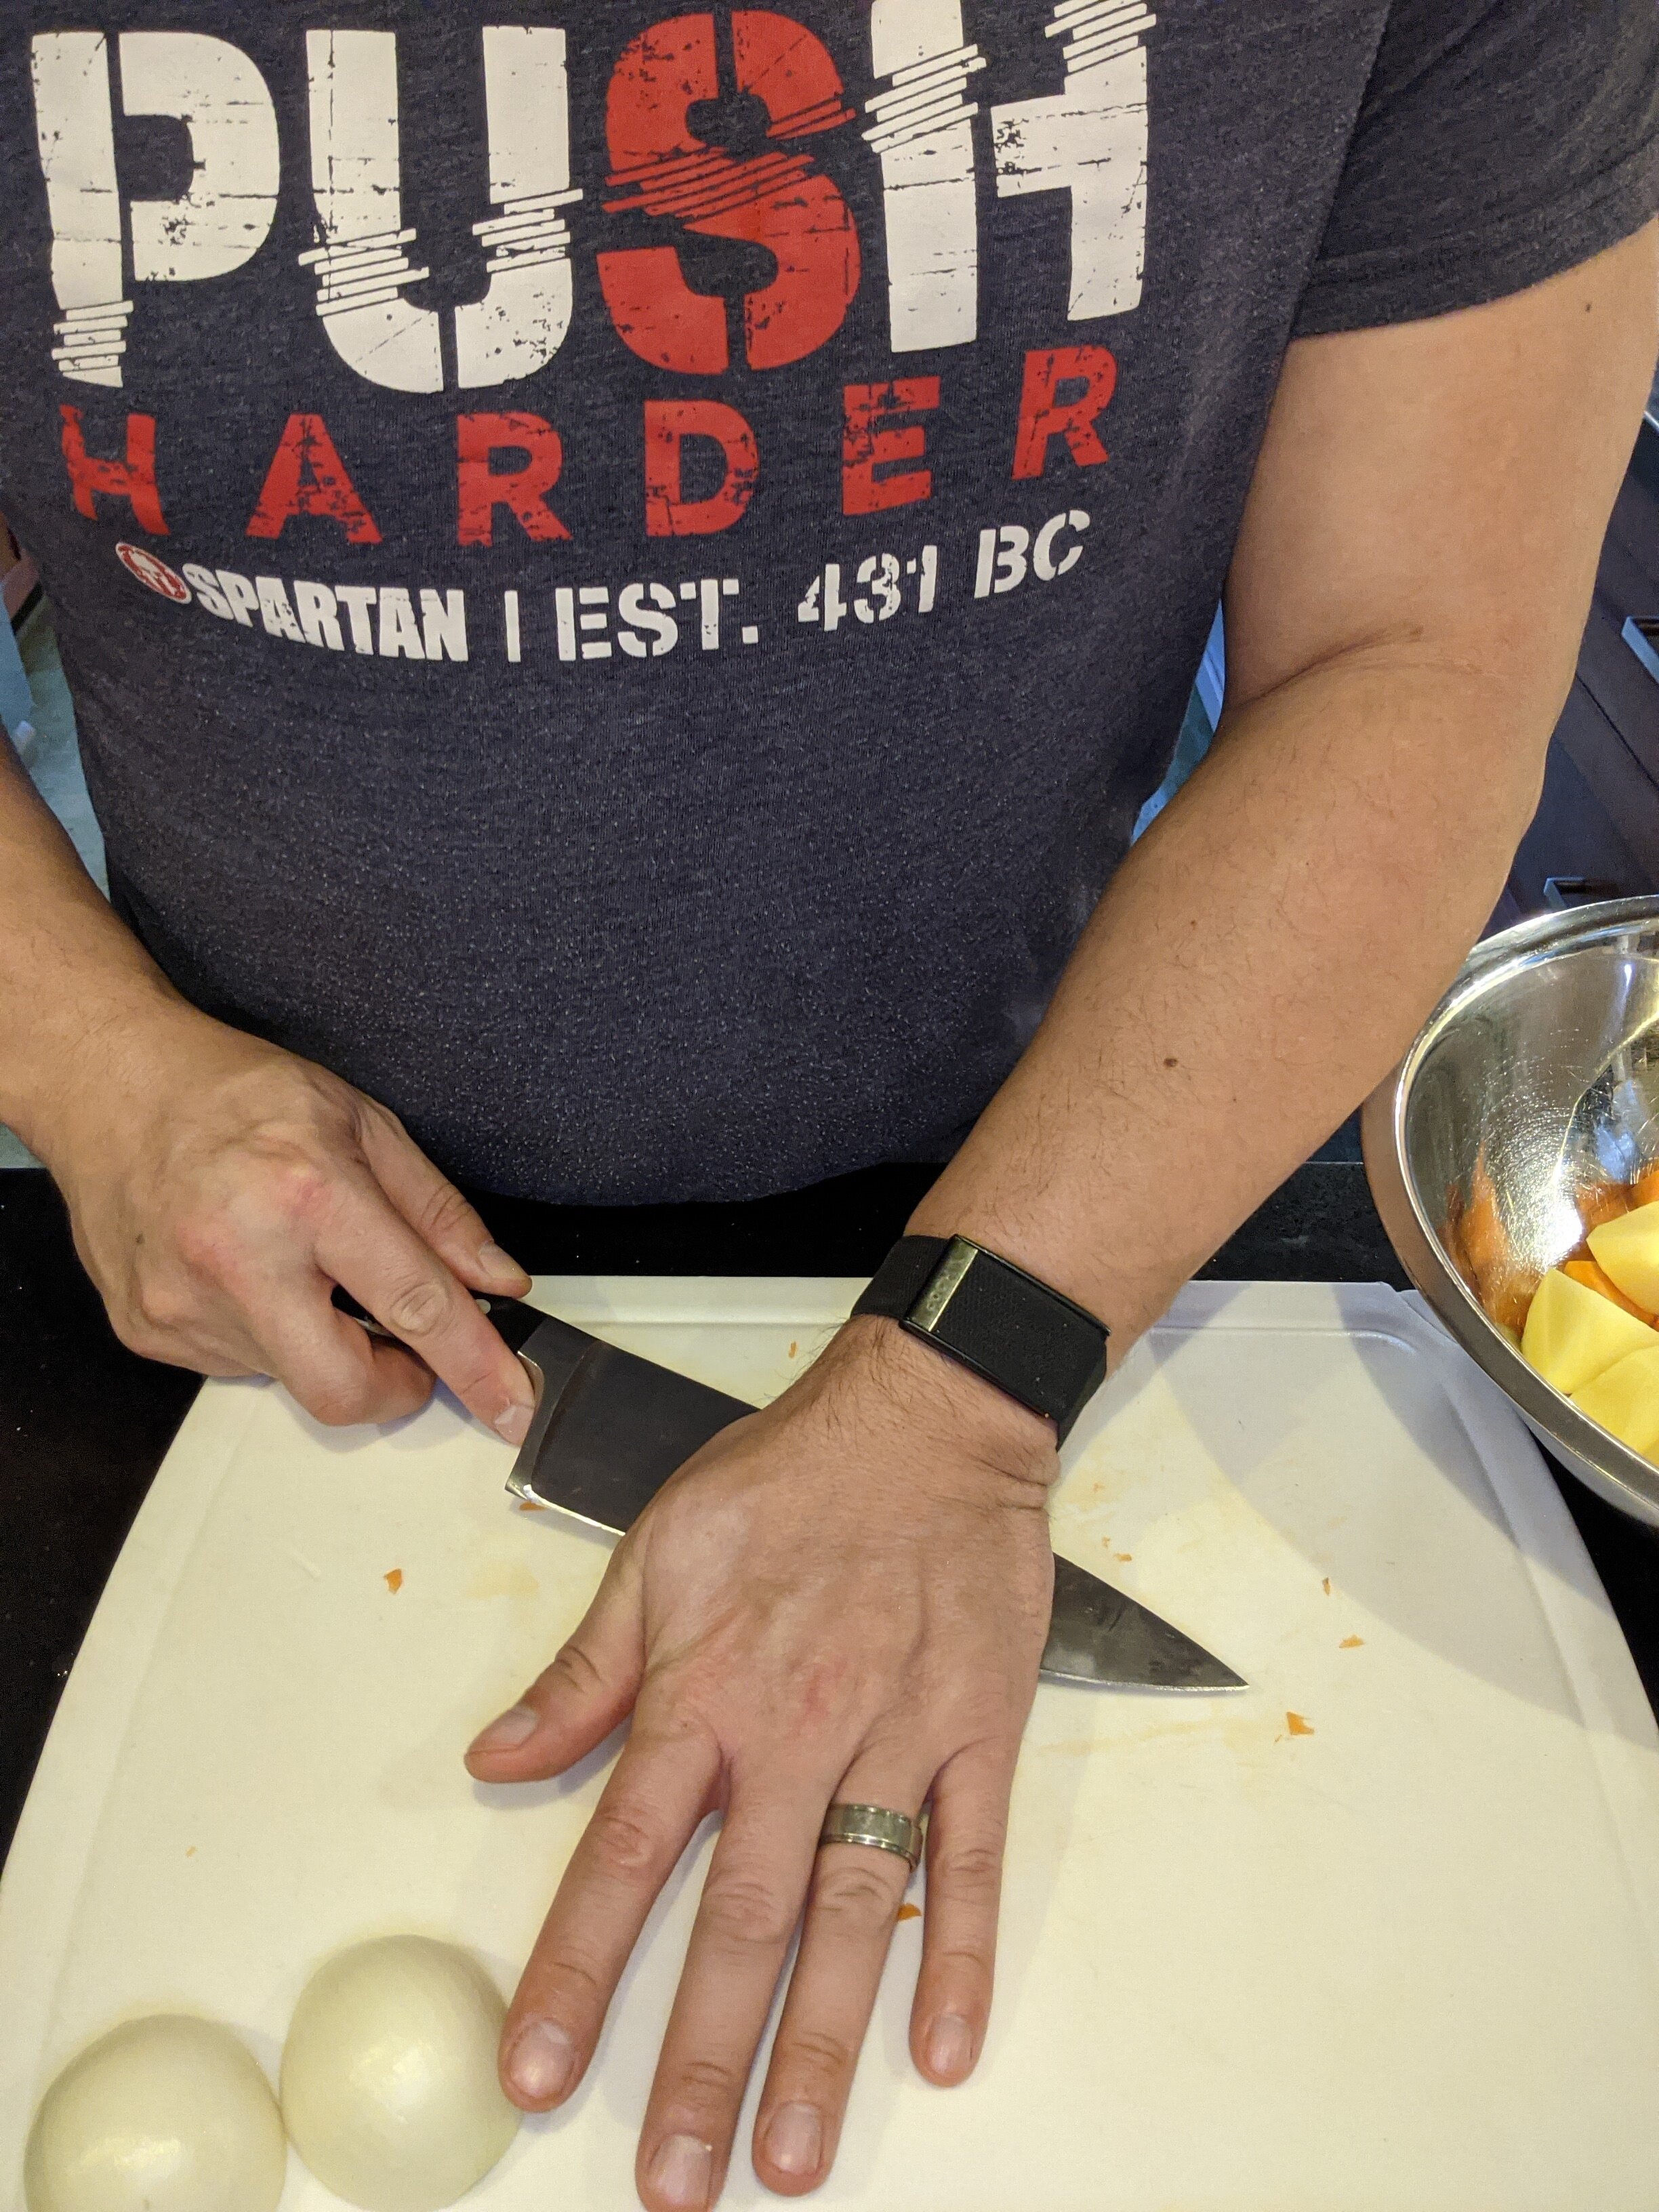
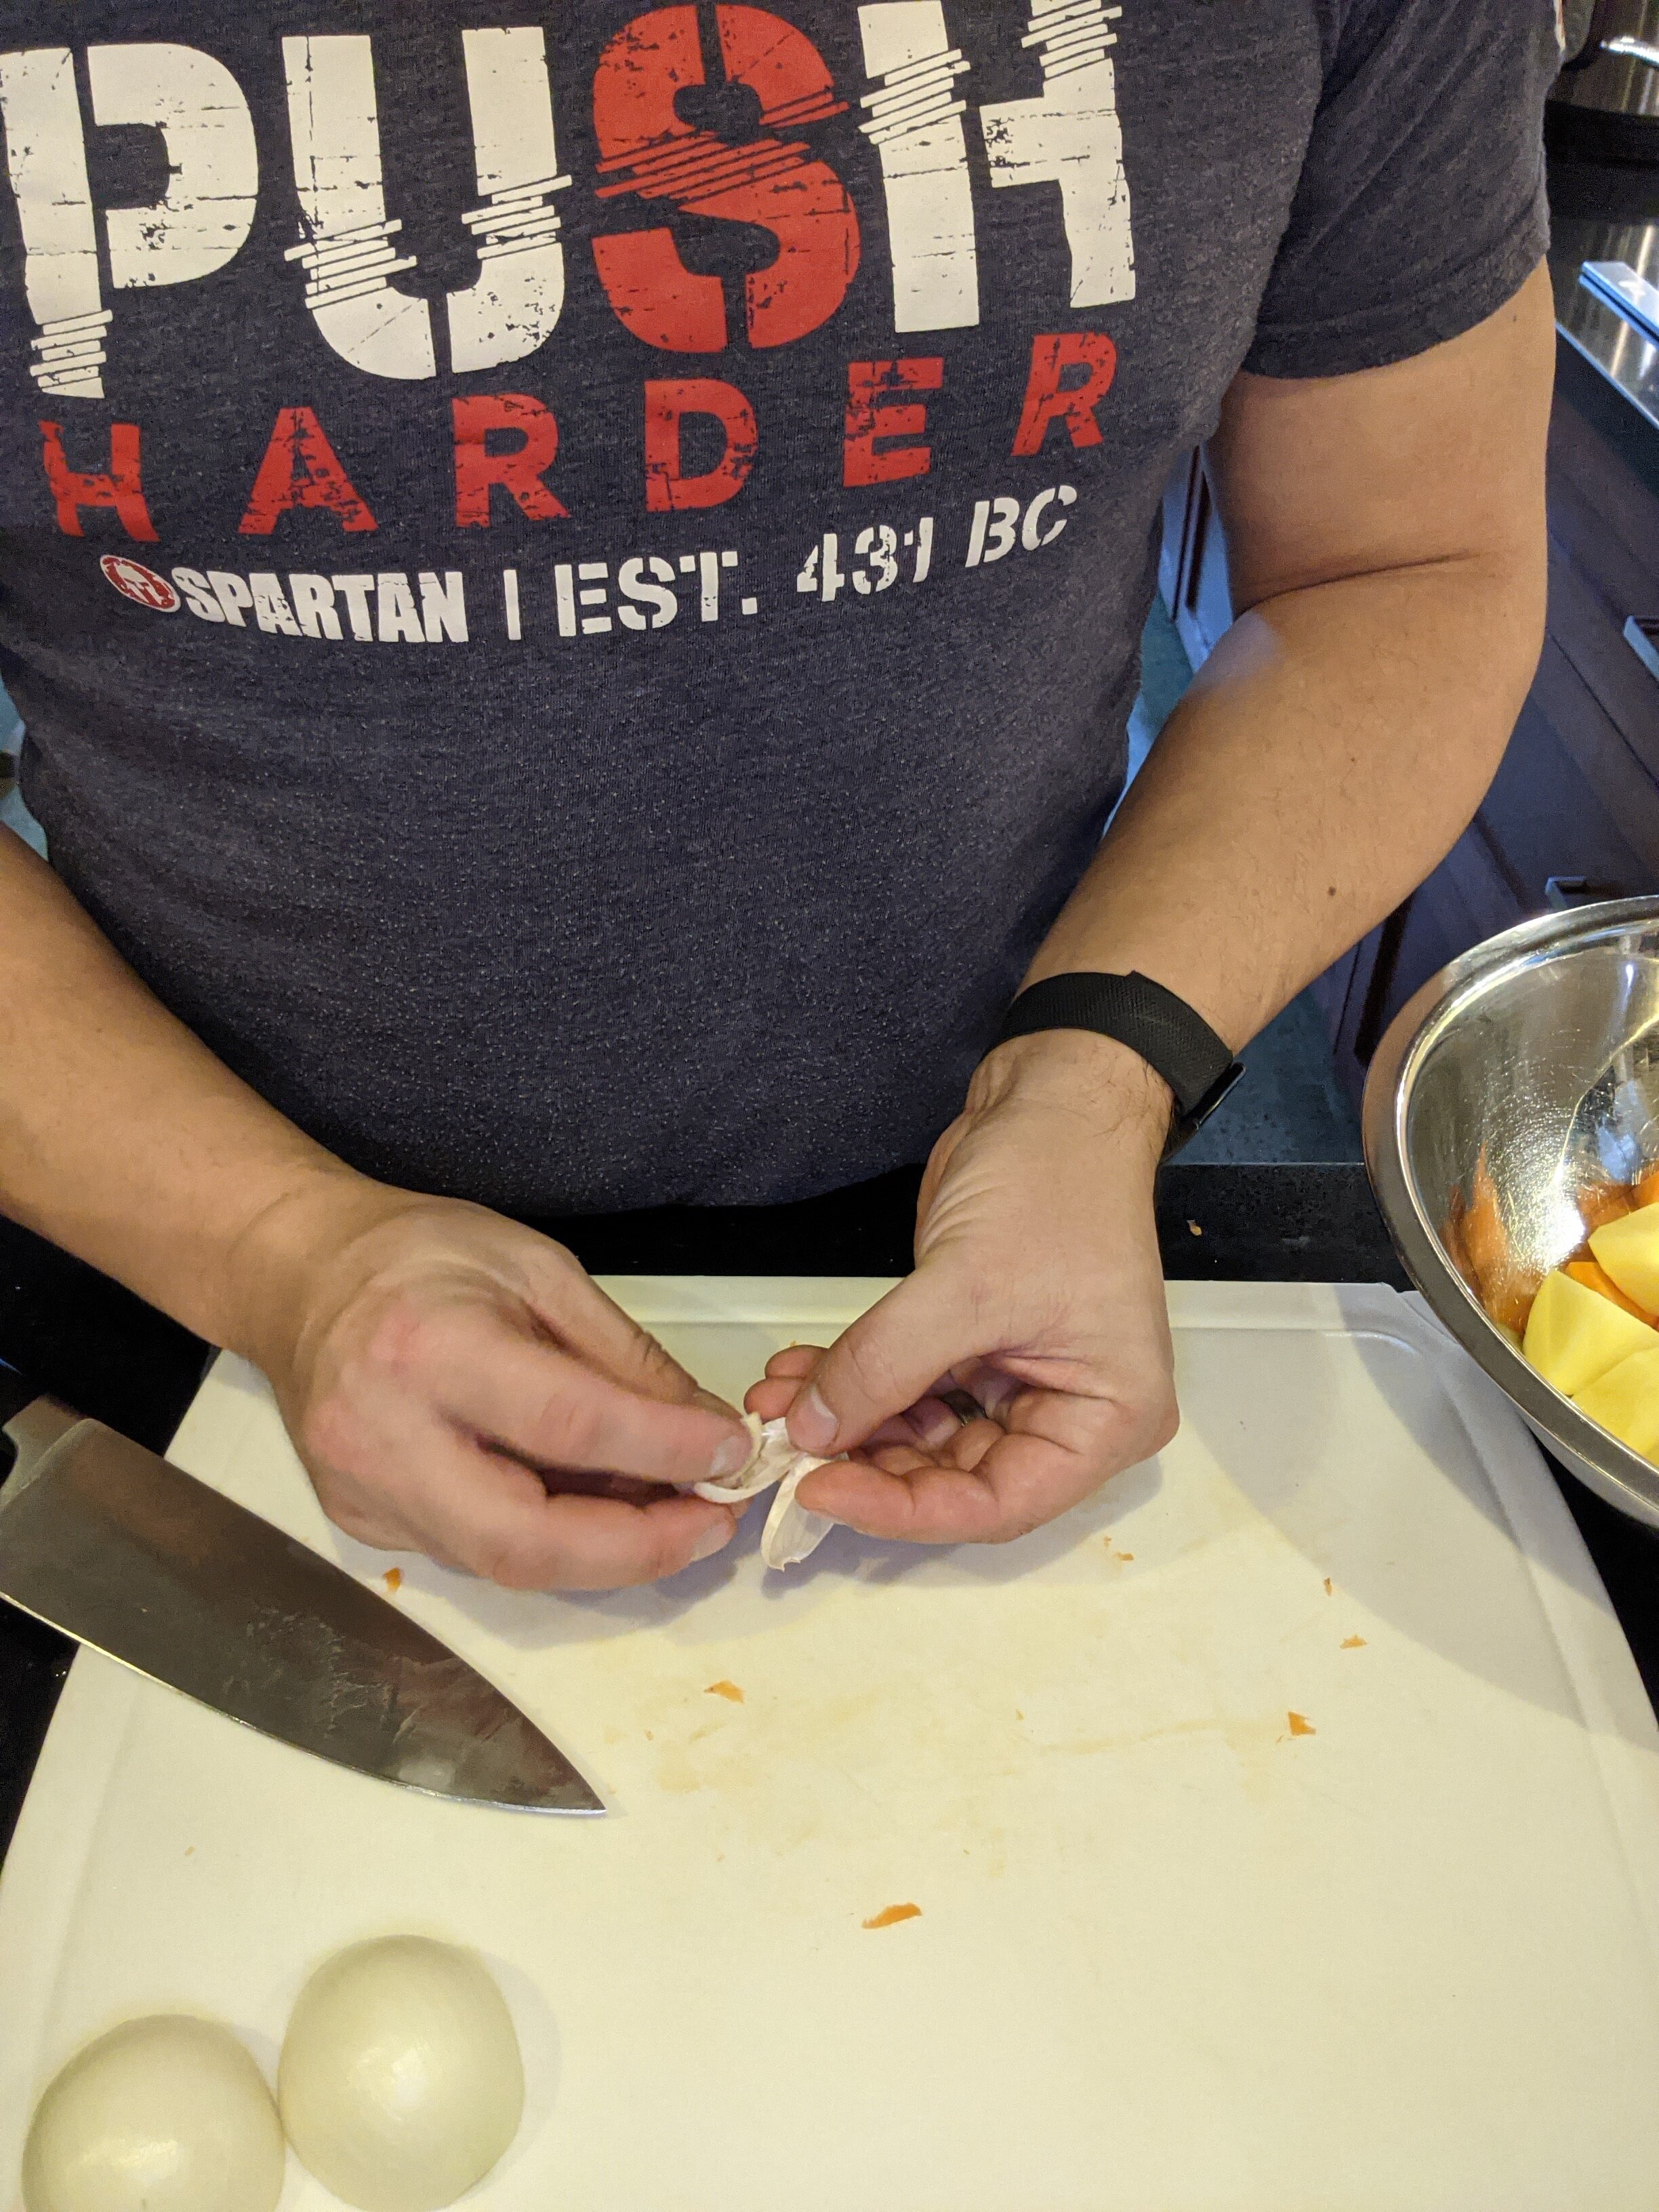
Step 4: Prepare the Onions and Garlic (pictures below)
Cut the onion in half lengthwise, then trim the ends and remove the peel.
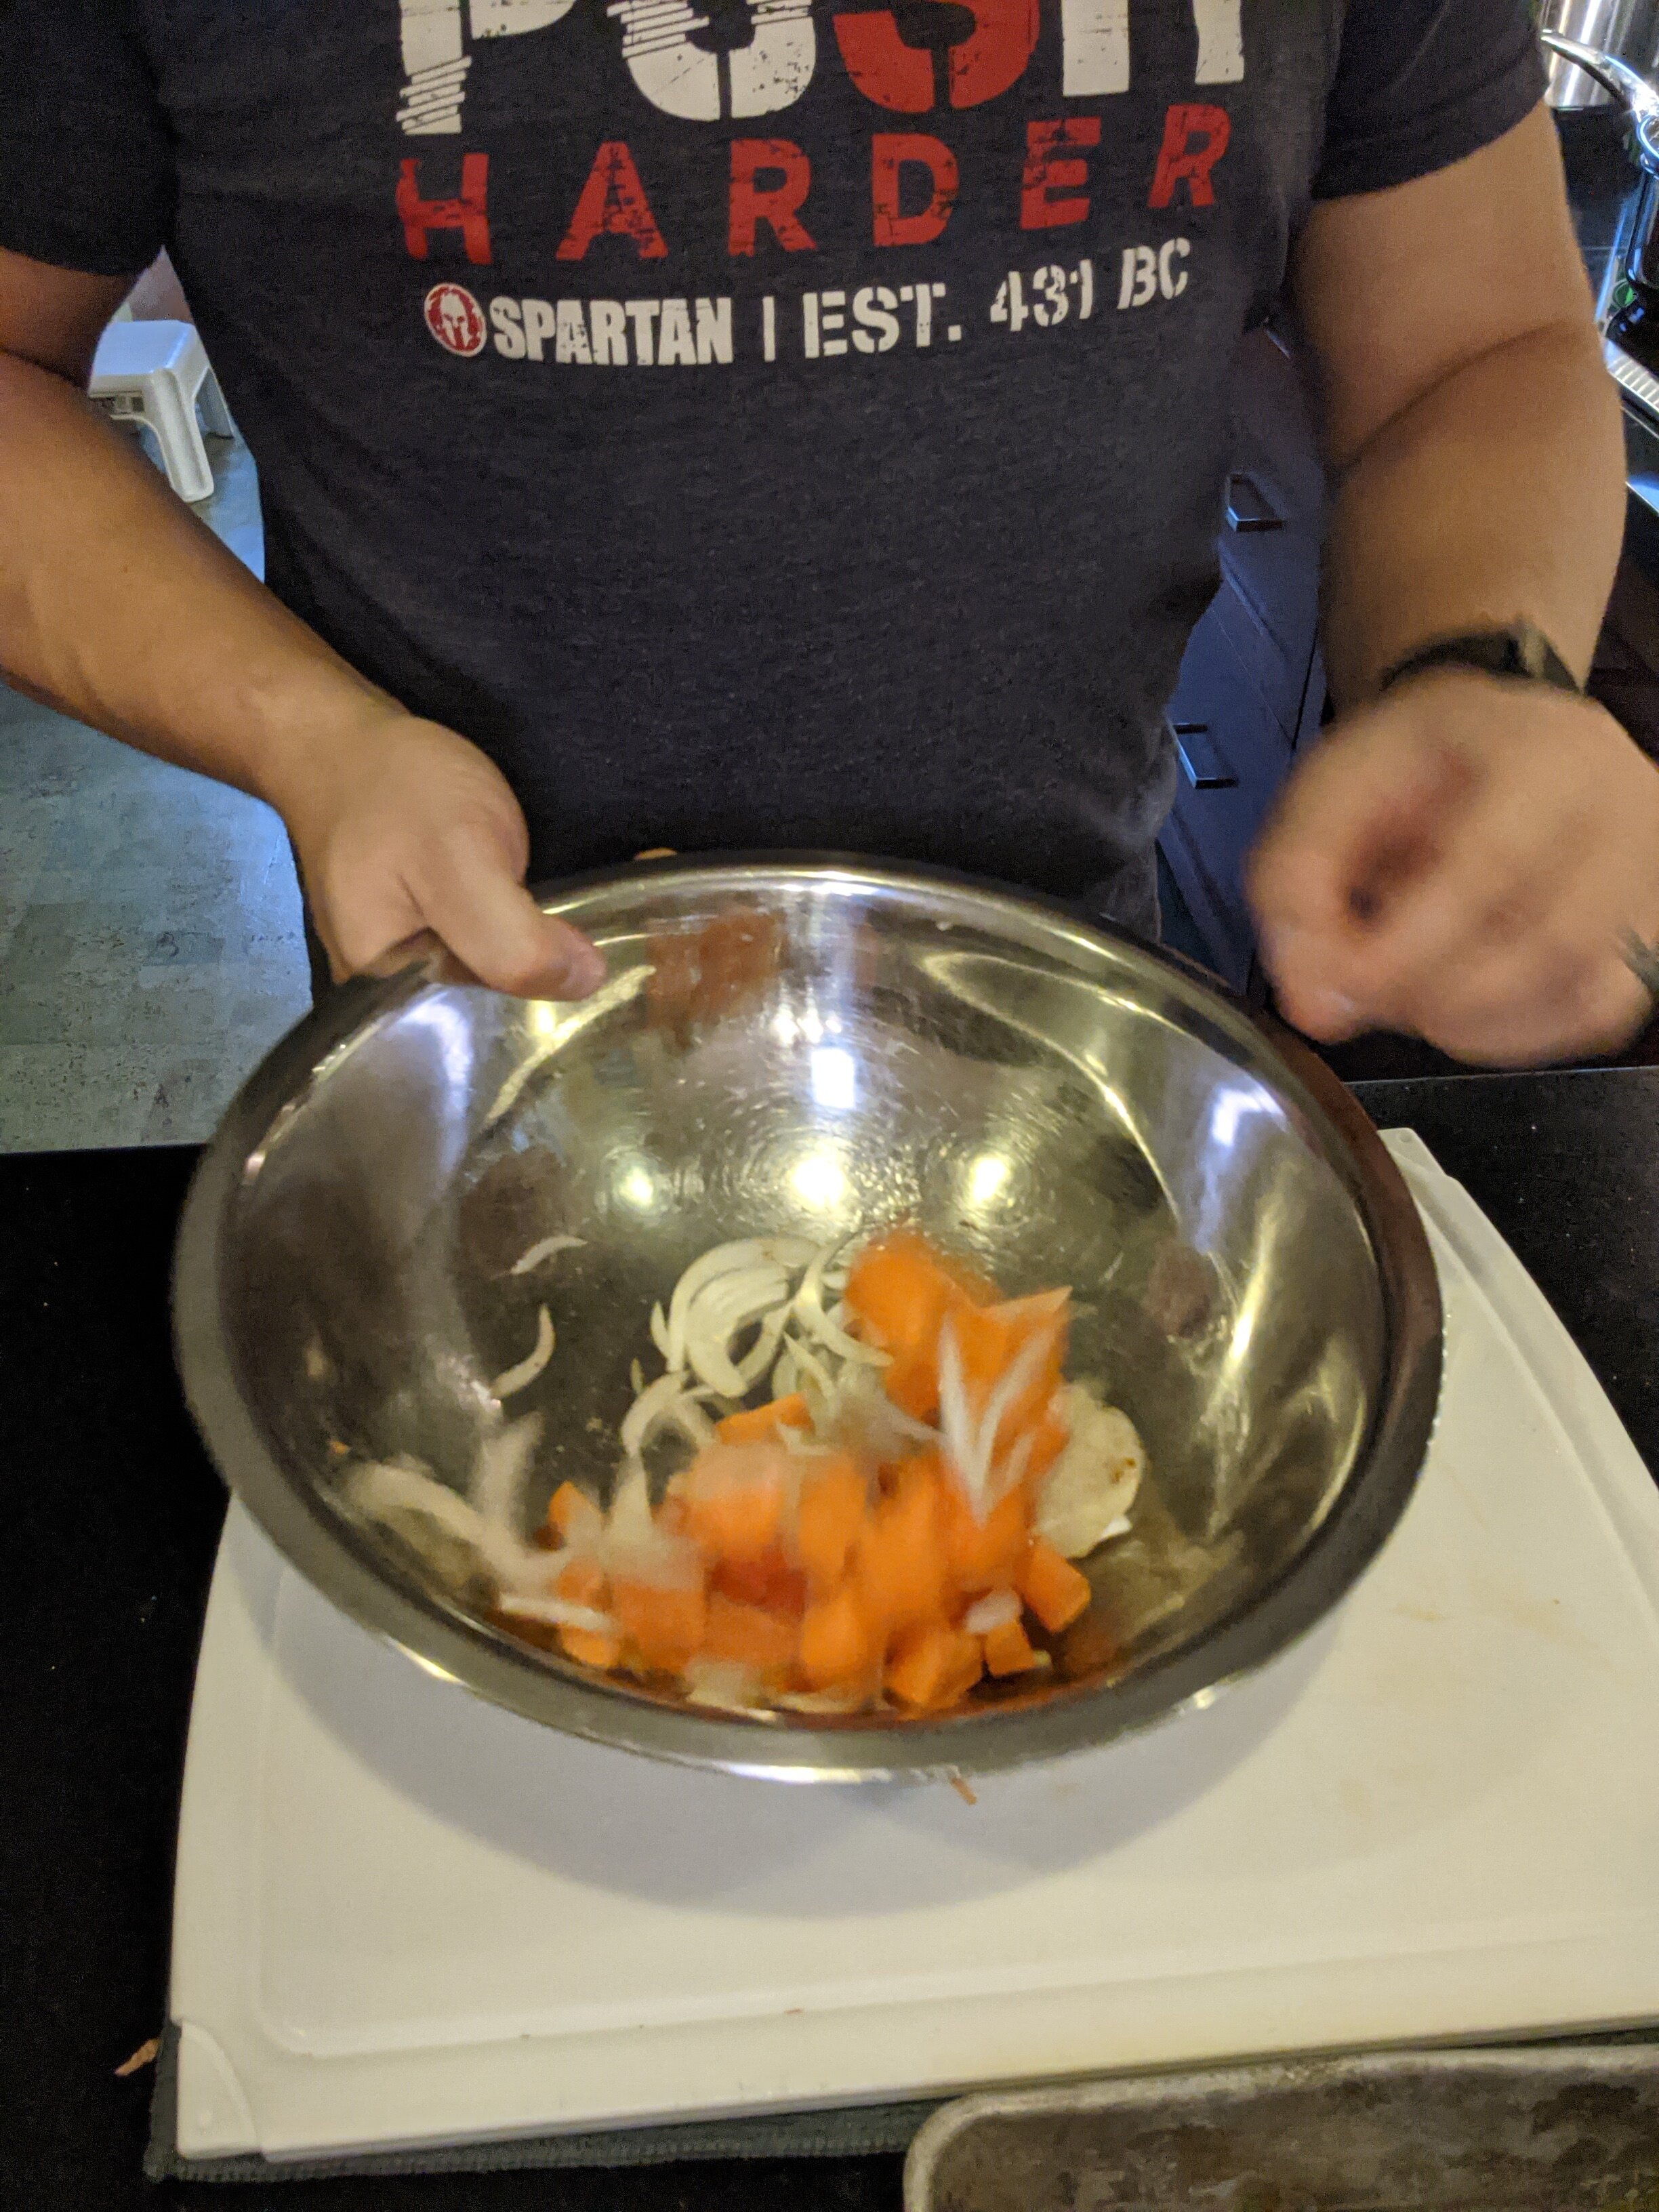
Roughly chop 1/2 of the onion, and put this in the bowl with your rough-chopped carrot pieces (for the soup).
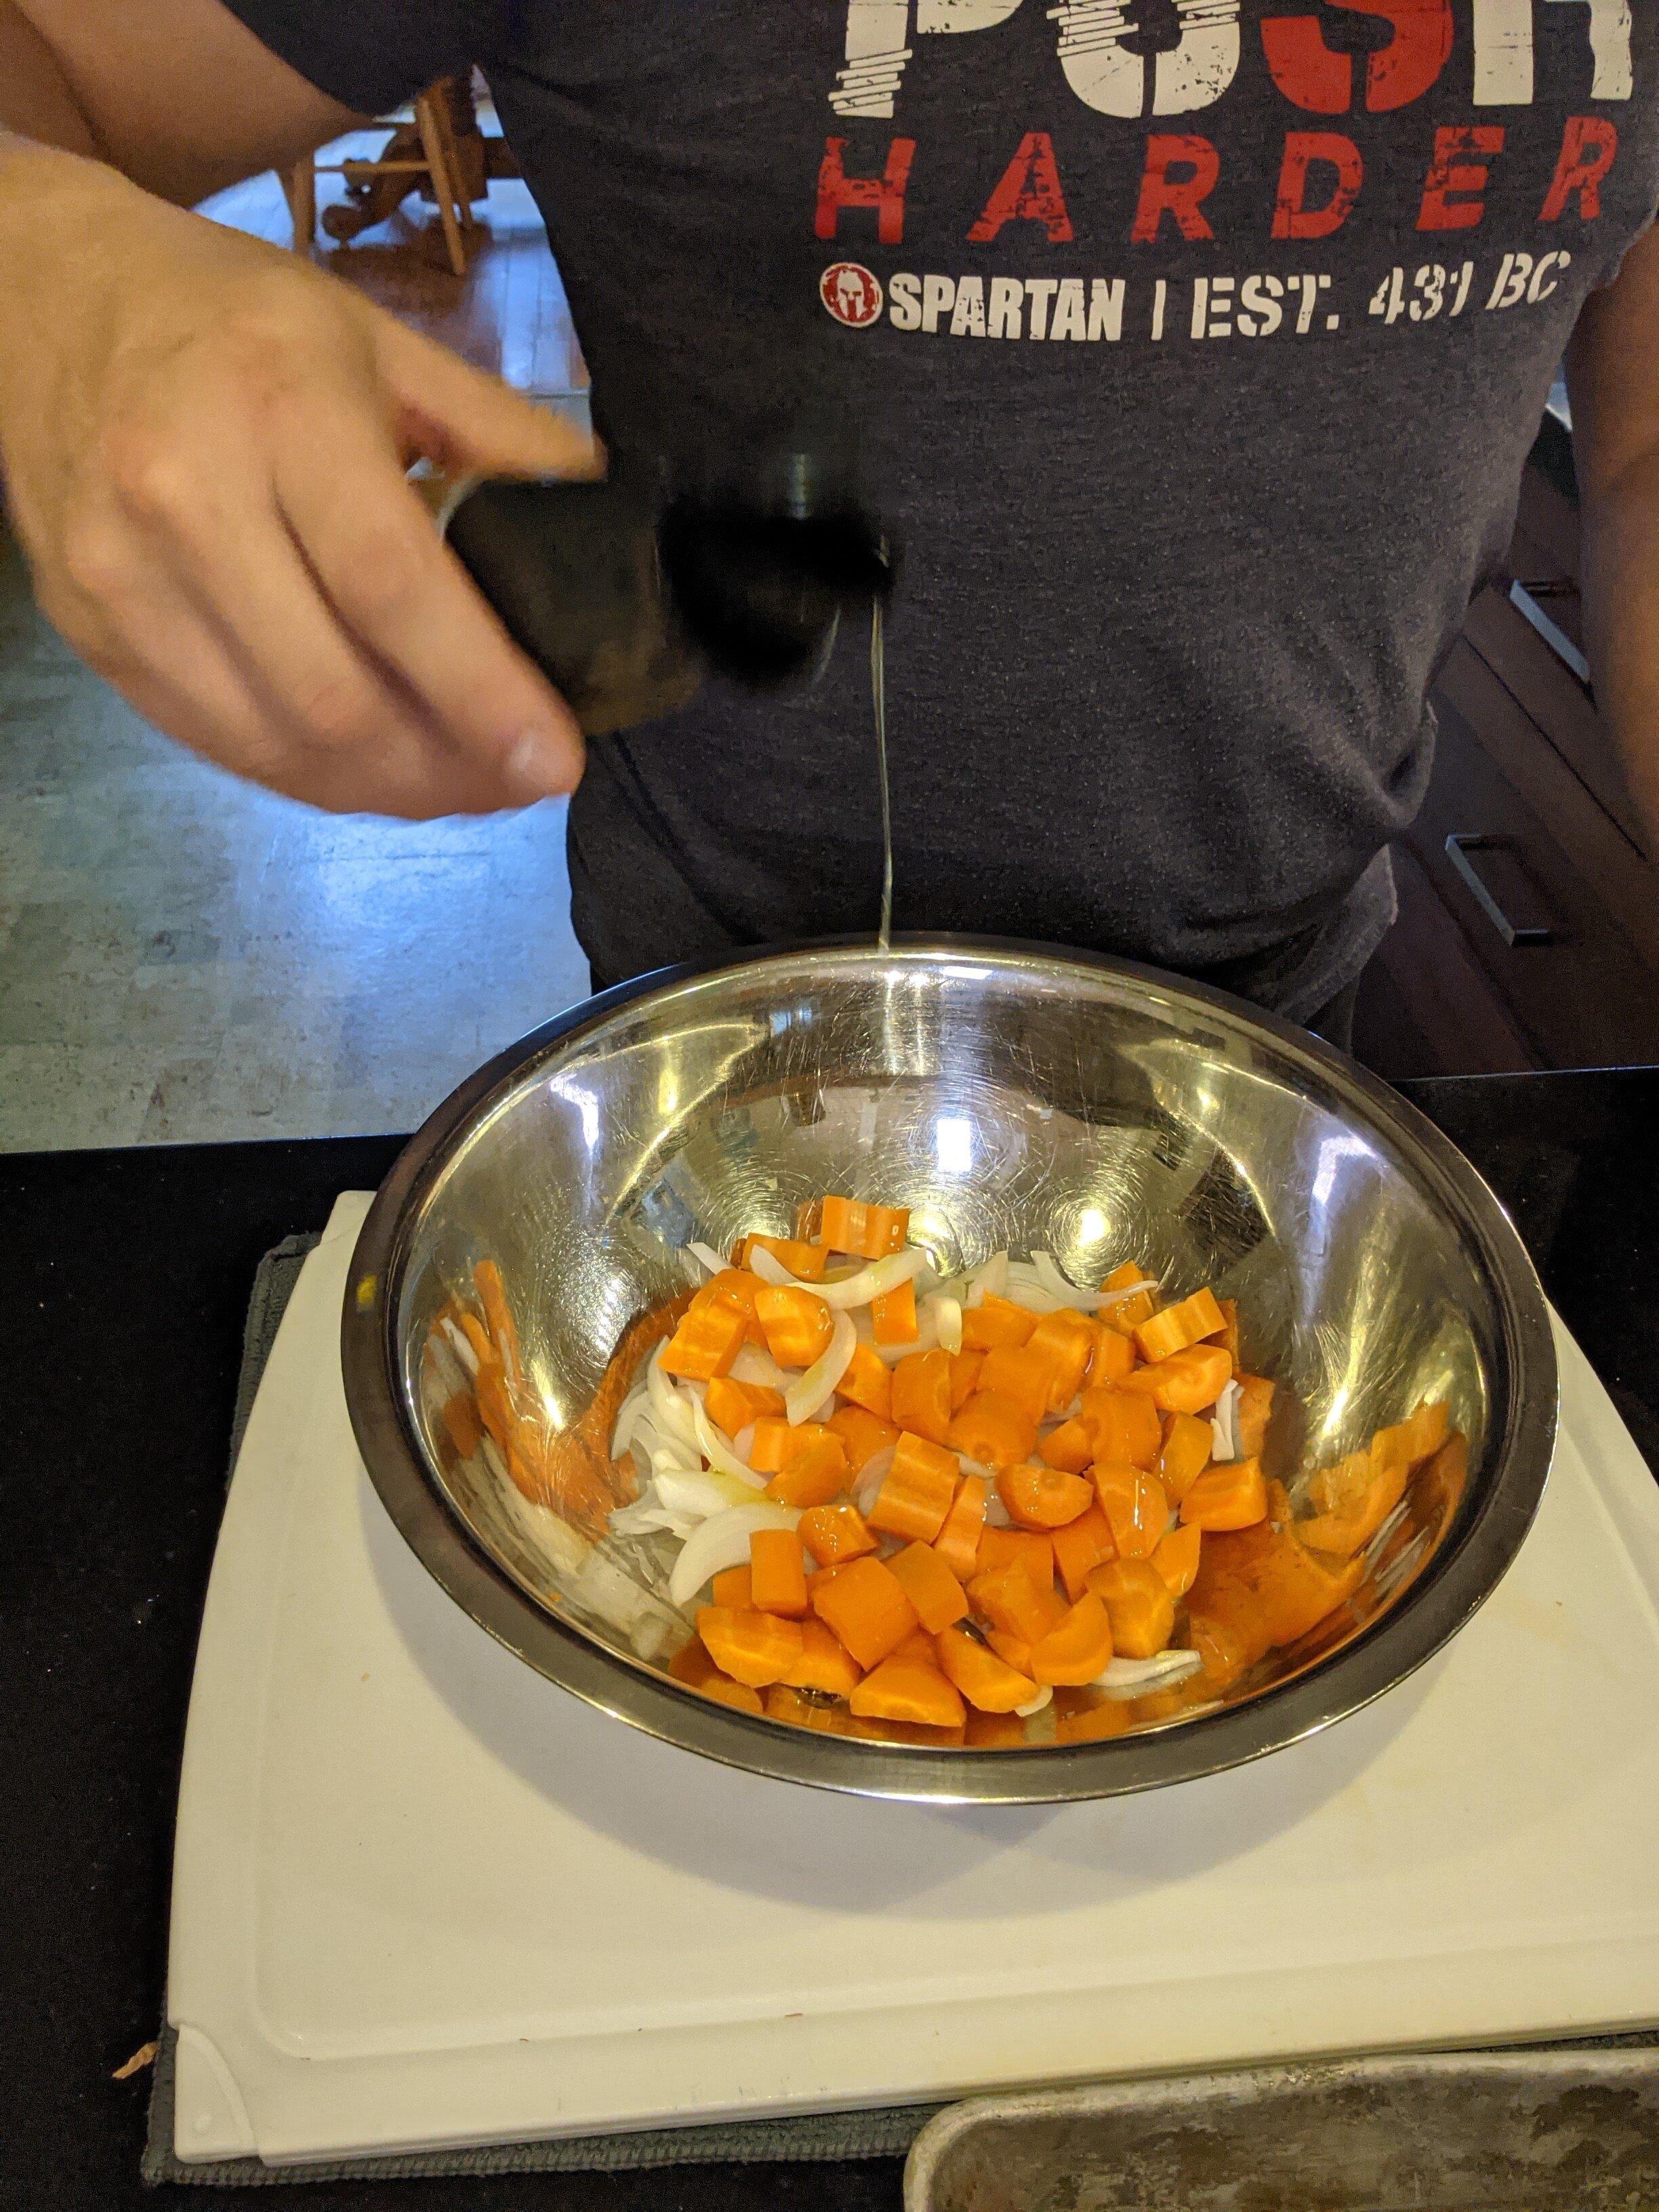
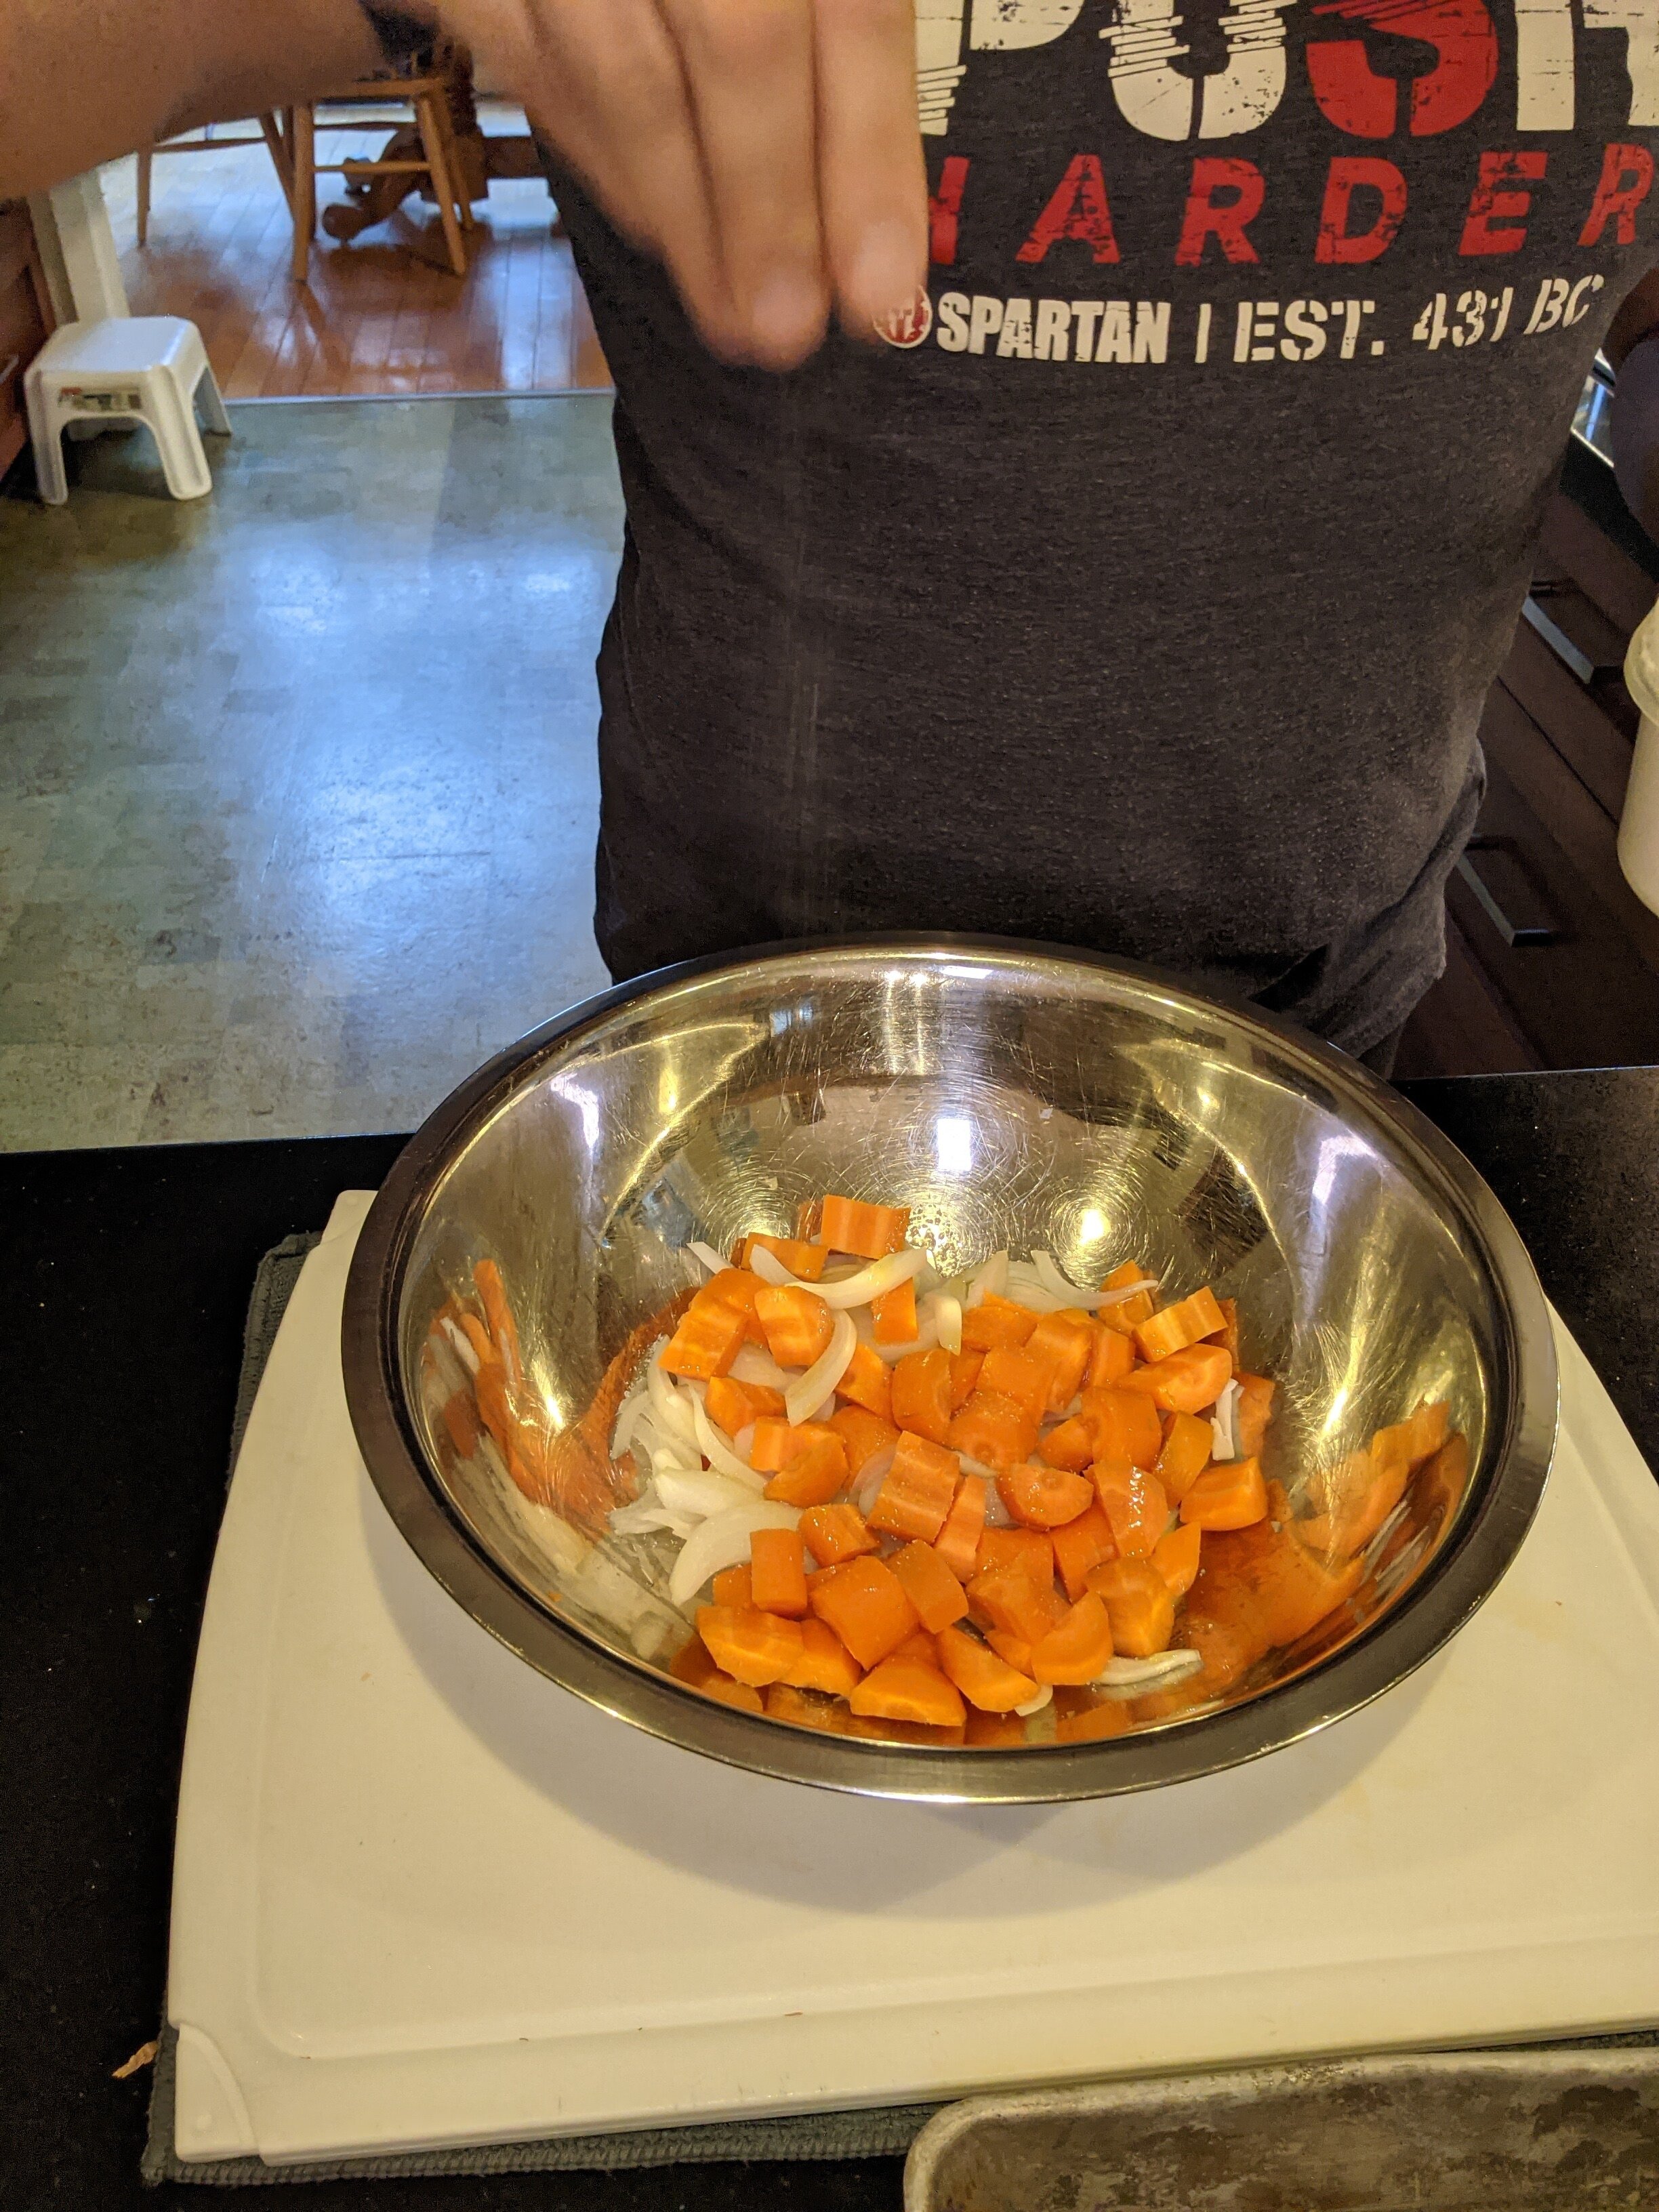
Thinly slice the other 1/2 of the onion lengthwise, break it apart into pieces and put these in the oiled and seasoned bowl with your bite-size carrot pieces (for roasting). Drizzle a bit more olive oil over this stuff and toss it to coat evenly. Sprinkle some sea salt and either black pepper or chili powder over top, and toss again to coat evenly.
Transfer this to your baking sheet(s) / roasting pan(s) with the cauliflower for roasting, and place these in the oven. Turn the oven on to 375 degrees F, and ignore these for the next 30-40 minutes or so while you’re doing the next couple of steps. ;)Trim the stem end of the garlic clove off, then smash it flat with the side of your knife and remove the peel. Put this in the bowl with your carrot and onion pieces for the soup.


Step 5: Preparing The Potatoes
Peel the potatoes.
Chop the peeled potatoes into eighths (cut each in half, cut the halves in half to make quarters, and cut those in half to make eighths).
Put one potato’s worth of pieces in a bowl with cold water (these will be for the potato and cauliflower mash). We’ll be using the rest pretty quickly for the soup, so they can just sit on the cutting board for now…
Step 6: Let’s Get Cooking! Blanch And Then Roast the Brussels Sprouts

OK, so technically we’re already cooking because the veg is roasting away in the oven, but you don’t really need to do anything with that, so let’s get hands-on with other stuff!
If you have another saucepan / pot available, you can start making the soup at the same time (see step 7 below). If not, you’ll have to wait until this is done…
Transfer the halved Brussels sprouts to the saucepan/pot, cover with cold water and salt generously.
Bring to a boil over high heat, then drain the sprouts in a colander.
Return the sprouts to the pot (with the heat off) and allow to dry for a minute or two.
Drizzle some olive oil over top, and sprinkle with sea salt and black pepper, tossing gently to coat evenly.
Move some of your other veggies aside on the baking sheet(s) / roasting pan(s), and roast these cut-side down until the bottom is well browned and caramelized. This can take about 20-30 minutes or so.
Wash out your pot to continue cooking…
Step 7: Making the Soup (pictures below)
Preheat your medium-size saucepan / pot over medium-high heat, with about 1-2 tablespoons of olive oil. Be careful not to overheat this - I wait until the oil becomes quite fragrant. The veggies should just sizzle a bit when you add them to the pot.
Add the rough-cut carrot and onion pieces with the garlic, and the potato pieces you reserved for the soup.
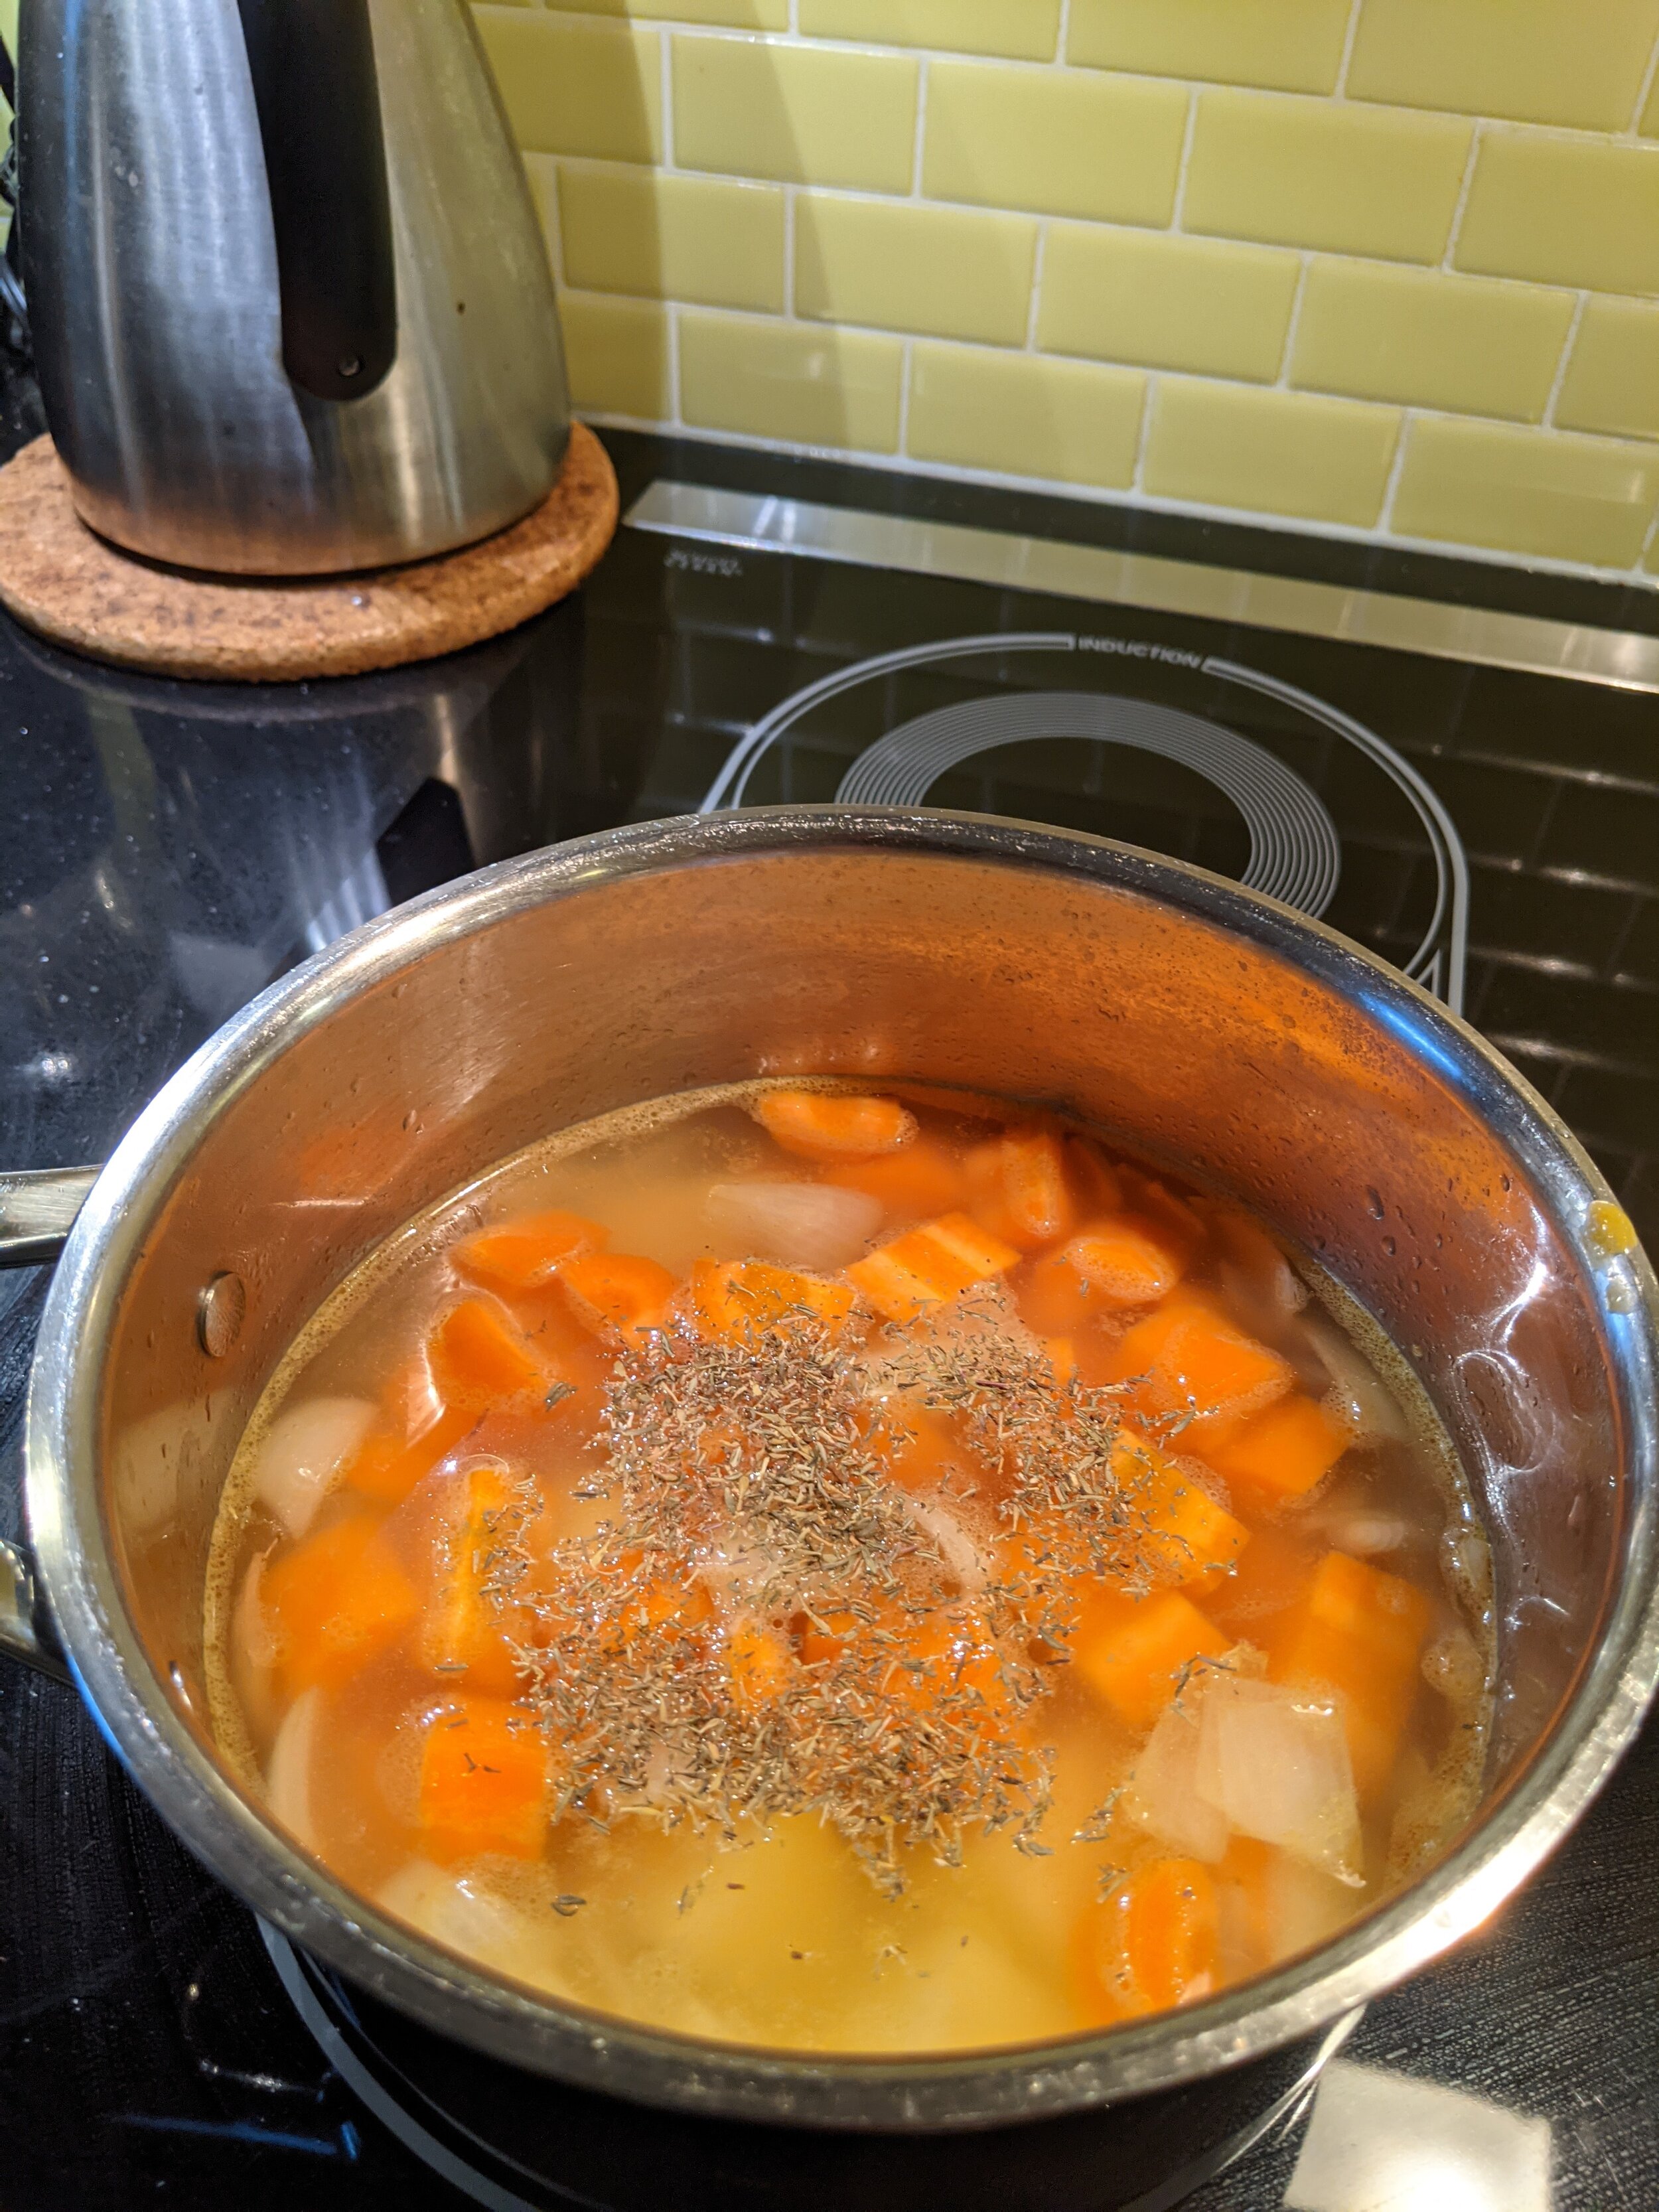
Add a generous teaspoon or two of the chicken base, then cover with cold water and a couple generous pinches of dried thyme or dill.
Bring to a boil over high heat, then turn down to simmer for about 20 minutes, or until the carrots and potatoes can both be easily crushed against the side of the pot with a fork.
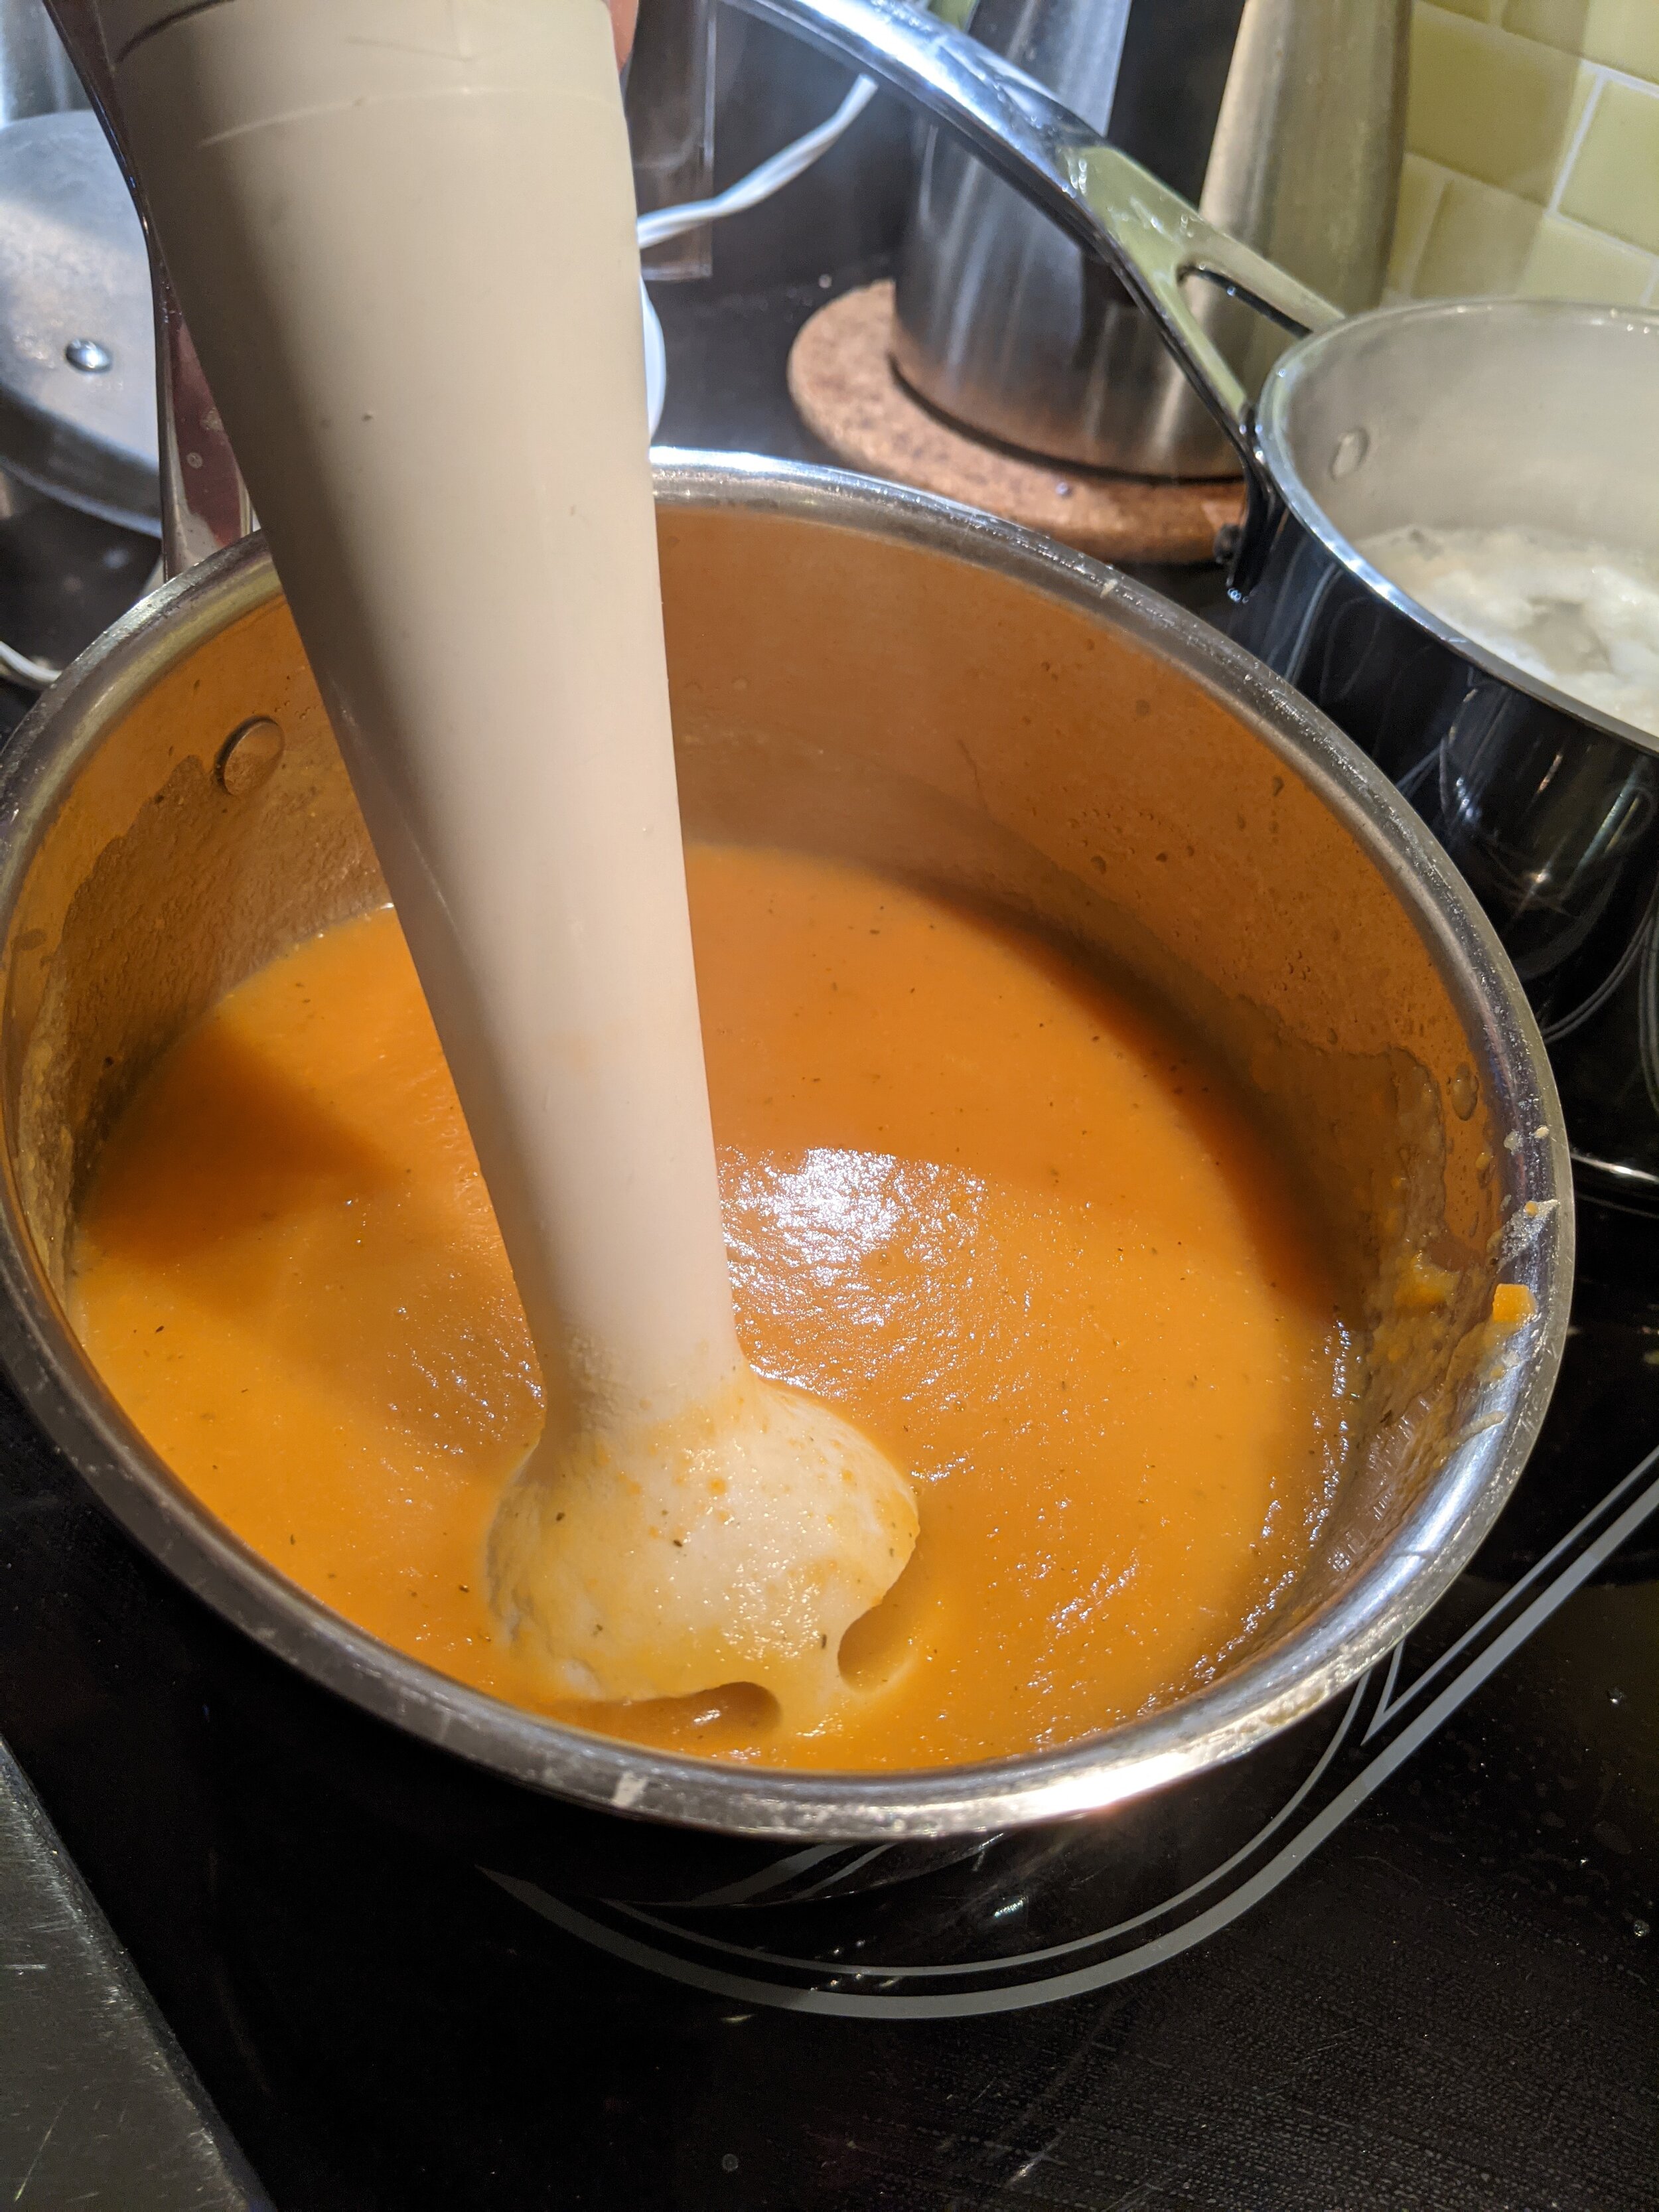
Once the carrots and potatoes are soft, puree the soup with an immersion blender.
Adjust the seasoning with salt and pepper.
Transfer to a container to save for dinner later in the week, and wash out your pot.
NOTE: Check On Your Roasting Veggies, giving them a bit of a mix-around if necessary. Keep roasting them until they get nicely browned / slightly caramelized. I find this usually takes about 45-60 minutes total.
Step 8: Cooking The Potato and Cauliflower Mash
Put the remaining potato pieces with their cold water into a pot with the cauliflower florets you reserved for the mash. Add more cold water if necessary to cover the veggies, and salt generously.
Bring to a boil over high heat, then turn down and simmer for about 10 minutes, or until you can mash both the cauliflower and potato pieces against the side of the pot with a fork.
Drain the potatoes and cauliflower in a colander / strainer, then return to the pot with the heat off.
Mash using a potato masher, a wooden spoon or a large fork. Add in some butter or sour cream if you like, and adjust the seasoning with salt and pepper. Set aside for tonight’s dinner.
Meal #1: DINNER TIME! Roast Chicken with Roasted Vegetables and Potato-Cauliflower Mash
The roasted veggies should now be ready to go!
Remove the Brussels sprouts, setting half aside in a container for later in the week, and half for tonight’s dinner.
Set 3/4 of the remaining mixed roasted veggies aside in a container for later meals. The remaining 1/4 will be for tonight’s dinner - put those straight on your plate!
Squeeze some fresh lemon juice over the roasted veggies, then add the Brussels sprouts (again, great with some balsamic vinegar drizzled over top), potato/cauliflower mash and chicken leg & thigh (or whatever protein you like).
Meal #2: Thai Green Curry Chicken and Vegetables
If you like, cook off some rice or noodles to serve this over. You could cook off rice for both this meal and the Indian curry meal on your meal prep day and have it ready to reheat. There is some research that suggests cooked, cooled then reheated rice is actually better for body composition than freshly-cooked because it is higher in “resistant starch”. Just sayin’…
Having your rice or noodles ready ahead of time also turns this into a 10-15 minute process to get your dinner ready during the week.
In a medium saucepan over medium-high heat, cook a couple of generous spoonfuls of Thai Green Curry Paste for 1-2 minutes.
Add your shredded Brussels sprouts and bias-cut carrots and cook for a further 2-3 minutes, tossing to coat evenly.
Add just enough liquid to make a sauce. Coconut milk is preferred for this, but you can just use water if you like. Simmer for 10 minutes or so to let the flavours combine.
Shred or chop up some roasted chicken breast, and mix it in a minute or two before serving so that it gets heated through.
Meal #3: Carrot Soup with Roasted Chicken Sandwich
Pick up a nice, crusty bun and your favourite cheese and other sandwich toppings for this. Alternatively, you could have the chicken with a salad and the soup - up to you!
Reheat the soup in the microwave or on the stovetop.
Shred some roasted chicken breast or just put the whole breast on the bun. For extra yumminess, warm it (on the bun) under the broiler.
Meal #4: Indian Curry Chicken and Vegetables
If you cooked off some rice earlier in the week for the Thai curry, you can use it with this as well!
Shred up the meat from your remaining chicken leg and thigh portion.
In a medium saucepan over medium-high heat, cook a couple of generous spoonfuls of your favourite Indian curry paste for 1-2 minutes, then add your remaining portion of roasted vegetables and the shredded chicken meat.
Add just enough liquid to make a sauce, and toss well to coat evenly. Coconut milk can work well here (depending on your curry paste), or just use water. Simmer for 10 minutes or so to let the flavours combine.
OK - that wraps it up! Whew…this article took a lot of writing and re-writing to get it into a form and order that I thought made sense after having kind of “freestyled” the prep work as I went along. If you have any questions or comments, let me know!
—Coach JP